RECORDING
30
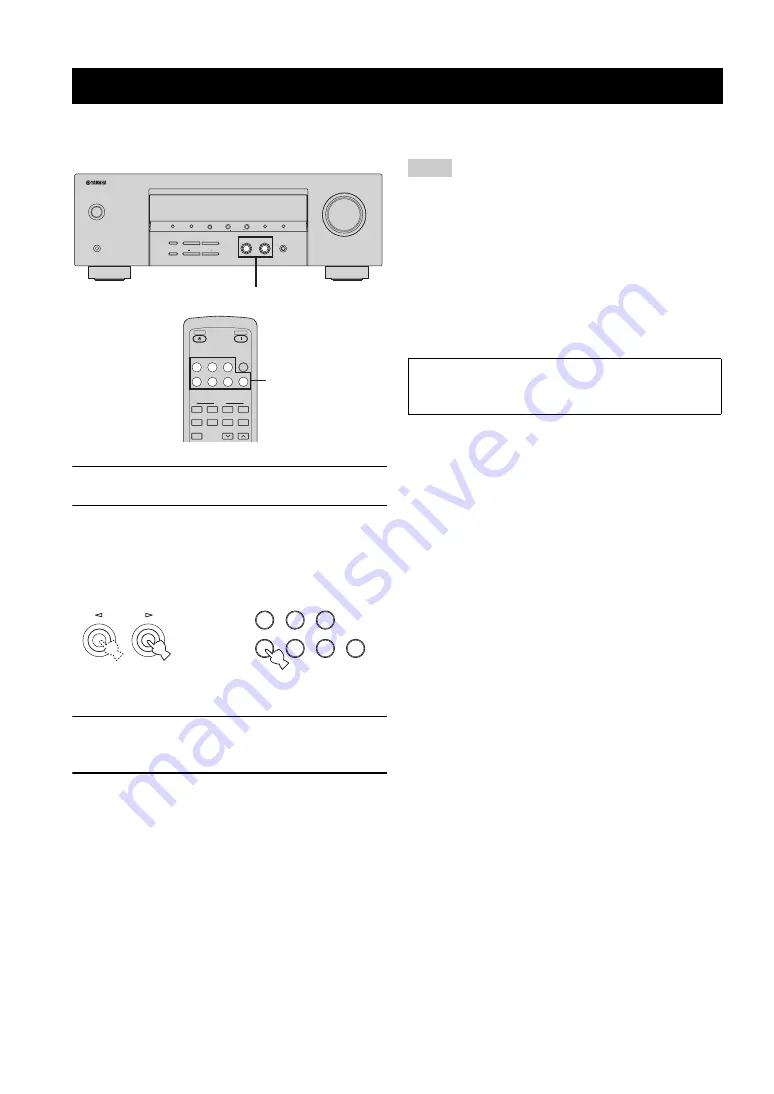
Recording adjustments and other operations are performed from the recording components. Refer to the operating
instructions for those components.
1
Turn on all the connected components.
2
Press INPUT
l
/
h
on the front panel (or one
of the input selector buttons on the remote
control) to select the source component you
want to record from.
3
Start playback on the selected source
component or select a broadcast station.
4
Start recording on the recording component.
y
Do a test recording before you start an actual recording.
• When this unit is set to the standby mode, you cannot record
between other components connected to this unit.
• The setting of frequency response levels (page 21), volume,
speaker levels (page 32) and the surround mode do not affect
recorded material.
• A given input source is not output on the same OUT channel.
(For example, the signal input at VCR IN is not output at VCR
OUT.)
• Check the copyright laws in your country to record from CDs,
radio, etc. Recording of copyrighted material may infringe
copyright laws.
RECORDING
STANDBY
/ON
PHONES
STEREO
EDIT
PRESET/TUNING
FM/AM
A/B/C/D/E
PRESET/TUNING
MEMORY
MAN'L/AUTO FM
TUNING MODE
AUTO/MAN'L
SET MENU
NEXT
EFFECT
TONE CONTROL
BASS/TREBLE
PROGRAM
INPUT
INPUT MODE
VOLUME
l
h
l
h
l
h
2
STANDBY
POWER
CD
DVD
MD/CD-R
DTV/CBL
TUNER
TUNER
P1
P2
P3
P4
P5
P6
P7
P8
VCR
SLEEP
V-AUX
A/B/C/D/E
PRESET
2
INPUT
or
Front panel
Remote control
CD
DVD
MD/CD-R
DTV/CBL
TUNER
VCR
V-AUX
Notes
If you play back a video source that uses scrambled or
encoded signals to prevent it from being dubbed, the
picture itself may be disturbed due to those signals.


