91
Tyros2
NITOR SPEAKER
RS-MS02
ER’S MANUAL
ENUNGSANLEITUNG
E D’EMPLOI
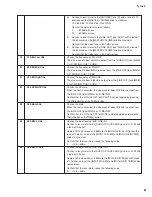
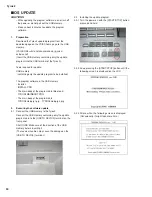
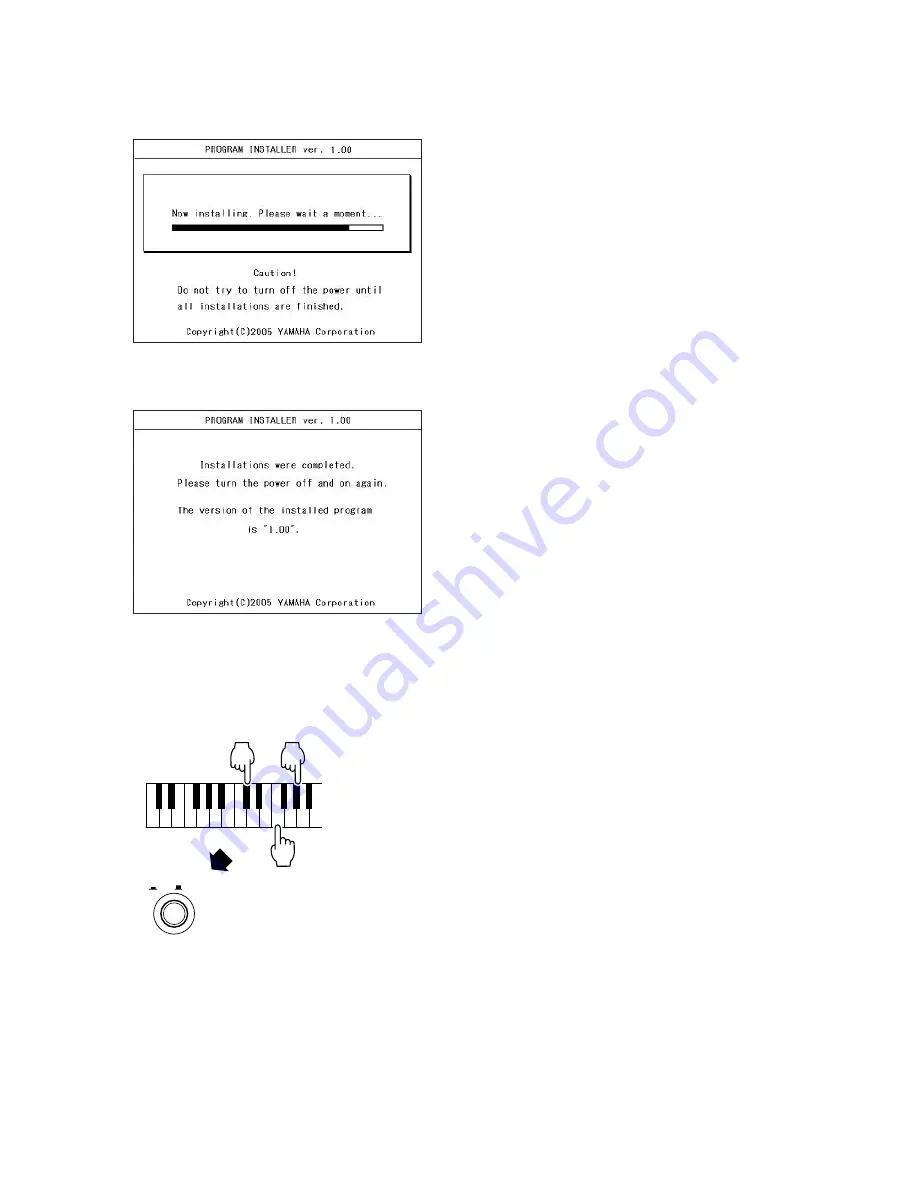
2-2-4 Press the [START/STOP] button to start the installa-
tion.
2-2-5 When the installations are finished, the following
screen is displayed on the LCD.
2-2-6 Turn the power off.
3.
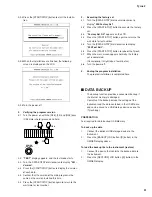
Verifying the program version
3-1
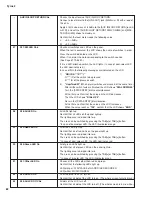
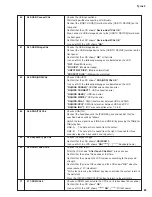
Turn the power on with the [C2#], [F2] and [G2#] keys
(C2# major chord) pressed and held.
C2#
G2#
F2
POWER
ON / OFF
3-2
“TEST”
display appears, and the test mode starts.
3-3
Turn the DATA ENTRY dial clockwise to display
“001:
Version”
.
3-4
Press the [START/STOP] button to display the version
of each data.
3-5
Confirm that the version of the main program is the
same as the version installed this time.
3-6
Press the [START/STOP] button again to return to the
wait state for test number.
■
DATA BACKUP
•
The backup function provides a convenient backup if
the internal memory is damaged.
•
Contents of the backup include the settings of the
instrument and the data contained in the USER drive,
and can be saved to a USB storage device as one file
(Tyros2.bup).
PREPERATION
Tool required for data backup: USB Memory
To back up the data
1.
Connect the optional USB storage device to the
instrument.
2.
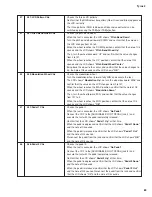
Press the [BACKUP] LCD button ([D] button) in the
OWNER display above.
To load the backup file to the instrument (restore)
1.
Connect the device that contains the backup data to
the instrument.
2.
Press the [RESTORE] LCD button ([E] button) in the
OWNER display.
4.
Executing the factory set
4-1
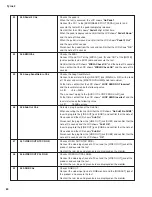
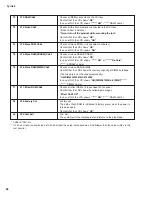
Turn the [DATA ENTRY] dial counterclockwise to
display
“094:Factory Set”
.
4-2
Press the [START/STOP] button to execute the factory
set.
4-3
“Factory Set OK”
appears on the LCD.
4-4
Press the [START/STOP] button again to return to the
wait state for test number.
4-5
Turn the [DATA ENTRY] dial clockwise to display
“095:Test Exit”
.
4-6
Press the [START/STOP] button to reboot the Tyros2.
4-7
When the main screen appears normally, the factory
set is completed.
(Occasionally, it might take a few minutes.)
4-8
Turn the power off.
5.
Ending the program installation
The program installation is completed here.
Содержание 2
Страница 47: ...47 Tyros2 2NA WE84370 2 2 F F to DAC2A CN101 to LCL CN1 to AJK CN7 Pattern Side ...
Страница 57: ...57 Tyros2 Note See parts list for details of circuit board component parts P P Pattern Side 2NA WE81690 4 ...
Страница 61: ...61 Tyros2 Note See parts list for details of circuit board component parts R R Pattern Side 2NA WE81690 4 ...
Страница 64: ...64 Tyros2 Note See parts list for details of circuit board component parts PNR Circuit Board T T ...

