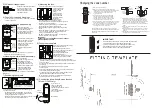
Before commencing installation check that all parts
are
working correctly.
•
Exterior Code Pad Assembly:
Enter code from the
pre-set factory code card, and turn the knob to the right.
The knob should turn and
return freely under spring
pressure. IF YOU INTEND TO CHANGE THE
CODE
YOU SHOULD DO IT NOW.
Refer to code changing
instructions.
•
Interior Handle Assembly:
Make sure that the lever
handle turns freely.
New Installation:
1) Check the hand of your door
Viewed from the outside
door is left handed if the
hinges are on the right.
Push button door lock
(Model P-DL01 and
3) Fit latch support post
Fit the Latch Support Post in
the back of the exterior code
Pad Assembly.Hole A for right
hand hung door and Hole B for
left hand hung door.
A
B
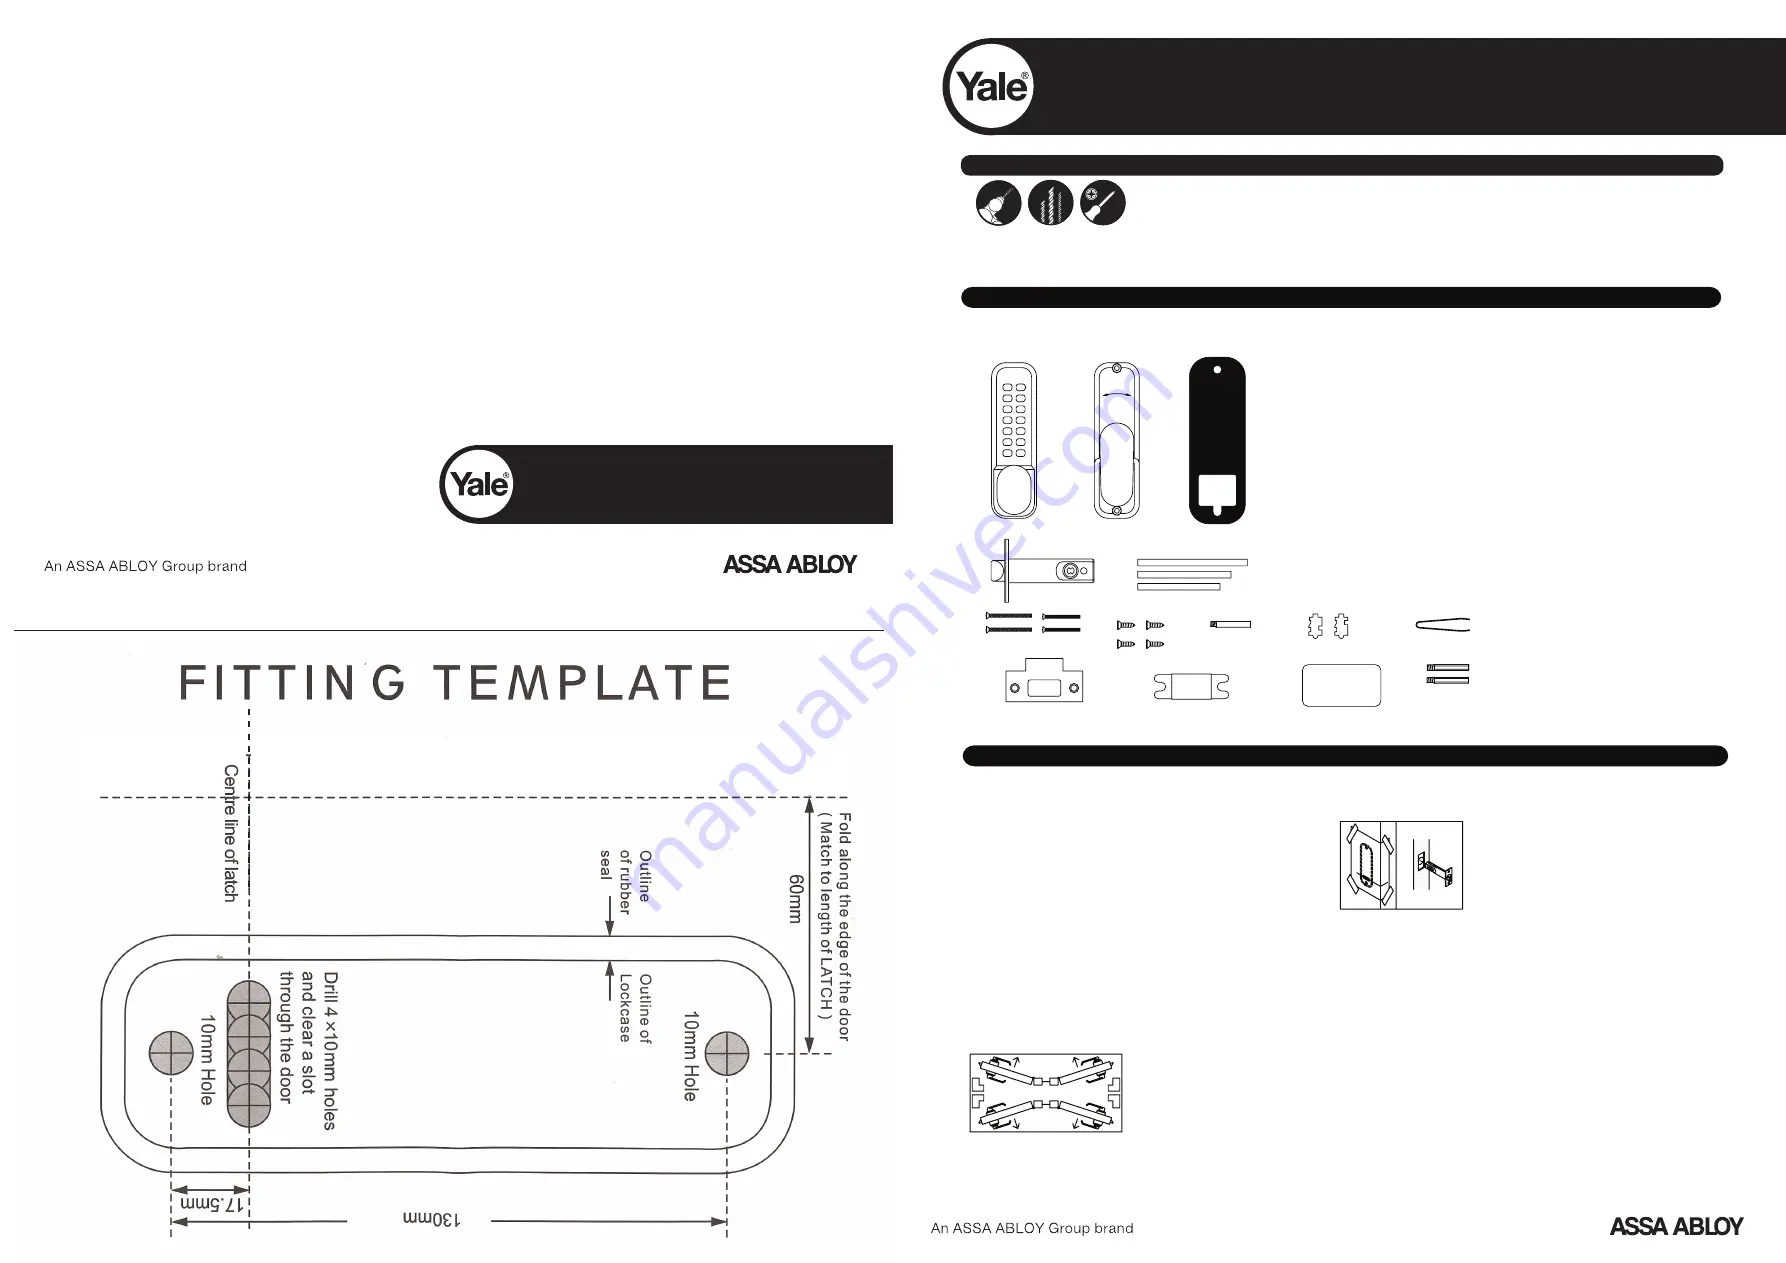
2) Apply the template
Select the desired position on the
door. Fold the template along the
dotted 60mm line and tape to the
door.
• Mark and drill all six 10mm holes as shown on the template.
• Mark the central point on the "centre line of latch" on the
edge of the door and drill a 25mm hole to a depth of 95mm
for the latchbolt.
• Use a chisel to clear the line of 4 x10mm holes into a
single slot.
• Insert the latchbolt into the the edge of the door and mark
around the face plate.
• Remove the latchbolt and cut a 3mm rebate so that the face
plate fits flush with the edge of the door.
• Fit the latchbolt with 2 wood screws.(Ensure that
the bevelled face of the latchbolt faces the door frame)
•
Latchbolt:
Check that the spring latch and
move freely.
OUTSIDE
INSIDE
LEFT
HAND
RIGHT
HAND
(Code Pad side) your
1.
2.
3.
6.
8.
9.
10.
11.
13.
2.
Interior Handle Assembly
1.
Exterior Code Pad Assembly
3. Neoprene Seals. x 2
5. Spindles
x 3 (only one is used)
4. Latchbolt (60mm standard)
6.
Interior handle assembly fixing bolts
(2 x 50mm)
(2 x 36mm)
7.
Wood Screws x 4. Use with
Latchbolt and Strike plate
8. Latchbolt Support Post
9. Spare Colour Code Tumblers
x 4
10. Tweezers
11.
Strike Plate
12.
Strike Box
13. Code Card
12.
7.
pre-set code here
Record your factory
C
Y
X
5
4
3
Z
0
9
8
2
1
6
7
4.
5.
x2 x2
14. Exterior Code Pad Fixing lugs x 2
14.
spindle hub
Pack Contents
Fitting Instructions
Issue No: 01-2012
Push Button Door Lock
Fitting Instructions
The world’s favourite lock since
1843
School Street, Willenhall, West Midlands WV13 3PW
www.yale.co.uk
Tel: +44 (0) 1902 364647 E-mail: [email protected]
Tools Required
Cross Head
Screwdriver
Drill
Required
Drill Bits:
Ø10mm
Ø25mm


