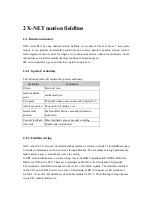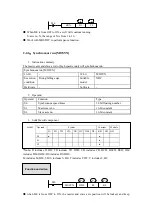
S3: axis no. N, N is from 1 to 10.
●
absolute position, the distance from zero point to target position. For example, the present
position is 100, the absolute position is 300, the motor needs 200 pulses to the target position.
●
when M0 is from OFF to ON, absolute target position (60*(N-1)) changes to S0. If
(60*(N-1)) increases, the motor will run forward, if (60*(N-1)) decreases, the
motor will run reverse.
●
when it is running, modify (60*(N-1)) to change the absolute target position. The
instruction will move as the modified target position until stop.
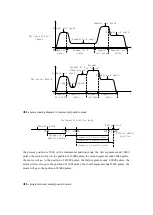
For example: the target position is 1000, when the condition is activated, it gets to position 600. (1)
At this time, modify (60*(N-1)) to 400 or -400, axis S3 will forward decelerate to stop,
then reverse accelerates to position 400 or -400 and decelerate to stop. (2) at this time,
(60*(N-1)) is 1200, axis S3 forward runs to position 1200 and decelerates to stop.
●
servo is enable, (60*(N-1)) changed to 1000, when M0 is from OFF to ON,
(60*(N-1)) changed to S1.
When the motor is running, modify (60*(N-1)) can change the real-time speed, the
motor will change to new speed with acceleration and deceleration time.
If the speed is 0, the motor will stop with acceleration and deceleration time. As the speed become
0 before reaching the target position, the running flag (20*(N-1)) will not reset. At this
time, if set (60*(N-1)) new speed, the motor will run again.
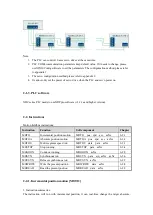
The related register about absolute position is same to incremental motion instruction, please refer
to chapter 3-1 table 1 and 2.
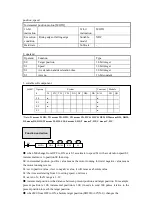
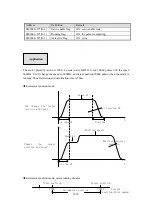
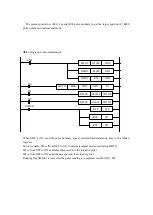
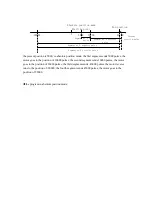
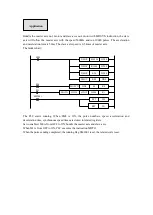
The present position of the motor is 2000, it will moves 10000 pulse numbers with speed 5000Hz.
When it is running, the speed will change to 6000Hz, the target absolute position changes to
20000 pulse numbers. The acceleration and deceleration time is 50ms.
◆
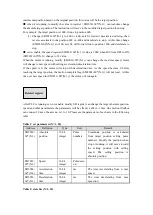
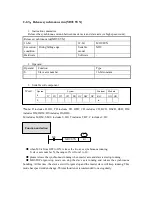
the diagram in absolute position mode:
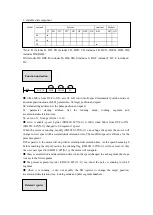
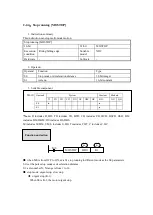
Related register
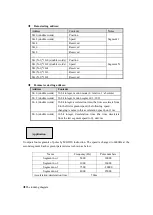
Application
Содержание X-NET fieldbus
Страница 1: ...X NET fieldbus User manual Wuxi XINJE Electric Co Ltd Data No PD06 20151009 3 2...
Страница 28: ...SD169 Serial port 3 SD170 SD179 Serial port 4 SD180 SD189 Serial port 5 SD190 SD199...
Страница 56: ...d click the setting icon to open the setting panel Click write in PLC after setting...


