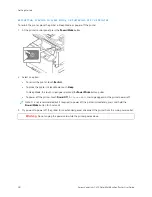
A C C E S S I N G T H E E M B E D D E D W E B S E RV E R
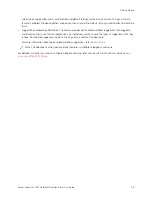
At your computer, open a Web browser. In the address field, type the IP address of the printer, then press EEnntteerr or
RReettuurrnn.
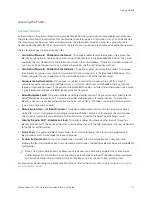
To use the Embedded Web Server, click the page required:
• H
Hoom
mee: This page provides a description of the printer and current notifications, the status of the paper trays,
and supplies and billing information. There is a Quick Links area at the bottom of the page that provides direct
access to key functions and pages.
• JJoobbss: The Jobs page enables you to manage active jobs on the printer, view, print, and delete saved jobs, and
create and manage saved job folders.
• PPrriinntt: This page enables you to submit print-ready files to the printer for printing. You can select options for
print jobs using this page. Only print-ready files can be submitted, for example PDF, PS, PCL, and XPS file
formats.
• SSccaann: The Scan page enables you to create distribution workflows and mailboxes for scanned documents.
• A
Addddrreessss B
Booookk: Use the Address Book page to create a Device Address Book containing contacts for use with
the fax, email, and scanning apps. You can configure the printer to use a Network Address book that looks up
addresses from an LDAP directory. The printer can also be configured to use a Network Address Book, which
looks up addresses from an LDAP directory. If both the Address Book and Device Address Book are configured,
users are presented with a choice when they use a compatible app.
• PPrrooppeerrttiieess: You can use the Properties tab to access and configure settings for your device. System
administrator login credentials are required to change most settings.
• SSuuppppoorrtt: This page provides access to general support information and telephone numbers. You can use the
Support page to access the Remote Control Panel and send diagnostic information to Xerox.
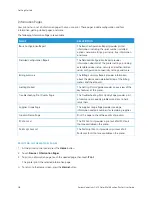
The Embedded Web Server has a Help option that provides information about all available device features and
functions. To access Help, click the H
Heellpp link displayed at the bottom of each page. Navigate to the topic required,
or use the SSeeaarrcchh function to find specific information.
For detailed instructions on how to use the Embedded Web Server to configure printer settings, refer to the
System
Administrator Guide
at
www.xerox.com/office/VLC415docs
LO G G I N G I N U S I N G T H E E M B E D D E D W E B S E RV E R
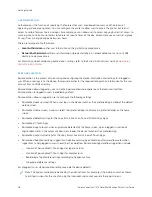
To access certain features, tools, and apps, log in to the Embedded Web Server for your device.
Note: Access to some restricted functions requires administrator rights. For more information, refer to the
System Administrator Guide
at
www.xerox.com/office/VLC415docs
.
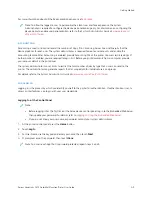
To log in to the Embedded Web Server:
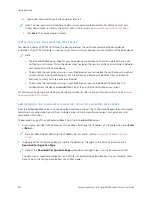
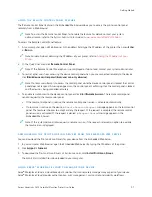
1.
At your computer, open a Web browser. In the address field, type the IP address of the printer, then press EEnntteerr
or RReettuurrnn.
2.
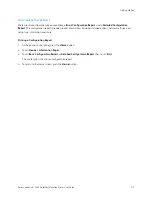
In the top right area of the page, click LLooggiinn.
3.
Enter your User ID and password, then click LLooggiinn.
4.
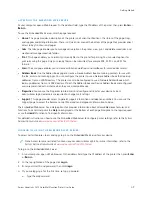
If you are logging in for the first time, set up a password.
a. Type the old password.
Xerox
®
VersaLink
®
C415 Color Multifunction Printer User Guide
49
Содержание VersaLink C415
Страница 1: ...VERSION 1 0 JULY 2023 702P08981 Xerox VersaLink C415 Color Multifunction Printer User Guide...
Страница 4: ...4 Xerox VersaLink C415 Color Multifunction Printer User Guide...
Страница 220: ...220 Xerox VersaLink C415 Color Multifunction Printer User Guide Paper and Media...
Страница 246: ...246 Xerox VersaLink C415 Color Multifunction Printer User Guide Maintenance...
Страница 320: ...320 Xerox VersaLink C415 Color Multifunction Printer User Guide Recycling and Disposal...
Страница 321: ...Xerox VersaLink C415 Color Multifunction Printer User Guide 321 Apps Features This appendix contains Apps Features 322...
Страница 322: ...Apps Features 322 Xerox VersaLink C415 Color Multifunction Printer User Guide Apps Features...
Страница 335: ......
Страница 336: ......

