4
4-40
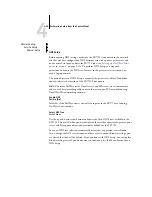
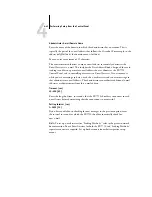
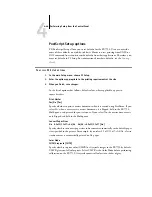
Performing Setup from the Control Panel
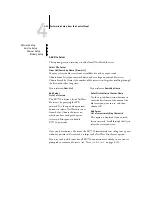
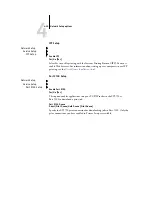
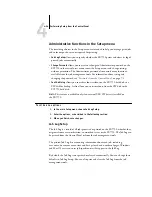
E-mail Setup
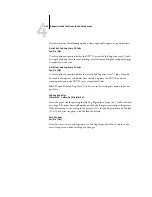
Enable Print via E-mail
Yes/No [No]
Select Yes to enable printing and scanning through e-mail.
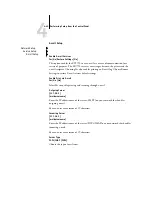
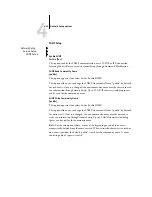
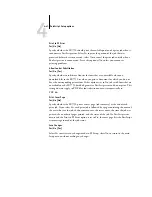
Outgoing Server
[127.0.0.1]
[mailservername]
Enter the IP address name of the server (SMTP) on your network that handles
outgoing
e-mail.
You can enter a maximum of 19 characters.
Incoming Server
[127.0.0.1]
[mailservername]
Enter the IP address name of the server (POP3/IMAP) on your network that handles
incoming e-mail.
You can enter a maximum of 19 characters.
Server Type
POP3/IMAP [POP3]
Choose the type of mail server.
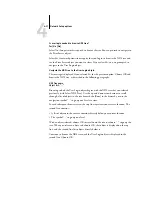
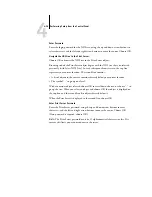
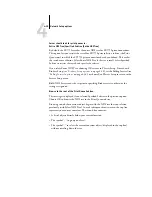
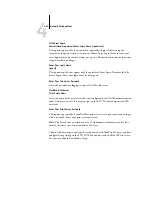
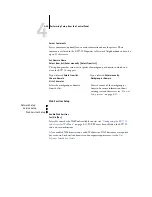
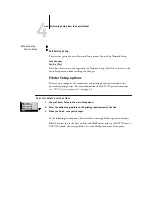
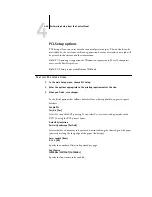
Network Setup
Service Setup
E-mail Setup
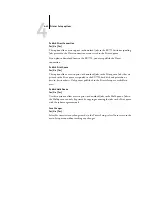
Enable E-mail Services
Yes/No/Restore Settings [No]
This option enables the EX7750 to use e-mail as a means of communication for a
variety of purposes. The EX7750 serves as a messenger between the printer and the
e-mail recipient. Choosing Yes also enables printing an E-mail log. Choose Restore
Settings to restore E-mail services default settings.
Содержание Phaser EX7750
Страница 1: ...ONFIGURATION UIDE...
Страница 8: ...This page is intentionally blank...
Страница 46: ...This page is intentionally blank...
Страница 141: ...55 23 Network Setup 5 Select Use Default Print Queue Root or navigate to the Print Queue Root and click Finish...
Страница 170: ...This page is intentionally blank...
Страница 174: ...This page is intentionally blank...
Страница 208: ...This page is intentionally blank...
Страница 220: ...This page is intentionally blank...

