


Scanning Procedure
177
Scan
5
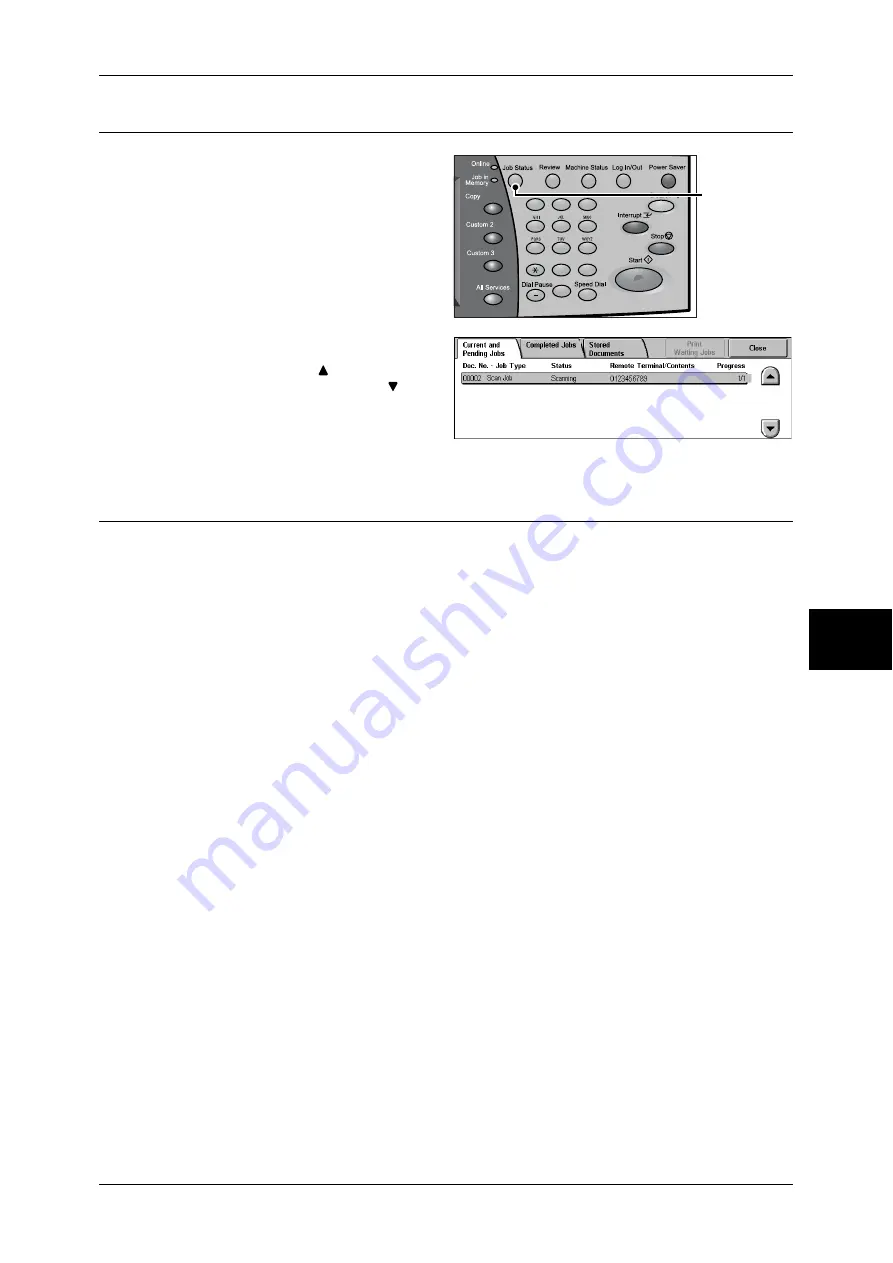
Step 4 Confirming the Scan Job in Job Status
1
Press the <Job Status> button.
2
Confirm the job status.
Note
•
Select [
] to return to the
previous screen or [
] to
move to the next screen.
Step 5 Saving the Scanned Data
When you used the Scan-to-Mailbox feature, the document stored in a mailbox of the
machine can be imported into your computer using the following:
Import using an application
Use a network scan driver.
Refer to "Importing to a TWAIN Compatible Application" (P.233).
Import using Mailbox Viewer2
Use Mailbox Viewer2 (Fuji Xerox application software).
Refer to "Importing Using Mailbox Viewer2" (P.235).
Import using CentreWare Internet Services
Use CentreWare Internet Services.
Refer to "Importing Using CentreWare Internet Services" (P.237).
Import using WebDAV
Use WebDAV.
Refer to "Importing with the WebDAV Protocol" (P.238).
1
2
3
4
5
6
7
8
9
0
#
C
<Job Status>
button
Содержание ApeosPort-II 3000
Страница 1: ...ApeosPort II 5010 4000 3000 DocuCentre II 5010 4000 User Guide...
Страница 14: ......
Страница 54: ......
Страница 139: ...Layout Adjustment 137 Fax 4 Off No stamp is added On A stamp is added...
Страница 254: ......
Страница 350: ......
Страница 406: ......
Страница 538: ......
Страница 599: ...17 Glossary This chapter contains a list of terms used in this guide z Glossary 598...
Страница 618: ......


