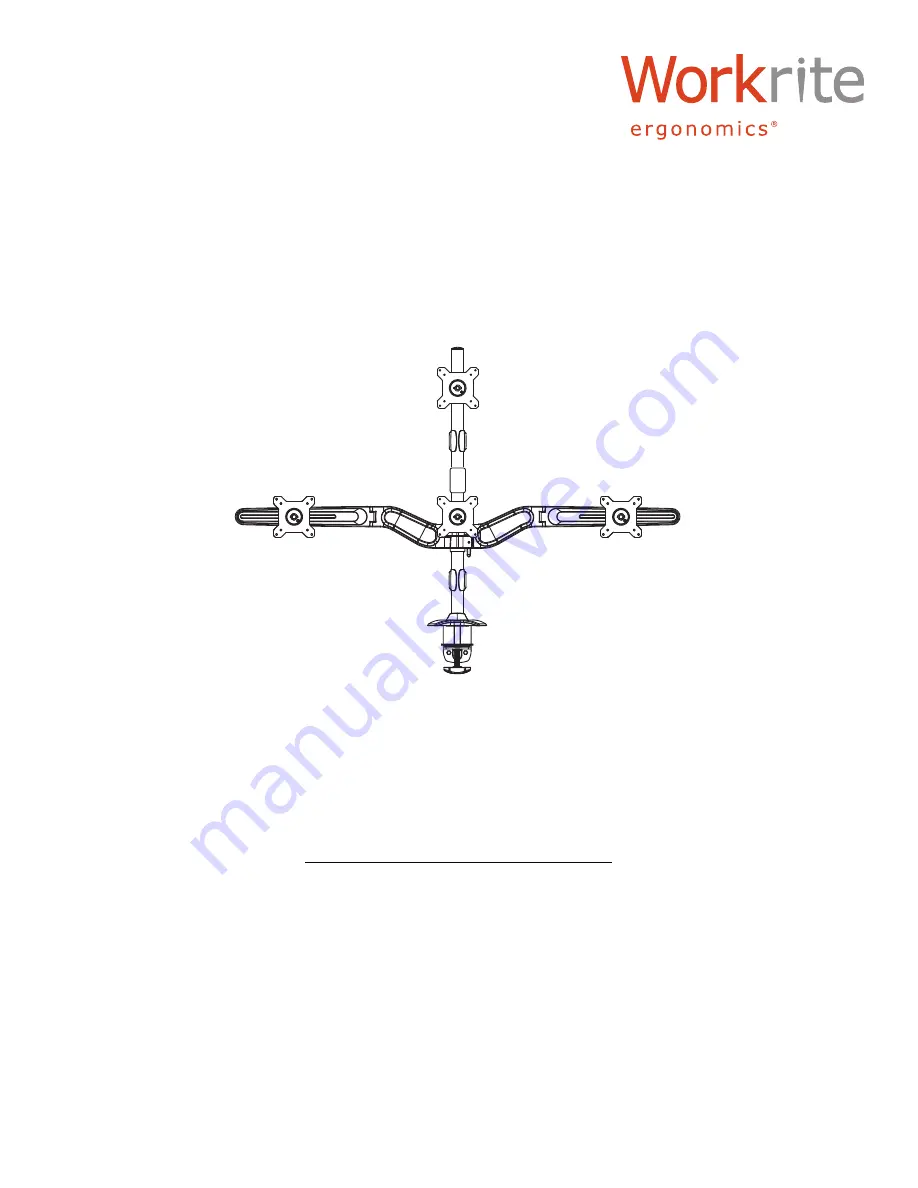
Workrite Sequoia
Assembly Instructions for
Model SQ-413
#1500206 - Rev A
Страница 1: ...Workrite Sequoia Assembly Instructions for Model SQ 413 1500206 Rev A ...
Страница 2: ...4 8mm VESA Mount Screws Qty 12 R 8mm Flat Washer Qty 4 I 2 5mm Hex Wrench Qty 1 S 6mm Hex Wrench Qty 1 P M8 50mm Arm Bolt Qty 2 Need Bolt OR Hardware Packs T 2 Piece C Clamp Mount Qty 1 U Grommet Mount Qty 1 G M5 4mm Set Screw for Desk Mount Qty 3 V M6 10mm Alan Cap Bolt Qty 2 WM8 65mm Grommet Bolt Qty 1 I 2 5mm Hex Wrench Qty 1 S 6mm Hex Wrench Qty 1 S 6mm Hex Wrench Qty 1 X Grommet Clamp Plate Q...
Страница 3: ... 1 monitor Hardware Packs G M5 4mm Set Screw for Collar Qty 3 H M4 8mm VESA Mount Screws Qty 4 I 2 5 mm Hex Wrench Qty 1 Verify that you have all the hardware and tools needed for the assembly Check your packages against the parts list above to verify that you have all the parts needed You will also need the following tools 3 tip Phillips screwdriver ...
Страница 4: ...ch the Clamp Bracket to the Clamp Base with 4 M6 10mm Alan Cap Bolts V and tighten with 6mm Hex Wrench S Grommet Mount Note A grommet hole or small drilled hole from 3 8 diameter to a grommet hole up to 2 5 diameter is required to mount the grommet mount Place the Grommet Mount Base U over the grommet hole or drilled hole in the worksurface From the bottom place the bolt X through the Grommet Clam...
Страница 5: ...monitor Install 4 VESA Monitor Screws H and tighten securely with a 2 Phillips screwdriver Outer Monitor Mount Align the outer mounts K to the VESA pattern in the monitors Install 4 VESA Monitor Screws H and tighten securely with a 2 Phillips screwdriver Note At this time you can chose to install the monitors in landscape or portrait orientation Before mounting be sure to measure the vertical heig...
Страница 6: ...het Levers D into the rear of both Wing Bar Mounts and tighten a b a b c Place 8mm Flat Washers R into recesses into the Wing Arm as shown Hold in place while attaching Wing Arm to Wing Arm Mount Place Steel Spacer Q on M8 5mm Arm Bolt P and attach Wing Bars to Wing Bar Mounts Tighten Securely with 6mm Hex Wrench S Repeat this step for the remaining Wing Bar Hold Flat Washers R in place while atta...
Страница 7: ...en the Set Screw G in the Collar C with the 2 5mm Hex Wrench I and move accordingly Retighten the Set Screw and Wing Bar Mount when desired height is reached Align the Outside VESA Mount K with the slot in the Wing Bar Place Plastic Washer E onto the Mount Knob F Install the Knob and Washer into the Mount as shown and tighten securely Repeat for the remaining outer monitor Note During assembly it ...
Страница 8: ...BB into the threads on the Extension Pole AA and tighten securely Install the Capped Pole A into the threads on the Pole Coupler and tighten securely Insert 2 Set Screws G into the Coupler Tighten securely with the 2 5mm Hex Wrench I A AA B B G G ...
Страница 9: ...Attach Center Monitor to Pole 9 Place Center VESA Mount J on Pole and rest on collar C a b Install Ratchet Lever D into the rear of the Center VESA Mount J and tighten C D J J ...
Страница 10: ... Depending on the size of your monitor it may be necessary to adjust the tilt and swivel setting If the monitor doesn t hold its tilt position or is too hard to tilt adjust the tension adjustment on top of the Monitor Mount Use the 2 5mm Hex Wrench I clockwise to increase lift counter clockwise to decrease lift Check the monitor and adjust again as necessary a b c Important Note It is recommended ...