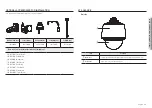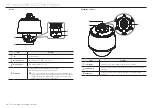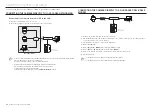
PTZ camera (QNP-6320/QNP-6250)
12_
PTZ camera (QNP-6320/QNP-6250)
`
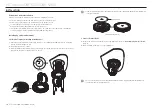
To attach or detach the camera, refer to the picture.
~
Attaching the Camera : Push up the camera unit and rotate it clockwise until it cannot be rotated
anymore, as shown in the figure. After rotation, fasten the screws assembled to the install base.
< To Attach the Camera >
~
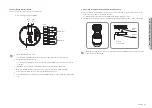
Detaching the Camera : Unfasten the screws as shown in the figure, push in the hook, and rotate it
counterclockwise.
(The screws are not completely disassembled.)
When the hook does not rotate any more, pull down the camera unit and separate it.
< To Detach the Camera >
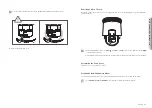
Inserting a Micro SD card
1.
Turn the dome cover in the direction of the arrow to release it.
2.
Pull up the Micro SD card cover.
3.
Insert Micro SD cards in the direction of the arrows as shown in the figure.
J
`
Disconnect the power cable from the camera before inserting the Micro SD card.
`
When it rains or the humidity is high, insertion or ejection of a Micro SD card is not recommended.
`
When installing/removing the Micro SD card, make sure you put the product body on a flat ground before working on it in order
to prevent accidents due to loss or drop of any parts.
Содержание QNP-6250
Страница 1: ...NETWORK CAMERA User Manual QNP 6320H QNP 6320 QNP 6250H QNP 6250 ...
Страница 7: ...English _7 OVERVIEW QNP 6320 QNP 6250 QNP 6320H QNP 6250H 8 14 ...
Страница 35: ......


