78_
setup
setup
in the case of standby mode
●
Device list & status : Shows the status of the normal recorder currently connected to the standby recorder. To
delete the normal recorder connected, click <
Delete
> on the right side of the recorder.
■
The standby recorder can only enable some functions in the <
System
>, <
Device
>, and <
Network
> menus. You can't use the
<
Record
> and <
Event
> menus.
■
In the standby recorder, the previous operation will stop when a failover is performed during the playback or section export, and the screen
will move to the live screen.
State name
Description
Ready
Ready to be connected
Connected
Normal recorder and standby recorder connected (failover available)
Failover
Troubleshooting is being performed
Connected fail
Connection was attempted but failed
Authentication failure
Auth failed by entering an incorrect standby password when attempting to connect
Connected(Match Time Required)
Connected without time synchronization with the standby recorder
Connected(check camera port IP)
Even if the camera port of a normal recorder is connected to the viewer port of the standby
recorder or connected to the same viewer port, the IP port of the camera port is not matching.
Connected fail(check camera port IP)
The connection from the normal recorder's camera port to the standby recorder's camera port
failed.
Connected fail (It is a different model.)
Failed connection by connecting recorders of different models.
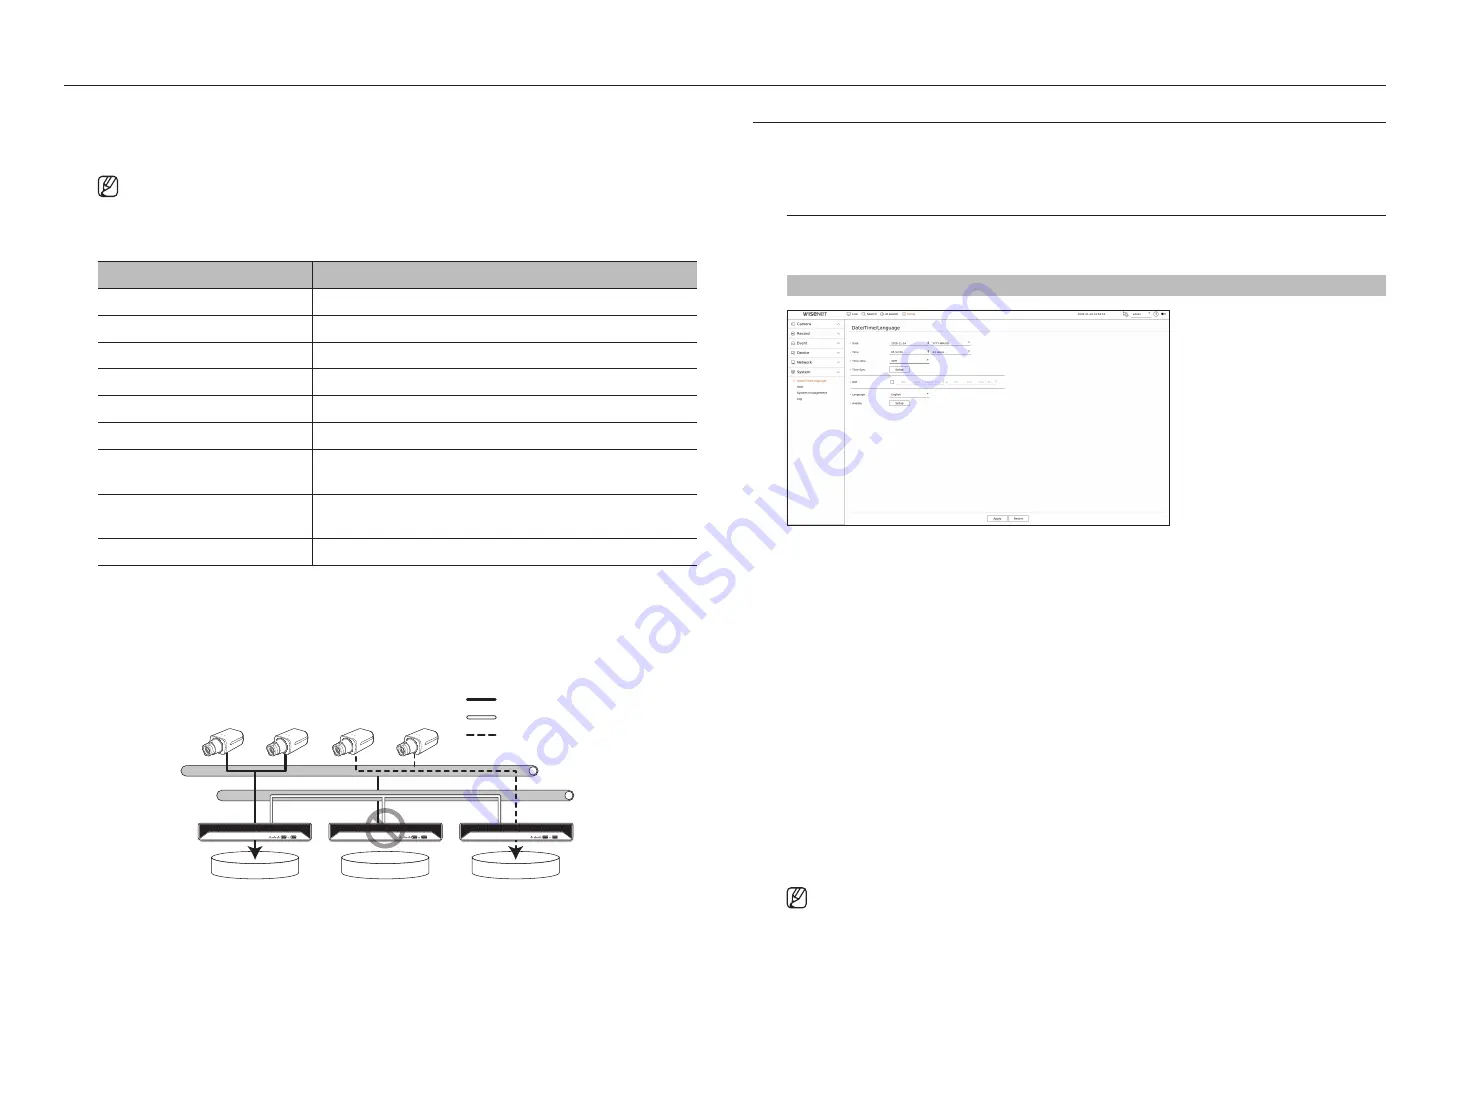
example of setting up failover
– Subnet 1
➡
Network 1 (Camera)
– Subnet 2
➡
Network 2 (Viewer)
– Subnet 3
➡
Network 3 (iSCSI)
Subnet 1
Active
Active
Standby
Subnet 2
Recording Stream
Failover Monitoring
Fake Recording Stream
Setting the SyStem
You can set the date, language, authority, etc. displayed when using the system, and query system information or log
information.
Date/time/Language
You can check and setup the current Date/Time and time related properties, as well as the language used for the
interface on the screen.
Setup > System > Date/time/Language
●
Date : Sets the date and its format that will appear on the screen.
●
Time : Sets the time and its format that will appear on the screen.
●
Time zone : Sets the time zone of your area based on the Greenwich Mean Time (GMT).
■
GMT (Greenwich Mean Time) is standard World Time and the basis of world time zone.
●
Time sync : Specify the use of synchronization with the time server.
Click the <
Setup
> button to display time synchronization setup screen.
If you enable <
Synchronize with ntp server
>, the current time of the recorder is synchronized by the server
specified in <
ntp server address
>, and the time information cannot be manually changed.
– Synchronize with NTP server : Specify the use of synchronization with the time server.
– NTP server address : Enter an IP or URL address of the time server.
– Last sync : Displays the most recent synchronization time from the selected time server.
– Enable as NTP server : If you select <
enable
>, this recorder will act as a time server for another recorder or
network camera.
●
DST : Set up Daylight Saving Time with its period to make the time earlier than the GMT of its time zone by 1
hour during the set period.
●
Language : Select your language. Sets the language for the interface.
■
Depending on the location of the product release, the language and standard time setup may vary.
Содержание PRN-1600B2
Страница 1: ...NETWORKVIDEO RECORDER User Manual Wisenet NVR ...
Страница 129: ......


