SmartPAC 2 with WPC 2000 Integration User Manual
1128600
Installation
2-55
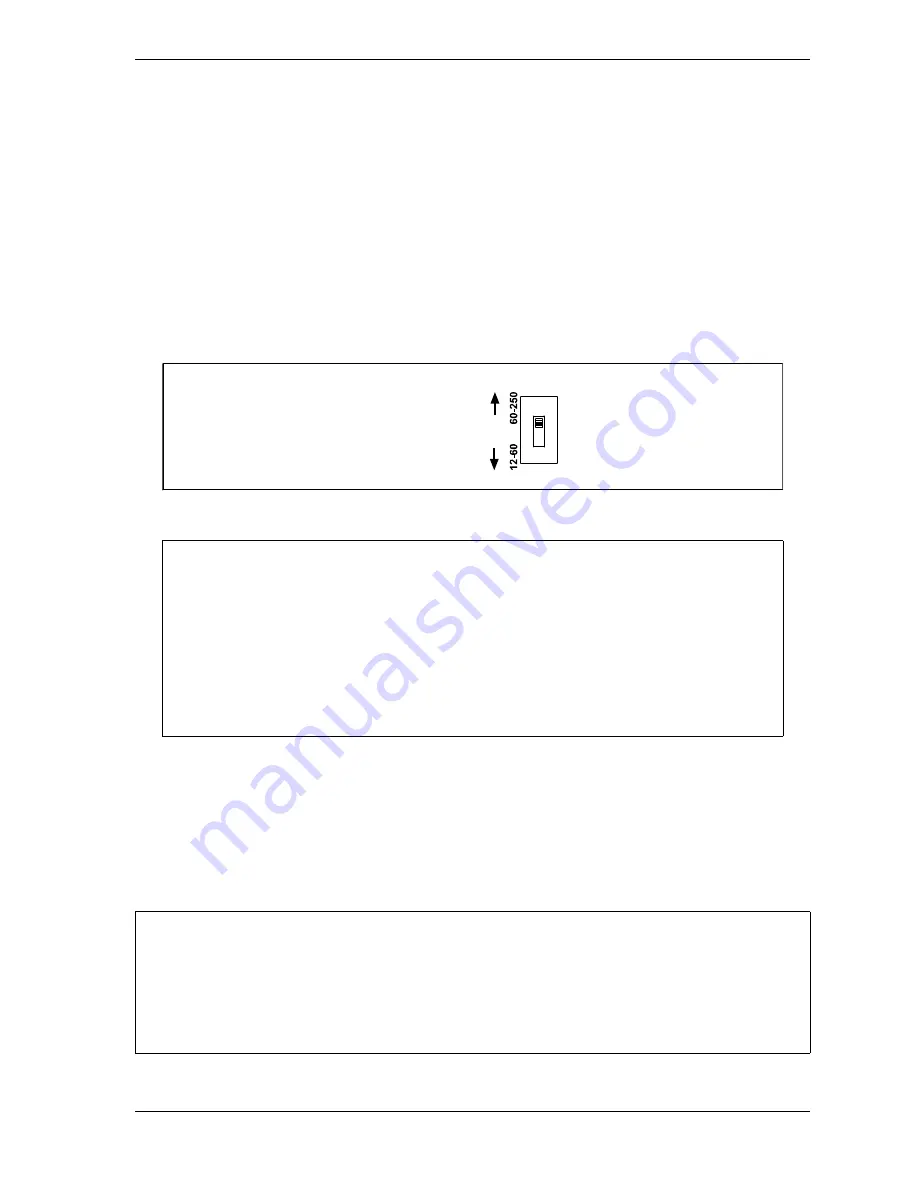
Setting the Input Check Voltage Switch
When the input check circuit is wired as shown in Table 2-17, page 2-54, do the following:
1.
Find the input check voltage switch, S101, on the SmartPAC 2 board (see Figure 2-25,
page 2-51). It is located on the right side of the board just beneath the E-stop relays.
2.
Place S101 in the Down position.
When the input check circuit is wired directly in parallel with the coil of the dual safety valve,
do the following:
1.
For a coil voltage of 60-250V, the switch should be placed in the Up position, the factory
setting; for 12-60V coil voltage, place the switch in the Down position.
Connecting SmartPAC 2 to a Network
Before you can connect SmartPAC 2 to a computer network, your network administrator must
make the necessary connections and settings.
The Ethernet cable is plugged into the Ethernet connector on the SmartPAC 2 board (see
Figure 2-25, page 2-51).
Figure 2-27. Input Check Switch (S101)
HOW THE INPUT CHECK CIRCUIT DETECTS RESOLVER CHAIN BREAKAGE
When the dual safety valve relay is energized by the press control to start the press,
voltage is produced in the input check circuit. This signals SmartPAC 2 to initiate a stroke
at the press. If SmartPAC 2 gets no signal from the resolver within the specified start time
limit (resolver not turning), SmartPAC 2 opens the Emergency-stop circuit and a “loss of
rotation” fault message is displayed on the LCD. The fault indicates that the resolver belt
or chain is broken or so loose that the resolver shaft cannot move. Other possible reasons
for the fault are low air pressure to the clutch or a bad clutch.
SETTING STATIC IP ADDRESS
SmartPAC 2 comes from the factory set up for a Dynamic Host Configuration Protocol (DHCP)
network, which automatically assigns IP addresses. If your network requires static IP addresses,
have your network administrator call Wintriss Tech. Support for assistance in setting up SmartPAC
2 with a static IP address. See
S101
Push switch down
for 12-60V
Push switch up
for 60-250V
NOTICE
NOTICE
Содержание SmartPAC 2
Страница 2: ......
Страница 4: ......
Страница 6: ......
Страница 28: ...1128600 SmartPAC 2 with WPC 2000 Integration User Manual xxii Table of Contents ...
Страница 44: ...1128600 SmartPAC 2 with WPC 2000 Integration User Manual 1 16 Introduction ...
Страница 186: ...1128600 SmartPAC 2 with WPC 2000 Integration User Manual 3 26 Keyboard Displays Etc ...
Страница 440: ...1128600 SmartPAC 2 with WPC 2000 Integration User Manual D 12 Updating SmartPAC 2 Firmware ...
Страница 478: ...1128600 SmartPAC 2 with WPC 2000 Integration User Manual G 6 Replacing SmartPAC 2 PC Board ...
Страница 548: ...1128600 SmartPAC 2 with WPC 2000 Integration User Manual GL 8 Glossary ...
Страница 558: ...1128600 SmartPAC 2 with WPC 2000 Integration User Manual IN 10 Index ...
Страница 560: ......
Страница 562: ......
Страница 564: ......
Страница 566: ......
Страница 568: ......
Страница 570: ......
Страница 572: ......
Страница 574: ......
Страница 576: ......
Страница 577: ......
Страница 578: ...APPROVALS SCALE C SIZE TITLE SHEET OF DRAWING NUMBER REV ...
Страница 579: ...APPROVALS SCALE C SIZE TITLE SHEET OF DRAWING NUMBER REV ...
Страница 580: ...APPROVALS SCALE C SIZE TITLE SHEET OF DRAWING NUMBER REV ...
Страница 581: ...APPROVALS SCALE C SIZE TITLE SHEET OF DRAWING NUMBER REV ...
Страница 582: ......
Страница 583: ......
Страница 584: ......
Страница 585: ......
Страница 586: ......
Страница 587: ......
Страница 588: ......
Страница 589: ......
Страница 590: ......
Страница 591: ......
Страница 592: ......
Страница 593: ......
Страница 594: ......
Страница 595: ......
Страница 596: ......
Страница 597: ......
Страница 598: ......
Страница 599: ......
Страница 600: ......
Страница 601: ......
Страница 602: ......
Страница 603: ......
Страница 604: ......


