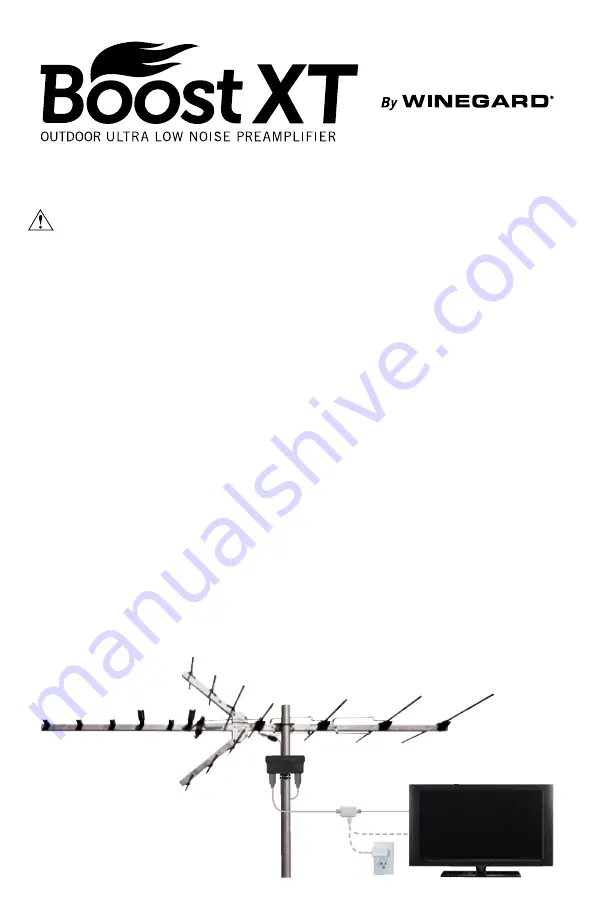
Power inserter
Antenna, mast, & HDTV not included
Setup
To prevent fire or shock hazard, do not expose the power inserter to moisture.
Do not install the power inserter outdoors; it is intended for indoor use only.
1. Using zip ties, mount the preamplifier to the mast with “winegard.com” facing up.
2. If using weatherproof connectors, it is not necessary to use the provided weather
boots. If not using weatherproof connectors, slide a boot on the coax cable
running from the antenna and on the coax cable that will run to the power
inserter. To slide the boots onto coax cable (not provided), the connectors must
not yet be installed on the cable, or an ‘X’ must be cut in the bottom of the boots.
3. On the preamplifier, connect the cable running from the antenna to the “ANT”
port and the cable that will run to the power inserter to the “TV” port. Leave
sufficient slack in the cable running from the antenna to form a drain loop. If
using weather boots, then push the boots over the boot collars of the preamplifier.
4. Route the coax cable running from the “TV” port of the preamplifier inside to
the power inserter, and connect to the “ANT/AMP” port of the power inserter.
5. Connect a coax cable from the “TV/TUNER” port of the power inserter to the
“Antenna In” port on the TV. If splitting the signal, it is recommended that the
power inserter be installed between the preamplifier and splitter (not provided).
6. Plug the mini USB into the “USB PWR” port of the power inserter.
7. Power the Boost XT preamplifier by plugging the regular USB into a USB port
on the TV or 110 V adapter. If the light on the power inserter does not turn on
when plugging in to a USB port on the TV, try plugging in to the USB port of
the 110 V adapter, and plug the 110 V adapter into a 110 V outlet.
8. Run a channel scan. Refer to general instructions on the back page.
2452296
Preamplifier


