WilTec 51073 Скачать руководство пользователя страница 1

Operation Manual

Mini Incubator

51073, 51269

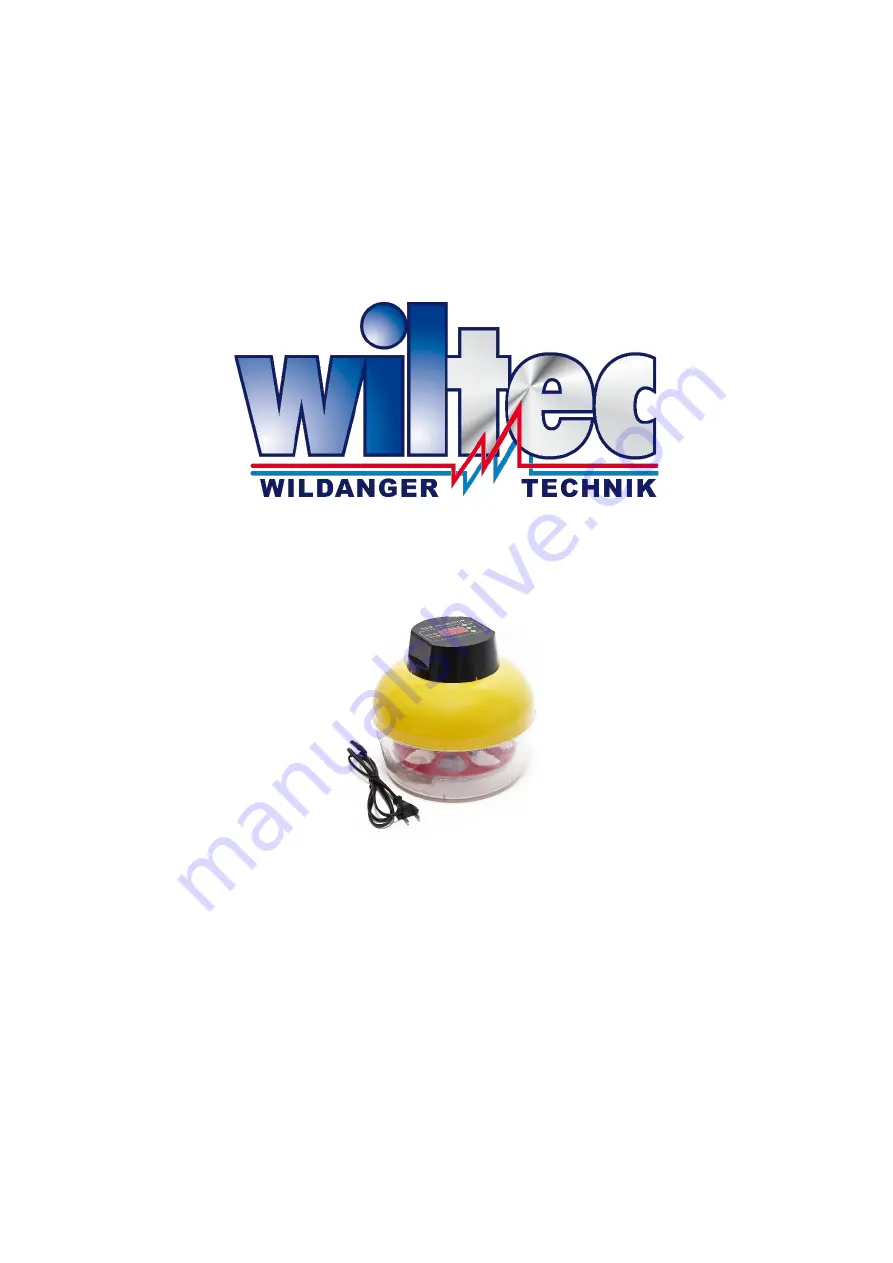
Similar to image, may vary depending on model

Read and follow the operating instructions and safety information before use.

Technical changes reserved!
Due to further developments, illustrations, functioning steps and technical data can differ slightly.

Содержание 51073

Страница 1: ...imilar to image may vary depending on model Read and follow the operating instructions and safety information before use Technical changes reserved Due to further developments illustrations functioning steps and technical data can differ slightly ...

Страница 2: ...uages can be found in our online shop via https www wiltec de docsearch Our postal address is WilTec Wildanger Technik GmbH Königsbenden 12 52249 Eschweiler Germany Do you wish to pick goods up Our pick up address is WilTec Wildanger Technik GmbH Königsbenden 28 52249 Eschweiler Germany To shorten the waiting time and allow for a rapid on site transaction we ask you to call us previously or placin...

Страница 3: ... by a qualified technician The rated voltage on the type label of 230 V AC needs to meet the existing mains voltage The device must never be lifted transported or attached from its electricity cable Ensure that the electrical plug connection is in an area protected from flooding and humidity Always pull the electricity plug before carrying out any work on the device Avoid exposing the device to a ...

Страница 4: ...ching eggs have been sent you via post they should rest for at least 24 hours before being placed into the incubator Important The eggs should be stored lying and need to be rotated halfway around their longitudinal axis at least once a day 2 When will the incubator be ready The incubator should run for at least 24 hours before placing any eggs into it If it is possible let the incubator run for a...

Страница 5: ...Does my thermometer show an exact value Thermometers are not exact Keeping the temperature constant can prove to be difficult even with good thermometers If you run a big incubator over a longer period of time you can optimise the tem perature regardless of what the thermometer states After the first breeding process the temperature can vary higher or lower With poultry If the hatching takes place...

Страница 6: ...hey should not become a fatal danger for the hatched chicks and reptiles 6 How long is the breeding time Poultry type Breeding time normal deviation 1 2 days Chicken 20 21 days Duck 28 days Pigeon 18 days Goose 30 days Quail 16 18 days 7 Poultry eggs When should I start to turn and at what frequency When do they not have to be turned any longer The incubator does not have an automatic turning mech...

Страница 7: ...s for the according connections and switchboards these need to be added Carefully use a sharp knife or small saw Open the incubator lid and remove all included parts except for the turning mechanism Inside the incubator lid you will find besides a thermometer and with item no 51269 an addi tional humidity sensor a connection point for the turning mechanism cable Plug the cable for the turning mech...

Страница 8: ...a sufficient amount of water When measuring the humidity via a hygrometer check it frequently Important There should be no water on the egg As this can have a negative impact on the hatching results Towards the end of the hatching process the poultry eggs must not be turned any longer The automatic turning mechanism needs o be switched off Therefore switch the turning frequency or duration to 0 se...

Страница 9: ...rly plugged into the according area The buttons are positioned the following from left to right green and round in the centre of the operat ing panel set and 0 Set This button allows to set the basic temperature of the incubator Press the button once adjusting the basic temperature parameter ID PP By selecting the and button you can set the desired temperature pressing the set button again will sa...

Страница 10: ...l show the individual parameter displayed as number letter combina tion parameter ID With the and buttons you can choose the various parameters If you wish to alter a parameter push the set button then alter the value up or down ward via the and buttons Pushing the set button again will save the changes Turning para meters Parameter ID Adjustment range Standard setting Note Turning fre quency F1 0...

Страница 11: ...or has three buttons which are required for the operation of the incubator The buttons and their possible combinations will be explained in the following paragraph Before operating the incub ator ensure that it is properly plugged into the according area The buttons are positioned the following from left to right green and round in the centre of the operat ing panel set and 1 Set This button allow...

Страница 12: ...uttons you can choose between the various parameters If you wish to alter a parameter push the set button and change the set value up and down via the and buttons Pushing the set button gain will save the alterations made Finer paramet ers Parameter ID Adjustment range Standard set ting Note Alarm too high temperature P1 0 99 9 38 8 Heating stop P2 0 99 9 37 8 Please note that the radiator will sw...

Страница 13: ...n adjusting to 0 no turn ing takes place Turning dura tion F2 0 999 sec 10 sec When adjusting to 0 no turn ing takes place Display of days F3 0 200 days 01 day With every new breeding pro cess this needs to be switched back to 0 Table 5 Adjustment of the turning via the set and buttons 4 and Holding both pushed for a longer duration approx 8 seconds will reset the incubator back to factory setting...

Страница 14: ...ectricity follow the instructions of the manufacturer b See 1 g b See 1 g 3 Broken egg shells a See 2 a a See 2 a b Eggs were not turned properly b Turn the eggs frequently at least 4 5 times a day always turn them into the op posite direction c Inefficient feeding if the death rate is high on days 10 and 14 c Check the feeding d Ventilation of the incubator faulty d Increase the air flow by norma...

Страница 15: ...gs Troubleshooting technical problems Problem Possible reason Measures 1 The display has a loose contact does not shown anything a Plug is not connected properly to the incubator a Check the plug and push it into the incubator again b Plug is not properly connected to the socket b Reconnect the plug to the socket and check the placing of the socket c Too little voltage c Connect the incubator to a...

Страница 16: ...item must not be treated as normal household waste but must be disposed of at a recycling collection point for electronic and electrical waste equipment By contributing to the correct disposal of this item you help protect the environment and the health of fellow human beings The environment and the health of liv ing beings are threatened by inappropriate disposal Recycling materials helps reduce ...

Отзывы: