CANopen gateway
Wieland Electric GmbH | BA000970 | 07/2019 [9855]
128
CANopen configuration of the gateway - how the data are transferred
78571659
NOTICE
This documentation does not address the installation of the CANopen network or the other com-
ponents of the automation system project in the network configuration tool. It is assumed that the
CANopen project in the configuration program, e.g. 3S Software CoDeSys 2.x, has already been set
up. The examples presented are based on configurations created with the help of CoDeSys 2.3.
The following steps are required to configure the communication between the PLC and the gateway.
Step 1: Install the electronic data sheet (EDS file)
Before the SP-CANopen module can be used for the first time as equipment in the network configu-
ration tool, e.g. CoDeSys 2.3, the electronic data sheet (EDS file) of the gateway must first be instal-
led in the hardware catalog of the tool.
Download the EDS file and the equipment symbol from the product site of the SP-CANopen mo-
dule (https://eshop.wieland-electric.com/).
Follow the instructions for the installation of EDS files in the online help section or in the user
manual for the CANopen network configuration tool.
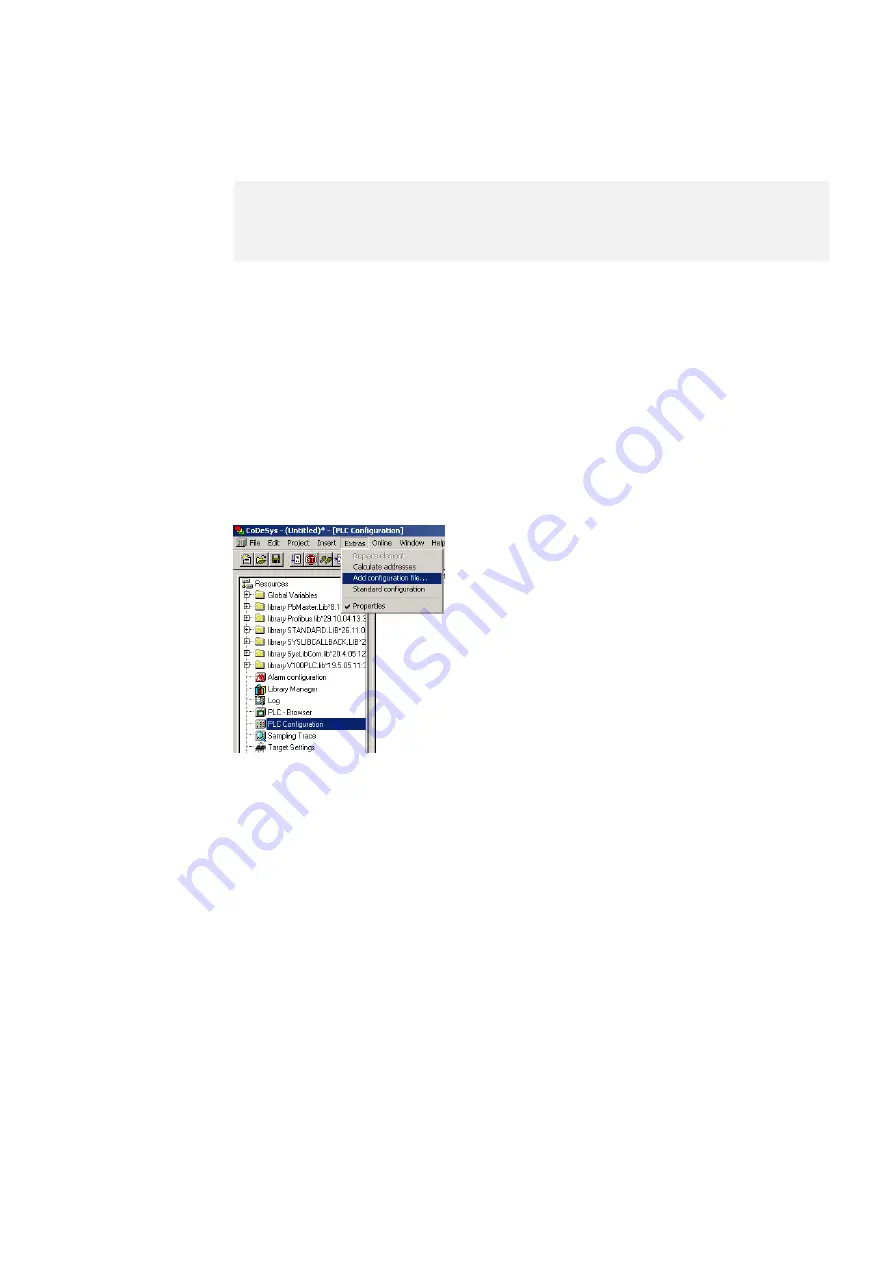
Example – How to install the EDS file with CoDeSys 2.3:
Open the window for editing the
control configuration
.
Illustration 38: CoDeSys editing window for control configuration
Choose the command
Add configuration file...
from the Extras menu. A file selection window is
opened.
Select the EDS file of the SP-CANopen module and click the
Open
button.
Step 2: Add the gateway to the controls
To make the system of the samosPRO system available in the process diagram of the PLC, the gate-
way must first be added to the hardware configuration. The procedure to be used depends on the
hardware configuration software of the PLC used. Please also read the documentation for the cor-
responding software in this regard.
Open the window for editing the
control configuration
and select the controls.
Click the controller with the right mouse button or open the
Insert
menu.
10.2


