manualshive.com logo in svg
background image


1

IMPORTANT MANUAL 


Do Not Throw Away 

Save These Instructions  


Wardrobe valet 


Owners Manual 
Models CW-100- CW-200 
Closet Conveyor 
 

WARNING: Read this Manual and follow all Warnings and Safety 

Instructions.  Failure to do so can result in Injury.

Содержание CW-100

Страница 1: ... Do Not Throw Away Save These Instructions Wardrobe valet Owners Manual Models CW 100 CW 200 Closet Conveyor WARNING Read this Manual and follow all Warnings and Safety Instructions Failure to do so can result in Injury ...

Страница 2: ...ANY USER SERVICEABLE PARTS YOUR WARDROBE VALET CONVEYOR SHOULD NOT BE ADJUSTED OR REPAIRED BY ANYONE EXCEPT PROPERLY QUALIFIED SERVICE PERSONNEL For help with your conveyor please call White Conveyors Inc Field Service Department toll free at 1 800 524 0273 ...

Страница 3: ...E Important Safety Instructions 4 6 Product Specifications 7 Installation Instructions 8 17 Operation Instructions 17 Troubleshooting 18 Limited Warranty 19 Contact Information 19 ETL Certification 20 FCC Certification and Guidelines 22 ...

Страница 4: ...or plug Do Not Operate Wardrobe valet Conveyor if Remote control is damaged or does not function properly for example if conveyor chain does not move when button on Remote is pressed or does not Stop immediately when button on remote is Released DISCONNECT POWER CORD IMMEDIATELY IF CONVEYOR DOES NOT STOP WHEN BUTTON ON REMOTE CONTROL RELEASED To disconnect conveyor make sure that conveyor chain do...

Страница 5: ... for its intended use as described in this manual Keep power cord away from heated surfaces Do not immerse power cord or plug in water Your Wardrobe valet Conveyor must be grounded Connect only to properly grounded outlet DO NOT any circumstances cut or remove the third ground prong from power cord SEE GROUNDING INSTRUCTIONS on page To reduce the risk of injury close supervision is necessary when ...

Страница 6: ...ow stripes is the equipment grounding conductor Check with qualified electrician or serviceman if the grounding instructions are not completely understood or if in doubt as to whether the appliance is properly grounded DO NOT modify the plug provided with your Wardrobe valet Conveyor if it will not fit the outlet have a proper outlet installed by a qualified electrician Your Wardrobe valet Conveyo...

Страница 7: ...n ts with Shipping Number Lengt h Ft garme nts Weigh t CW 100 10 feet 4 Ft 6 00 Ft 4 Ft 150 Lbs CW 120 12 feet 6 Ft 8 00 Ft 4 FT 160 Lbs CW 140 14 feet 7 Ft 9 00 Ft 4 FT 180 Lbs CW 160 16 feet 8 Ft 10 00 Ft 4 FT 200 Lbs CW 180 18 feet 9 Ft 11 00 Ft 4 FT 220 Lbs CW 200 20 feet 10 Ft 12 00 Ft 4 FT 260 Lbs ...

Страница 8: ...ION INSTRUCTIONS 1 Open and inspect the package upon arrival The package should include the following components Conveyor with motor and chain frames assembled 2 legs Leg clips Plastic strip to cover holes in legs ...

Страница 9: ...om the packaging This operation would normally be performed by two persons CAUTION The conveyor is heavy and the machine is heavier on the sprocket side 3 Remove the legs from the packaging Also strip the plastic covering off the package ...

Страница 10: ...e legs and insert the top section in the bottom section Insert the locking pins in both legs Once the legs are positioned this will be released to raise the conveyor 5 Position the conveyor to be able to mount the legs ...

Страница 11: ...11 Example of the proper positioning of the leg in the upper assembly and proper pin placement Side view of pin placement in the upper assembly ...

Страница 12: ...of the drive sprocket 6 Conveyor should then be lifted by two men and both legs should be positioned and secured WARNING Conveyor must be installed so the distance from floor to the lowest point of conveyor chain must be 6 Ft or greater ...

Страница 13: ...13 Example View of the wheel and chain assembly on the conveyor Example Proper hanging position of the drop rods ...

Страница 14: ...Left Side view of proper locking pin placement Example Right side view of proper locking pin placement Example View of rear sway brace for machine Should be positioned against the wall and secured with a lag screw ...

Страница 15: ...15 View of drop rods being attached to the Wardrobe valet Attachment of lower garment rods ...

Страница 16: ...hain press the right hand button on your wireless control and the conveyor will rotate to the right To stop release the button To move the conveyor in the left direction press and hold the left button To stop release the button If you need to reverse direction press the opposite button and the conveyor will move after short time delay Conveyor will stop when either button is released ...

Страница 17: ...e sure that conveyor chain and sprocket are not jammed by foreign objects Make sure that there is power in your grounded outlet box Make sure that conveyor electrical grounded plug is connected to grounded outlet box WARNING Do Not Operate Wardrobe valet Conveyor if Remote control is damaged or does not function properly for example if conveyor chain does not move when button on Remote is pressed ...

Страница 18: ...ackage cannot be processed All returns must be shipped to WCI freight prepaid Other than UPS all warranty replacements will be returned to the customer freight collect Please contact our Customer Service Department at 1 800 524 0273 to request an RAN number This limited warranty does not cover parts failure due to the customer s negligence abuse misuse or lack of use of the recommended maintenance...

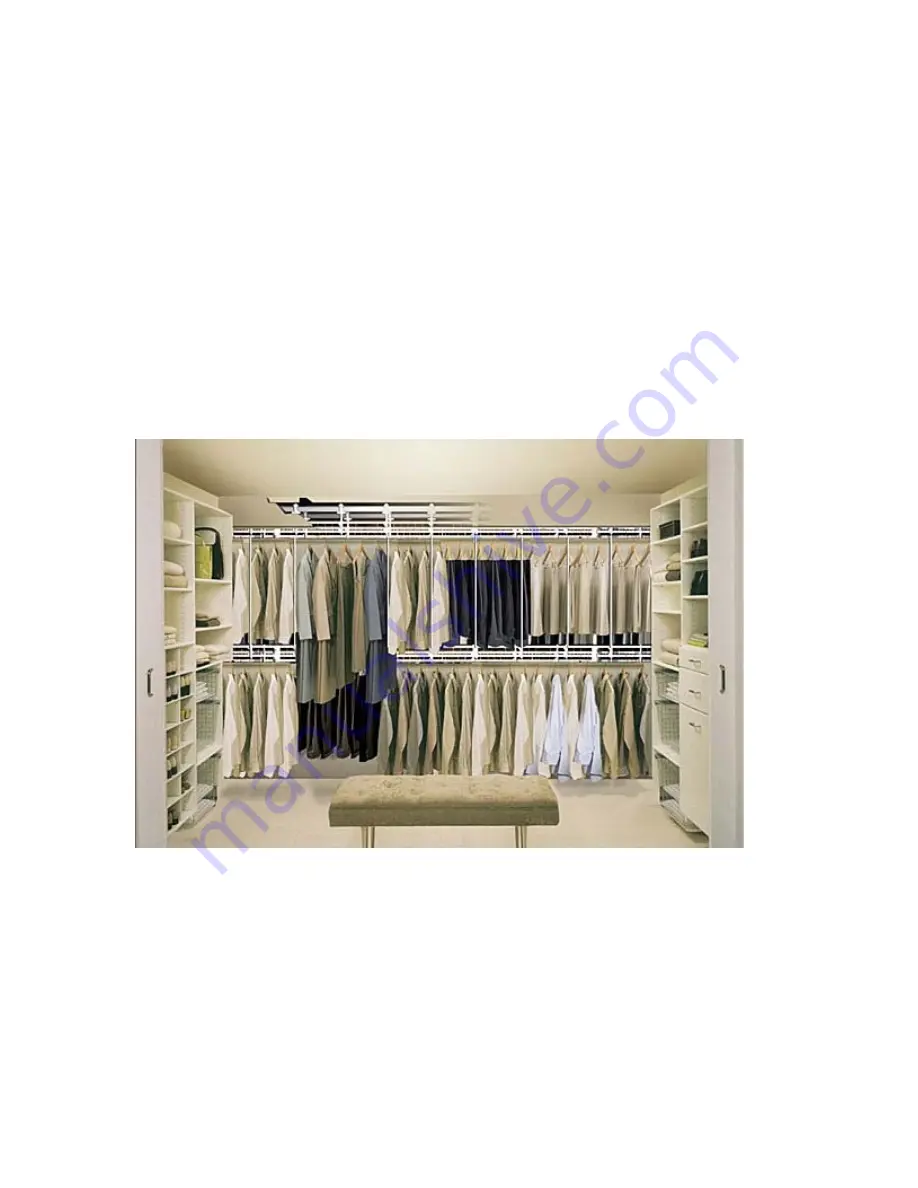
Страница 19: ...19 ...

Страница 20: ...f the FCC Rules These limits are designed to provide reasonable protection against harmful interference in a residential installation This equipment generates uses and can radiate radio frequency energy and if not installed and used according to the instructions may cause harmful interference to radio communications However there is no guarantee that interference will not occur in a particular ins...

Отзывы: