PRINTED IN U.S.A.
P. O. BOX 1386, 97 KENT AVENUE, KITCHENER, ON N2G 4J1
772C0801
(12/05)
Operator’s Manual
IMPORTANT: READSAFETY RULES ANDINSTRUCTIONS CAREFULLY
Automatic Lawn
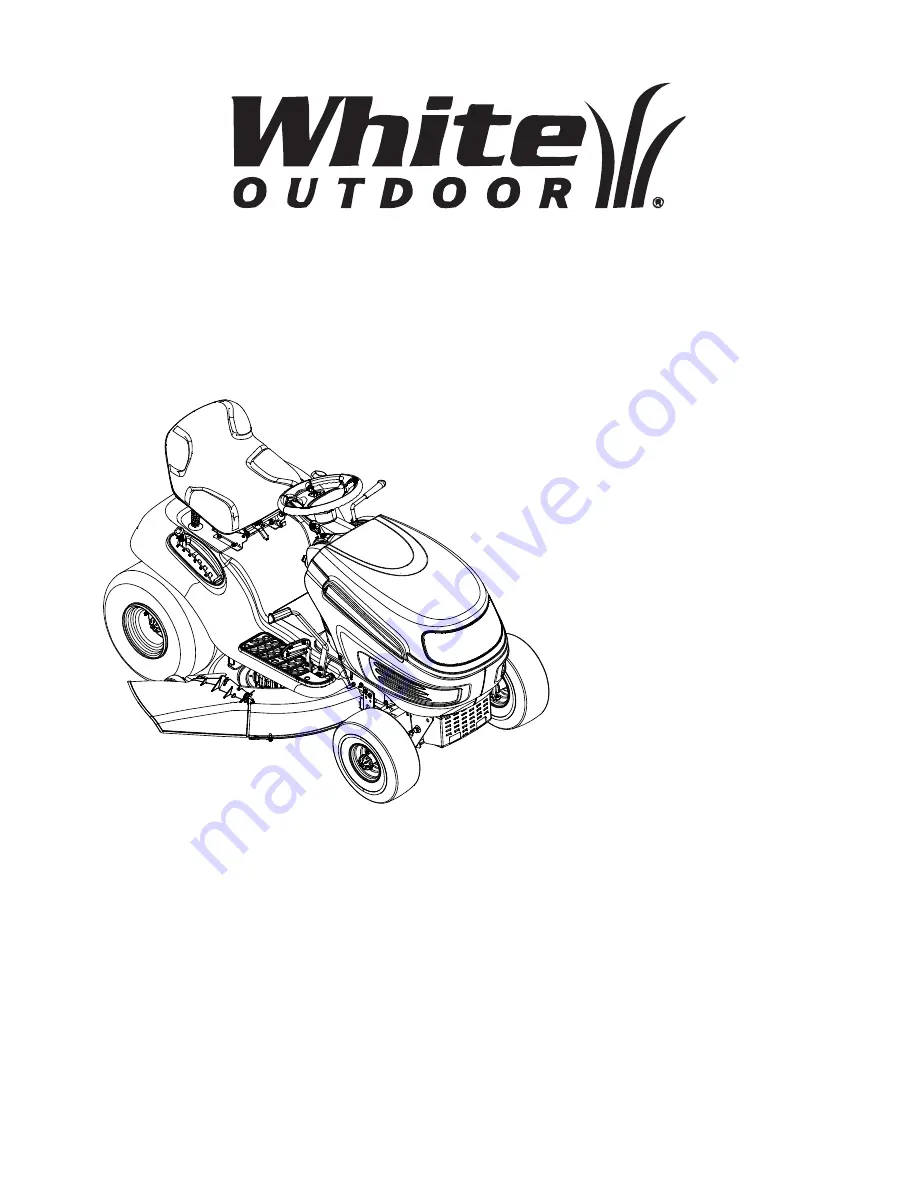
TractorModels: LT-542K
LT-942K LT-946K
Страница 1: ...NTED IN U S A P O BOX 1386 97 KENT AVENUE KITCHENER ON N2G 4J1 772C0801 12 05 Operator s Manual IMPORTANT READ SAFETY RULES AND INSTRUCTIONS CAREFULLY Automatic Lawn Tractor Models LT 542K LT 942K LT 946K ...
Страница 2: ...ng specifications warranty and service Please refer to the engine manufacturer s Owner s Operator s Manual packed separately with your unit for more information CALLING CUSTOMER SUPPORT If you have difficulty assembling this product or have any questions regarding the controls operation or maintenance of this unit please call your service dealer Please have your unit s model number and serial numb...
Страница 3: ...or 8 Always wear safety glasses or safety goggles during operation and while performing an adjustment or repair to protect your eyes Thrown objects which ricochet can cause serious injury to the eyes 9 Wear sturdy rough soled work shoes and close fitting slacks and shirts Loose fitting clothes and jewelry can be caught in movable parts Never operate this machine in bare feet or sandals 10 Be aware...
Страница 4: ...the manufacturer s recommendations for wheel weights or counterweights to improve stability 5 Use extra care with grass catchers or other attachments These can change the stability of the machine 6 Keep all movement on the slopes slow and gradual Do not make sudden changes in speed or direction Rapid engagement or braking could cause the front of the machine to lift and rapidly flip over backwards...
Страница 5: ...el machine indoors g Never remove gas cap or add fuel while the engine is hot or running Allow engine to cool at least two minutes before refueling h Never over fill fuel tank Fill tank to no more than inch below bottom of filler neck to allow space for fuel expansion i Replace gasoline cap and tighten securely j If gasoline is spilled wipe it off the engine and equipment Move unit to another area...
Страница 6: ...th original equipment manufacturer s O E M parts only listed in this manual Use of parts which do not meet the original equipment specifications may lead to improper performance and compromise safety 12 Do not change the engine governor settings or over speed the engine The governor controls the maximum safe operating speed of the engine 13 Maintain or replace safety and instruction labels as nece...
Страница 7: ... E N T I N G A 1 5 S L O P E DANGER Do not mow on inclines with a slope in excess of 15 degrees a rise of approximately 2 1 2 feet every 10 feet A riding mower could overturn and cause serious injury If operating a walk behind mower on such a slope it is extremely difficult to maintain your footing and you could slip resulting in serious injury Operate RIDING mowers up and down slopes never across...
Страница 8: ...s located under the hood and has a capacity of either two or three gallons Do not overfill WARNING Use extreme care when handling gasoline Gasoline is extremely flammable and the vapors are explosive Never fuel machine indoors or while the engine is hot or running Extinguish cigarettes cigars pipes and other sources of ignition Service the engine with gasoline and oil as instructed in the separate...
Страница 9: ...icable instructions NOTE For shipping reasons seats are either fastened to the tractor seat s pivot bracket with a plastic tie or mounted backward to the pivot bracket In either case free the seat from its shipping position and remove the two hex screws or knobs on models so equipped from the bottom of seat before proceeding with applicable instructions below Quick Adjustment Seat NOTE If your sea...
Страница 10: ...brake pedal is located on the right front side of the tractor above the drive pedal along the running board The brake pedal can be used for sudden stops or setting the parking brake NOTE The brake pedal must be fully depressed to activate the safety interlock switch when starting the tractor KNOB ADJUSTMENT Knobs Shoulder Opening Pivot Bracket in Slot Screws Slow Choke Fast Position Position Posit...
Страница 11: ...ator Monitor Hour Meter H Cruise Control Button B PTO Blade Engage Lever I Ignition Switch Module PTO Blade Engage Knob J Brake Pedal C Choke Knob K Drive Pedal D Parking Brake Button L Deck Lift Lever E Shift Lever M Seat Adjustment Lever F Cup Holder N Cargo Net optional G Throttle Lever I G A D H E F L K J M NOTE Steering Wheel not shown for clarity P 1 10 P B B C N ...
Страница 12: ...Located in the center of the tractor s console the systems indicator monitor records and displays on its LCD hours of tractor operation whenever the ignition key is rotated out of the STOP position The indicator Monitor will also remind the oeprator of maintenacne intervals for chaning the engine oil The LCD will alternately flash the recorded hours CHG and OIL for five minutes after every 50 hour...
Страница 13: ...d release the seat adjustment lever to lock the seat in place Refer to Seat Adjustment of this manual for more detailed instructions Deck Lift Lever Found on your tractor s right fender the deck lift lever is used to change the height of the cutting deck To use move the lever to the left then place in the notch best suited for your application Parking Brake Button To set the parking brake fully de...
Страница 14: ...age lever is moved into the engaged ON position with the shift lever in Reverse Models with Electric PTO Blade Engage The electric PTO Blade Engage clutch will automatically shut off if the operator leaves the tractor s seat with the PTO Blade Engage knob in the engaged ON position regardless of whether the parking brake is engaged With the ignition key in the NORMAL MOWING position the electric P...
Страница 15: ...of the cutting deck by placing the deck lift lever in any of the six different cutting height notches on the right side of the fender Then adjust the deck wheels so that they are between inch and inch above the ground when the tractor is on a smooth flat surface such as a driveway WARNING Keep hands and feet away from the discharge opening of the cutting deck NOTE The deck wheels are an anti scalp...
Страница 16: ... serious injury Mow up and down slopes NEVER across Exercise extreme caution when changing direction on slopes Watch for holes ruts bumps rocks or other hidden objects Uneven terrain could overturn the machine Tall grass can hide obstacles Avoid turns when driving on a slope If a turn must be made turn down the slope Turning up a slope greatly increases the chance of a roll over Avoid stopping whe...
Страница 17: ... with the engine at full throttle Under heavier conditions it may be necessary to go back over the cut area a second time to get a clean cut Do NOT attempt to mow heavy brush and weeds and extremely tall grass Your tractor is designed to mow lawns NOT clear brush Keep the blades sharp and replace the blades when worn Refer to Cutting Blades of this manual for proper blade sharpening instructions M...
Страница 18: ...o raise the front of the deck loosen the lock nut s to lower the front of the deck Figure 13 Retighten the jam nut s loosened earlier when proper adjustment is achieved Side to Side If the cutting deck appears to be mowing unevenly a side to side adjustment can be performed Adjust if necessary as follows With the tractor parked on a firm level surface place the deck lift lever in the top notch hig...
Страница 19: ...ent If the tractor turns tighter in one direction than the other or if the ball joints are being replaced due to damage or wear the steering drag links may need to be adjusted Adjust the drag links so that equal lengths are threaded into the ball joint on the left side and the ball joint on the right side Loosen the jam nut found on the drag link at the rear of the ball joint See Figure 16 Figure ...
Страница 20: ... the pre cleaner if so equipped and cartridge air cleaner element as instructed in the separate engine manual packed with your unit Spark Plug s The spark plug s should be cleaned and the gap reset once a season Spark plug replacement is recommended at the start of each mowing season Refer to the separate engine manual for correct plug type and gap specifications Lubrication WARNING Before lubrica...
Страница 21: ...ft side of the deck See Figure 18 Figure 18 Pull the deck support pin outward to release the deck from the deck lift arm Rotate the pin slightly toward the rear of the tractor and release the pin into the hole provided Repeat the above steps on the tractor s right side Move the deck lift lever into the top notch on the right fender to raise the deck lift arms up and out of the way NOTE Models with...
Страница 22: ...f the good battery then to the frame of the unit with the dead battery WARNING Failure to use this procedure could cause sparking and the gas in either battery could explode Cleaning Clean the battery by removing it from the tractor and washing with a baking soda and water solution If necessary scrape the battery terminals with a wire brush to remove deposits Coat terminals and exposed wiring with...
Страница 23: ...e belt and the pulley while removing the belt All belts on your tractor are subject to wear and should be replaced if any signs of wear are present IMPORTANT The V belts found on your tractor are specially designed to engage and disengage safely A substitute non OEM V belt can be dangerous by not disengaging completely For a proper working machine use factory approved belts To change or replace th...
Страница 24: ...act wrench in order to change the tractor s drive belts See an authorized dealer to have your drive belts replaced Figure 21 EFT AND 3PINDLE 0ULLEY DLER 0ULLEYS 2IGHT AND 3PINDLE 0ULLEY NGINE 0ULLEY v ECK MANUAL 04 SHOWN ECK DLER 0ULLEY NGINE 0ULLEY 04 DLER RACKET 04 ELT 4OP ECK ELT OTTOM v ECK MANUAL 04 SHOWN ...
Страница 25: ...hine or fuel container indoors where there is an open flame spark or pilot light such as on water heater furnace clothes dryer or other gas appliance SECTION 10 ATTACHMENTS ACCESSORIES Belt Guard Idler Bracket 3 8 Square Hole Belt Guard Idler Bracket 3 8 Square Hole MODEL DESCRIPTION OEM 190 118 46 inch Deck Mulch Kit OEM 190 193 50 inch Deck Mulch Kit OEM 190 182 Twin Bagger Grass Collector for 4...
Страница 26: ...Replace fuel filter if so equipped Clear vent or replace cap if damaged Drain fuel tank Refill with clean fresh less than 30 days old gasoline Replace air cleaner cartridge element or clean pre cleaner if so equipped Engine overheats Engine oil level low Air flow restricted Fill crankcase with proper capacity and weight of oil Clean grass clippings and debris from around the engine s cooling fins ...
Страница 27: ...ustments clutch adjustments deck adjustments and normal deterioration of the exterior finish due to use or exposure d Service completed by someone other than an authorized service dealer e MTD does not extend any warranty for products sold or exported outside of the United States and or Canada and their respective possessions and territories except those sold through MTD s authorized channels of e...