background image

Содержание RF306BXP

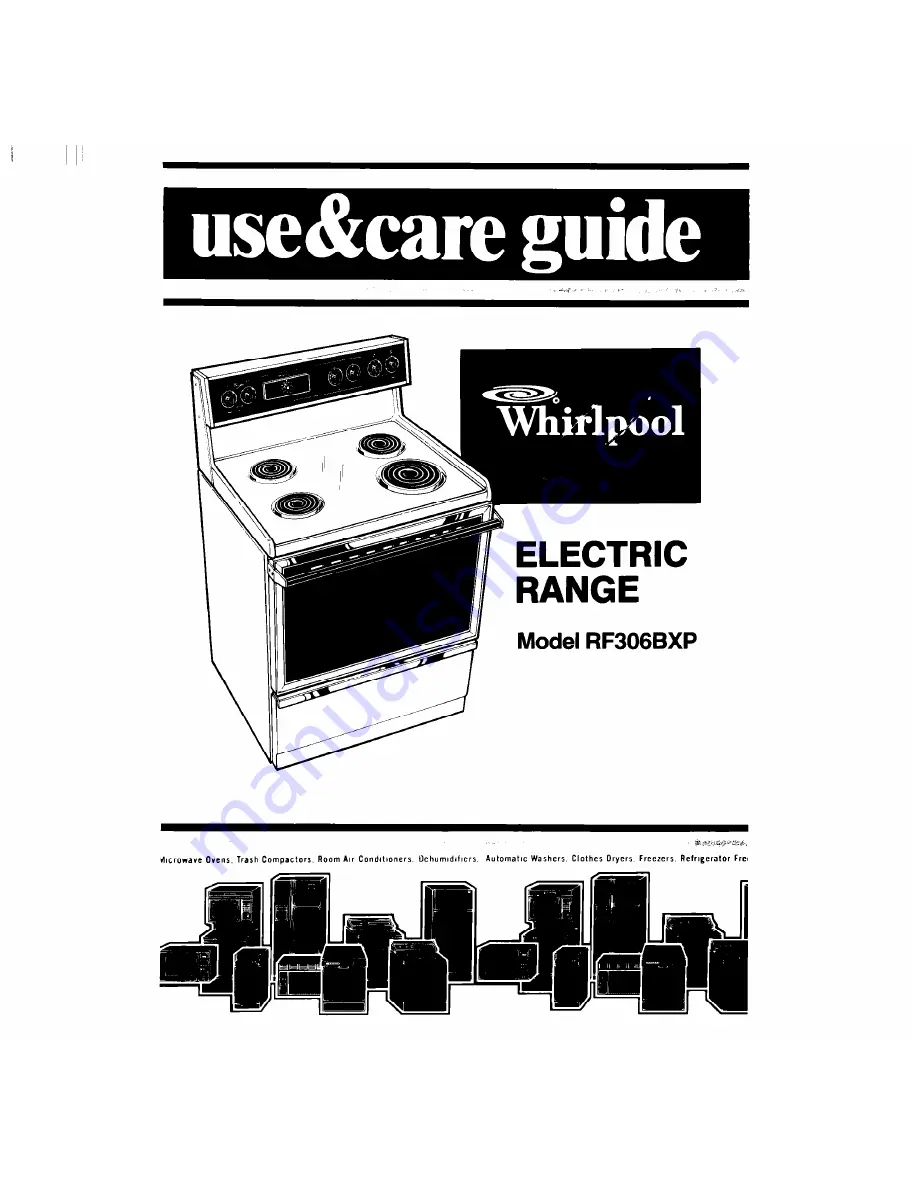
Страница 1: ...is i t sli n d crowave Ovens Trash Compactors Room Air Condllmnets Uehumldlflers Automatic Washers Clothes Dryers Freezers Refrlgeralor Fret ...

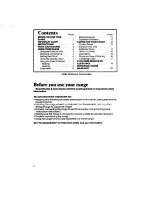
Страница 2: ...NTY 20 01986 Whirlpool Corporation Before you use your range Read thls Use Care Guide and lhe Cooklng Gulde for Important safety Information You are personally responsible for l Reading and following ail safety precautions in this Use Care Guide and the Cooking Guide l Installing me range where it is protected from the elements and on a floor strong enough to support its weight l Properly connecti...

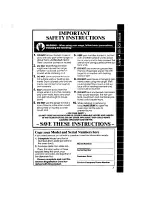
Страница 3: ...it is on The cooktop 9 DO NOT heat unopened containers and oven walls racks and door They could explode The hot con can get hot enough to cause tents could burn and container par burns ticies could cause injury i DO NOT use therange to heat a room Persons in the room could 10 When adding or removing food MAKE SURE to open the be burned or injured or a fire oven door ail the way to could start prev...

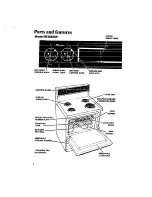
Страница 4: ...6BXP CLOCK MINUTE TIMER LEFT CONTROL KNOB CONTROL PANEL PLUG IN SURFACE UNIT OVEN VENT PIECE CHROME EFLECTOR BOWL MODEL AND SE NUMBER PLATE STANDARD I II I OVEN I SILICONE HEAT SEAL REMOVABLE STORAGE DRAWER LITERATURE PAC not shown ...

Страница 5: ... gulde For best results start cooking at the high settings then turn the control knob down to continue cooking I Use HI to start Use MED HI Use MED Use MED LO Use LO to foods cook to hold a for gravy to keep food keep food ing to bring rapid boil to puddings cooking after warm until liquids to a fry chicken and icing to starting it ready to boil or pancakes cook large on a higher serve Set the amo...

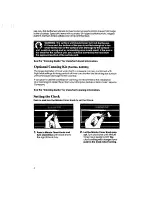
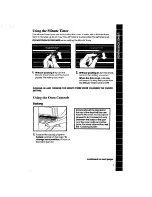
Страница 6: ... can shorten the life of regular surface units and cause damage to the cooktop If you plan to use the cooktop for canning we recommend the installation of a Canning Kit Order the kit from your Whirlpool Dealer or Tech Care Service Company See the Cooking Guide for important canning information Setting the Clock Push in and turn the Minute Timer Knob to set the Clock 1 Push in Minute Timer Knob and...

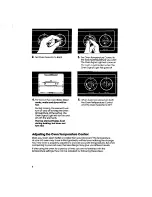
Страница 7: ... setting you want When the time is up a buzzer will sound To stop the buzzer turn the Minute Timer hand to OFF PUSHING IN AND TURNING THE MINUTE TIMER KNOB CHANGES THE CLOCK SETTING Using the Oven Controls Baking 1 Position the rack s properly before turning on the oven To change rack posttlon lift rack at front and pull out Rack s should be placed so the top of the food will be cen tered in the o...

Страница 8: ...preheated when the Oven Signal Light first goes off 5 When baking is done turn both the Oven Temperature Control and the Oven Selector to OFF Adjusting the Oven Temperature Control Does your oven seem hotter or colder than your old oven The temperature of your old oven may have shifted gradually without your noticing the change Your new oven is properly adjusted to provide accurate temperatures Bu...

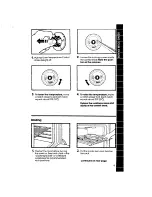
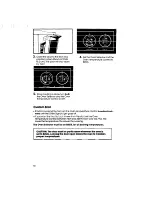
Страница 9: ...en on See broil CnQrt in the Cooking Guide or a reliable cookbook for recommended rack positions 2 Loosen the locking screws inside the control knob Note the posi tion of fhe notches 4 To mise fhe fempemfure move a notch closer to HI Each notch equals aboutlO F 5 C I Tlghfen fhe locking screws and replace fhe control knob I 2 Put the broiler pan and food on 1 the rack continued on next page I ...

Страница 10: ... is cooking too fast turn the Oven Temperature Control counferclock wise until the Oven Signal Light goes off l If you want the food to broil slower from the start set the Oven Temperature Control between 150 and 325 F 65 5 and 162 7 The lower the temperature the slower the cooking The Oven Selector must be on BROIL for all broiling temperatures CAUTION The door must be partly open whenever the ov...

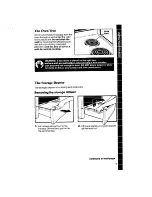
Страница 11: ...wl with foil or by storing oversized pans on it Use this and all surface units for normal cooking The Storage Drawer The storage drawer is for storing pots and pans Removing the storage drawer 1 Pull drawer straight out to the first stop Lift front and pull out to the second stop 2 Lift back slightly and slide drawer all the way out I continued on nexf page ...

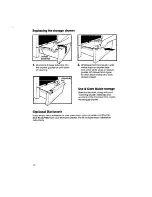
Страница 12: ... white stops on drawer guides Lift drawer front again to clear second stop and slide drawer closed Use Care Guide storage Store this booklet along with your Cooking Guide sales slip and warranty in the Literature Pat inside the storage drawer If you would like a rotisserie for your lower oven you can order a kit Part No RCK 81 242985 from your Whirlpool Dealer The kit includes easy installation in...

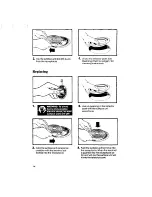
Страница 13: ...ol panel Rinse and wipe dry 3 Wash control knobs in worm soapy water Rinse well and dry 4 Push control knobs straight bock on Make sure they point to OFF Surface Units and Reflector Bowls t 1 2 Lift the edge of the unit opposite the receptacle just enough to clear the reflectnr howl _ continued on next page ...

Страница 14: ...ions 2 Line up opening in the reflector bowl with the surface unit receptacle 3 Hold the surface unit as level as possible with the terminal just started into the receptacle 4 Push the surface unit terminal into the receptacle When the terminal is pushed into the receptacle OS for as it will go the surface unit will fit into the reflector bowl 14 ...

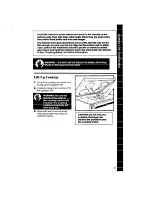
Страница 15: ...lat enough or some may be too large for the surface unit In either case some of the heat that s meant to go Into or around a utensil goes down and heats the reflector bowl lhls extra heat can discolor it See Cooking Guide for further Information Lift Up Cooktop 1 Lift front of cooktop at center and swing up the support rod 2 Carefully lower the cooktop onto the support rod 3 Wipe with worm soapy w...

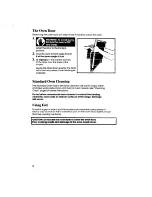
Страница 16: ...e hand cleaned Use worm soapy water and steel wool pods and a commercial oven cleaner See Cleaning Chart page for further instructions Do not allow commercial oven cleaner to contact the heating elements oven seals or exterior surfaces of the range Damage will occur Using Foil To catch sugar or starch spills from pies and casseroles use a piece of heavy duty aluminum foil or a shallow pan on the l...

Страница 17: ...nsils wool pad Control knobs Warm soapy water and soft cloth Wash rinse and dry well l Do not soak Control panel Warm soapy water or spray glass cleaner 9 Wash rinse and dry well l Follow directions provided with cleaner Oven racks Warm soapy water or soaDy steel wool Dads l Wash rinse and dry Use soapy steel 1 wool Dads for stubborn areas I Oven door glass Standard oven Spray glass cleaner Warm s...

Страница 18: ... size called for in the ting BAKE or BROIL recipe l Are you following a tested recipe l Is the Oven Temperature Control from a reliable source turned to a temperature setting l Do the cooking utensils have If surface unlts will not operate smooth flat bottoms and fit the sur l Have you checked your home s face unit being used main fuses or circuit breaker box See the Cooking Guide for more infor l...

Страница 19: ...y Division Vice President Whirlpool Corporation 2000 US 33 North Benton Harbor Ml 49022 5 If you need FSP replacement parts FSP is a registered trademark of Whirlpool Corporation for quality parts Look for this symbol of quality whenever you need a replacement part for your Whirlpool appliance FSP replacement parts will fit right and work right because they are made to the same exacting specificat...

Страница 20: ...ulbs 6 Repairs when range product is used in other than normal single family household use C Pick up and deliver This product is designed to be repaired In the home D Damage to range product caused by accident misuse fire flood acts of God or use of products not approved by Whirlpool E Any labor costs during the limited warranty WHIRLPOOL CORPORATION SHALL NOT BE LIABLE FOR INCIDENTAL OR CONSEQUEN...

Отзывы: