Інструкція з користування та технічного обслуговування
Руководство по эксплуатации и техническому обслуживанию
UK
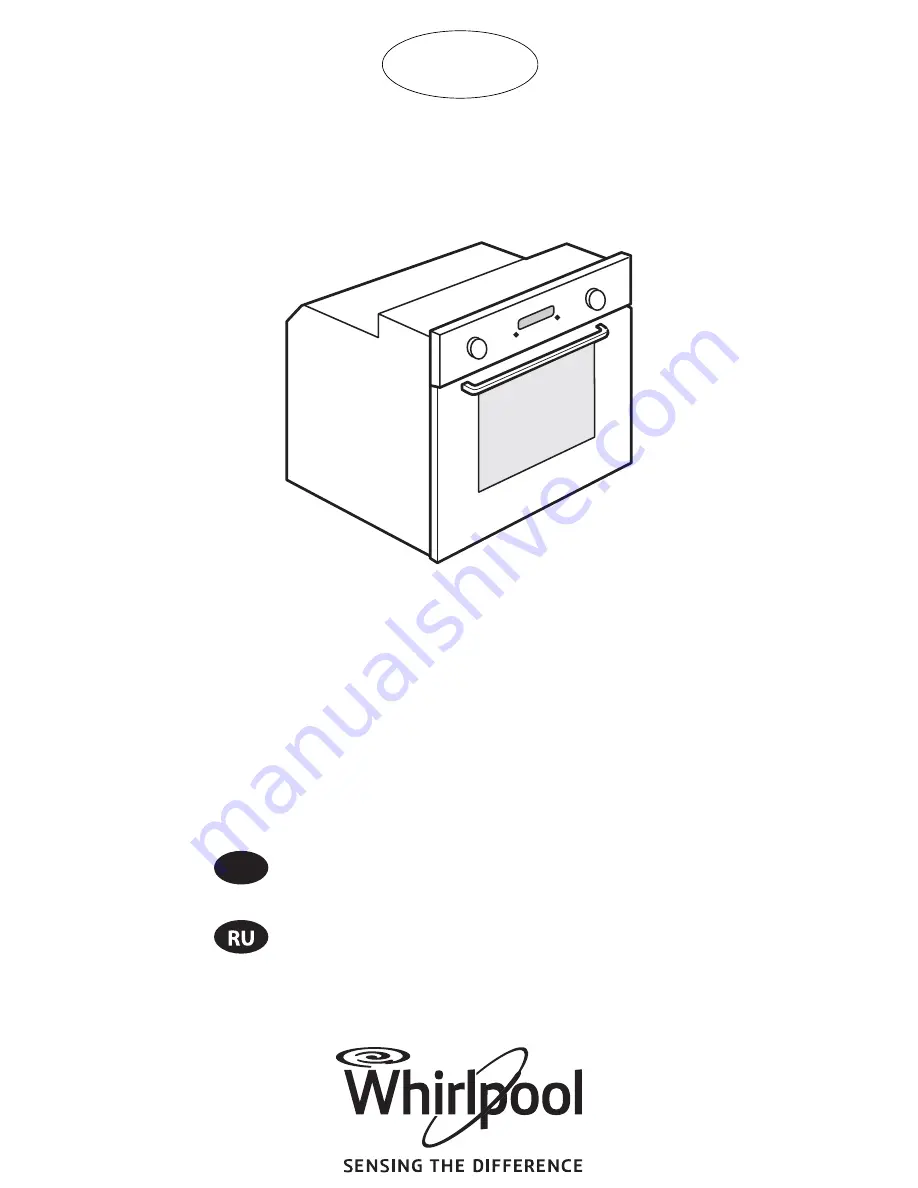
AKZM 8350
Страница 1: ...Інструкція з користування та технічного обслуговування Руководство по эксплуатации и техническому обслуживанию UK AKZM 8350 ...
Страница 2: ......
Страница 3: ...ualified electrician Contact an authorized service centre Regulations require that the appliance is earthed The power cable must be long enough for connecting the appliance once fitted in its housing to the main power supply For installation to comply with current safety regulations an all pole disconnect switch with minimum contact gap of 3 mm must be utilized Do not use multiple plug adaptors if...
Страница 4: ...ntenance shall not be made by children without supervision During and after use do not touch the heating elements or interior surfaces of the appliance risk of burns Do not allow the appliance to come into contact with cloths or other flammable materials until all the components have cooled down completely At the end of cooking exercise caution when opening the appliance door letting the hot air o...
Страница 5: ...gulations Before scrapping cut off the power supply cable For further information on the treatment recovery and recycling of household electrical appliances contact your competent local authority the collection service for household waste or the store where you purchased the appliance After unpacking the oven make sure that it has not been damaged during transport and that the oven door closes pro...
Страница 6: ...sed of correctly you will help prevent potential negative consequences for the environment and human health which could otherwise be caused by inappropriate waste handling of this product The symbol on the product or on the accompanying documentation indicates that it should not be treated as domestic waste but must be taken to an appropriate collection centre for the recycling of electrical and e...
Страница 7: ...provided Their use could eventually ruin the enamelled surfaces Only use non abrasive sponges to clean the door glass The cavity of this oven is coated with a special formula enamel nickel free enabling easily cleaning using just water and the cellulose cloth provided The cellulose cloth is washable and reusable until worn and can be purchased from the Customer Care Service Washing the cloth in a ...
Страница 8: ...uring prolonged cooking of foods containing lots of water e g pizza vegetables etc condensation may form inside the door and on the seal Dry with a cloth or sponge when the oven is cold Accessories Soak the accessories in water with washing up detergent after use handling them with oven gloves if still hot Food residues can be removed using a suitable brush or sponge Do not put the enamelled acces...
Страница 9: ...side accessory holder grilles if present Fig 3 3 Use a screwdriver to prise off the lamp cover Fig 7 4 Replace the lamp see note for lamp type Fig 8 5 Reposition the lamp cover pushing it on firmly until it snaps into place Fig 9 6 Refit the side accessory holder grilles 7 Reconnect the oven to the power supply N B Only use 25 40W 230V type E 14 T300 C incandescent lamps or 20 40W 230 V type G9 T3...
Страница 10: ... fan may continue to run for a while When the oven door is opened during cooking the heating elements switch off ACCESSORIES SUPPLIED A WIRE SHELF the wire shelf can be used to grill food or as a support for pans cake tins and other ovenproof cooking receptacles B DRIP TRAY the drip tray is designed to be positioned under the wire shelf in order to collect fat or as an oven tray for cooking meat f...
Страница 11: ...associated submenus The submenus are available and selectable by turning the knob to the functions GRILL SPECIALS SETTINGS RECIPES and SHORTCUTS A Symbol for highlighted function B Highlighted function can be selected by pressing C Description of highlighted function D Other available and selectable functions FUNCTION DETAILS After selection of the desired function the display will show further op...
Страница 12: ...therwise proceed as indicated above to change them SETTING THE TEMPERATURE OUTPUT OF THE GRILL To change the temperature or output of the grill proceed as follows 1 Check that the cursor is positioned next to the temperature value zone 3 press button to select the parameter to be changed the temperature values flash 2 Set the desired value by turning the Browse knob and press to confirm 3 Turn the...
Страница 13: ... which the oven switches off automatically 1 The submenus are available and selectable by turning the Browse knob to position the cursor at COOKING TIME 2 Press button to select the setting 00 00 flashes on the display 3 Change the value by turning the Browse knob to display the desired cooking time 4 Confirm the selected value by pressing button BROWNING At the end of cooking with certain functio...
Страница 14: ...e cooking starts the oven can in any case be switched on by turning the Browse knob to position the cursor at Start and then pressing At any time set values temperature grill setting cooking time can be changed as described in previous paragraphs TIMER This function can be used only with the oven switched off and is useful for example for monitoring the cooking time of pasta The maximum time which...
Страница 15: ...ings select SETTINGS from the main menu by turning the Functions knob 2 Confirm by pressing the display shows which settings can be changed language volume of acoustic signal display brightness time energy saving function 3 Select the setting to be changed by turning the Browse knob 4 Press button to confirm 5 Follow the instructions of the display to change the settings 6 Press button a message a...
Страница 16: ...he cleaning cycle To prevent steam coming out do not open the door during the cycle 9 At the end of the cycle remove the cellulose cloth and eliminate any residual water in the oven 10 Then start cleaning using a sponge moistened with hot water cleaning could be compromised if delayed by more than 15 minutes Particularly stubborn grime To eliminate particularly stubborn grime repeat the STARCLEAN ...
Страница 17: ... several shelves maximum three at the same time e g fish vegetables cakes This function can be used to cook different foods without odours being transferred from one food to another Use the 2nd shelf to cook on one shelf only the 1st and 4th to cook on two shelves and the 1st 3rd and 5th to cook on three shelves The oven does not have to be preheated STARCLEAN To eliminate the dirt created by cook...
Страница 18: ...preheated MAXI COOKING To cook large joints of meat above 2 5 kg Use the 1st or 2nd shelf depending on the size of the joint The oven does not have to be preheated It is advisable to turn the meat over during cooking to obtain even browning on both sides It is preferable to baste the meat every now and again so that it does not become too dry FROZEN FOOD Lasagne The function automatically selects ...
Страница 19: ... 45 Level 4 pan on wire shelf Level 1 drip tray or baking tray 1 3 5 180 190 35 45 Level 5 pan on wire shelf Level 3 pan on wire shelf Level 1 drip tray or baking tray Meringues 3 90 110 150 Drip tray or baking tray 1 4 90 140 160 Level 4 pan on wire shelf Level 1 drip tray or baking tray 1 3 5 90 140 160 Level 5 pan on wire shelf Level 3 pan on wire shelf Level 1 drip tray or baking tray Bread Pi...
Страница 20: ...fillets steaks 4 Medium 20 30 Level 4 wire shelf turn food halfway through cooking Level 3 drip tray with water Sausages Kebabs Spare ribs Hamburgers 5 Medium High 15 30 Level 5 wire shelf turn food halfway through cooking Level 4 drip tray with water Roast chicken 1 1 3 Kg 2 Medium 55 70 Level 2 wire shelf turn food two thirds of the way through cooking Level 1 drip tray with water 2 High 60 80 L...
Страница 21: ... Level 5 pan on wire shelf Level 3 pan on wire shelf Level 1 drip tray or pan on wire shelf Frozen pizza 3 Auto 10 15 Drip tray baking tray or wire shelf 1 4 Auto 15 20 Level 4 pan on wire shelf Level 1 drip tray or baking tray 1 2 4 Auto 20 30 Level 4 baking tray Level 2 drip tray or baking tray Level 1 pan on wire shelf 1 2 3 4 Auto 20 30 Level 4 baking tray Level 3 drip tray or baking tray Leve...
Страница 22: ...n of the temperature profile Recipe Function Pre heating Shelf from bottom Temp C Time min Accessories and notes IEC 60350 1 2011 12 7 5 2 Shortbread 3 170 15 30 Drip tray baking tray 1 4 150 25 40 Level 4 baking tray Level 1 drip tray baking tray IEC 60350 1 2011 12 7 5 3 Small cakes 3 170 25 35 Drip tray baking tray 1 4 160 30 40 Level 4 baking tray Level 1 drip tray baking tray IEC 60350 1 2011...
Страница 23: ...moist fillings cheesecake or fruit pies use the CONVECTION BAKE function If the base of the cake is soggy lower the shelf and sprinkle the bottom of the cake with breadcrumbs or biscuit crumbs before adding the filling Meat Use any kind of oven tray or pyrex dish suited to the size of the piece of meat being cooked For roast joints it is best to add some stock to the bottom of the pan basting the ...
Страница 24: ......
Страница 25: ...ва Варшавское шоссе дом 9 стр 1Б 3 эт Телефон горячей линии в РФ 8 800 100 57 31 Whirlpool Europe s r l Viale Guido Borghi 27 21025 Comerio Varese ITALY Виерлпул Европа с р л Виале Г Борге 27 21025 Комерио Варезе Италия КАССИНЕТТА Завод Виерлпул Европа c р л Адрес Виа АюМоро 5 21024 Кассинетта ди Биандронно Варезе Италия Сделано в Италии 001 ...