QL065
# 721001
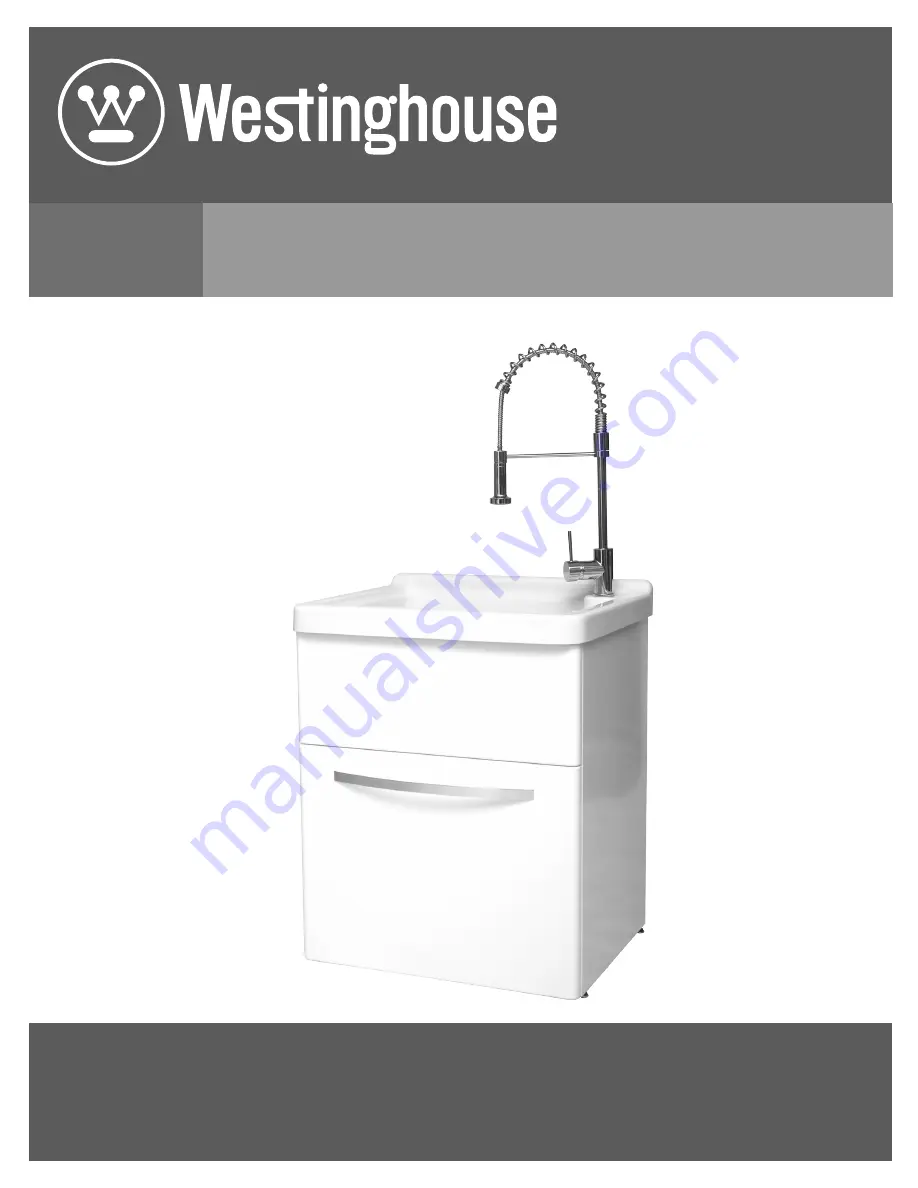
UTILITY SINK, STORAGE CABINET AND FAUCET
LAVABO, ARMARIO Y GRIFO
ALL-IN-ONE
TODO EN UNO
OWNER’S MANUALMANUAL DEL USUARIO
Страница 1: ...QL065 721001 UTILITY SINK STORAGE CABINET AND FAUCET LAVABO ARMARIO Y GRIFO ALL IN ONE TODO EN UNO OWNER S MANUAL MANUAL DEL USUARIO...
Страница 2: ...SH 13 Safety Information READ AND SAVE THESE INSTRUCTIONS 1 Inspect your unit before proceeding Once you unpack your unit check for chips scratches cracks dents or scuff marks If any damage is noticed...
Страница 3: ...uct We will not be held liable for inconvenience caused by loss of use of this product costs incurred for labour or materials removal and installation of replacement units or any other incidental or c...
Страница 4: ...IALS REQUIRED NOT SUPPLIED Adjustable wrench Needle nose pliers Phillips screwdriver Utility knife Pipe wrench Sealant Hacksaw Carpenter s level Allen wrench Safety gloves Safety goggles PARTS REQUIRE...
Страница 5: ...ssistance ENGLISH Pre Installation continued PACKAGE CONTENTS A B C D E F G H AA Part Description Quantity A Cabinet 1 B Faucet 1 C Drawer Handle 1 D Utility sink 1 E Strainer assembly 1 F Strainer ba...
Страница 6: ...ility sink Remove the utility sink D and place it on a soft protective surface Fig 1 Gently place the cabinet A onto its back on a soft protective surface WARNING Always wear safety goggles and gloves...
Страница 7: ...rrect position Tighten the retaining ring 16 by hand until it is snug Using a wrench or pliers tighten the entire assembly Gently tighten the two screws 17 on the retaining ring DO NOT OVERTIGHTEN Att...
Страница 8: ...dy into the sink 3 Assemble the rubber gasket friction washer and locknut onto the strainer body from under the sink 4 Hand tighten the locknut Do not overtighten the locknut as it may split or deform...
Страница 9: ...MOUNTING THE UTILITY SINK 1 Carefully place a bead of sealant all around the top of the cabinet A S E A L A N T 2 Ease the utility sink D into the cabinet A Ensure that it is placed evenly and is cen...
Страница 10: ...ge needs to be replaced 1 Turn off the water supply to the faucet 2 Remove the faucet lever by hand Loosen the screw with the Allen wrench provided and pull the handle body out The top lever of the ca...
Страница 11: ...n lacquer thinners gasoline pine oil etc Use caution when using sharp instruments that may fall and scratch the surface Do not allow your cabinet surface to come into contact with products such as ace...
Страница 12: ...y Friday from 8 30 am 5 00 pm EST Identify the required part s and have the part number s ready G H J AA A B C D E F Part Description Code Quantity A Sprayer head QHL115 1 B Ceramic cartridge QHS121 1...
Страница 13: ...refacci n 23 Informaci n de seguridad LEA Y GUARDE ESTAS INSTRUCCIONES 1 Revise su unidad antes de continuar Cuando desempaque la unidad aseg rese de que no est desportillada rayada rota o abollada y...
Страница 14: ...en mano de obra o materiales retiro e instalaci n de unidades de reemplazo ni ning n otro da o incidental o consecuente Los costos relacionados con la obtenci n de acceso para la reparaci n o el reemp...
Страница 15: ...instalaci n HERRAMIENTAS MATERIALES NECESARIOS NO INCLUIDOS Llave inglesa Pinzas de punta Destornillador de estrella Phillips Navaja Llave grifa Sellador Segueta Nivel de carpintero Llave Allen Guante...
Страница 16: ...NIDO DEL PAQUETE A B C D E F G H AA Pieza Descripci n Cantidad A Armario 1 B Grifo 1 C Manija del caj n 1 D Lavabo 1 E Ensamblaje del escurridor 1 F Escurridor 1 G Patas niveladoras 4 H Ruedita preins...
Страница 17: ...y col quelo sobre una superficie mullida donde est protegido Fig 1 Coloque cuidadosamente el armario A bocarriba sobre una superficie mullida donde est protegido ADVERTENCIA Siempre use gafas y guant...
Страница 18: ...e bien ajustado Con ayuda de una llave inglesa o pinzas apriete el ensamblaje completo Apriete delicadamente los dos tornillos 17 en el anillo de retenci n NO LOS APRIETE DEMASIADO Conecte el extremo...
Страница 19: ...lavabo 3 Una la junta de caucho la arandela de fricci n y la contratuerca en el cuerpo del escurridor por debajo del lavabo 4 Apriete la contratuerca con la mano No apriete demasiado la contratuerca...
Страница 20: ...lrededor de la parte superior del armario A S E L L A D O R 2 Coloque cuidadosamente el lavabo D en el armario A Aseg rese de que no est inclinado y de que se encuentre en el centro del mueble Elimine...
Страница 21: ...ro es necesario reemplazar el cartucho cer mico 1 Cierre el suministro de agua al grifo 2 Desmonte la palanca a mano Afloje el tornillo con la llave Allen provista y extraiga el cuerpo de la manija La...
Страница 22: ...en seco diluyente para laca gasolina resina etc Tenga cuidado cuando utilice objetos afilados que puedan caer sobre la superficie y rayarla No permita que la superficie del armario entre en contacto...
Страница 23: ...8 30 a m a 5 00 p m hora del Este servicio disponible en ingl s y franc s Identifique la s pieza s requerida s y tenga listo el n mero correspondiente G H J AA A B C D E F Pieza Descripci n C digo Can...
Страница 24: ...877 333 0098 cs conglomkb com service available in English and French Monday Friday from 8 30 am 5 00 pm EST De lunes a viernes de 8 30 a m a 5 00 p m hora del Este servicio disponible en ingl s y fr...