ETL-ES-Damen-WH17
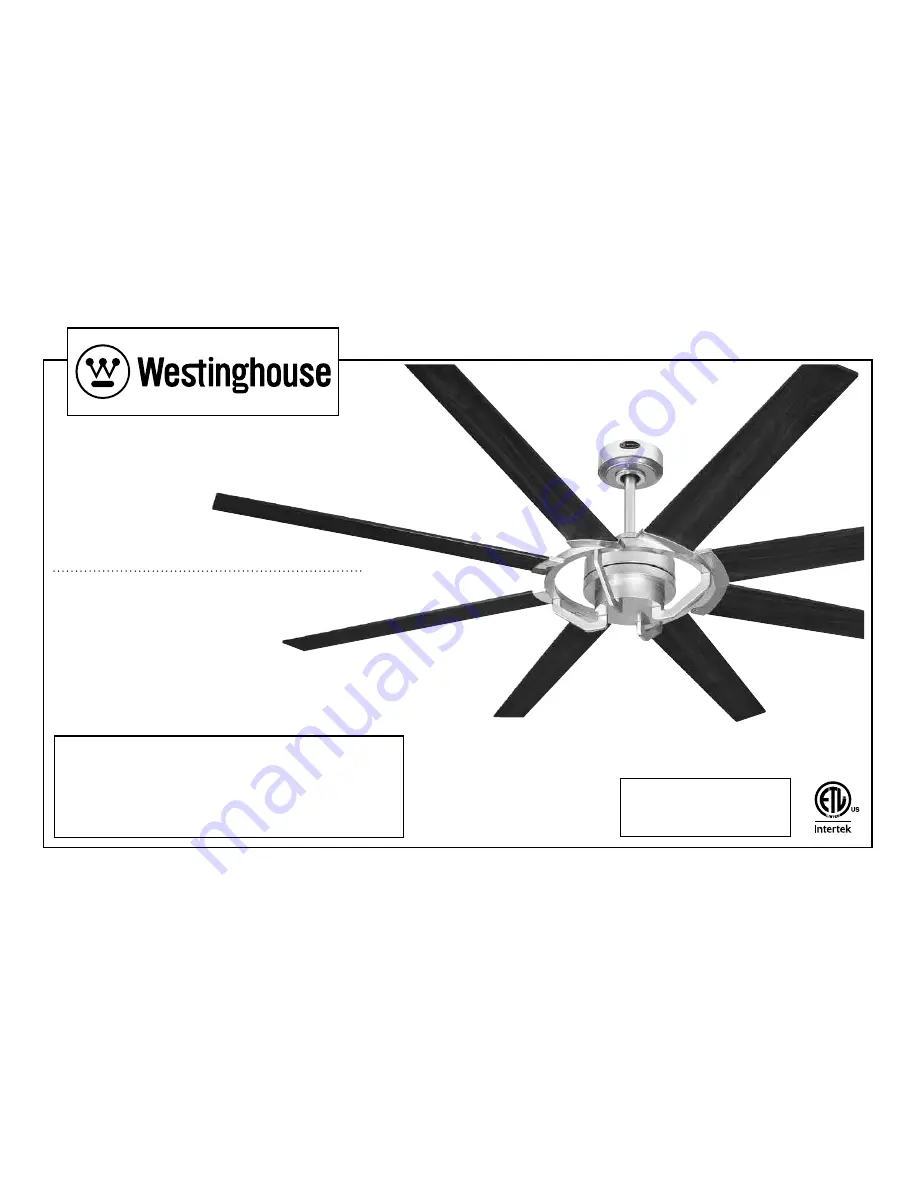
OWnEr'S ManuaL
ManuaL DEL uSuariO
Please write model number here for future reference: /Por favor, incluya el número del modelo aquí para futura referencia:
net Weight: 19.18 LBS
Peso neto: 8.7 KGS
Damen
Страница 1: ...Damen WH17 Owner s Manual Manual del usuario Please write model number here for future reference Por favor incluya el n mero del modelo aqu para futura referencia NetWeight 19 18 LBS Peso Neto 8 7 KGS...
Страница 2: ...ketusingonlythehardwaresuppliedwiththeoutletbox Fanisonlytobemountedtoanoutletboxmarked AcceptableforFanSupport 11 WARNING Toreducetheriskoffireorelectricshock donotusethisfanwithanysolidstatefanspeed...
Страница 3: ...ableforFanSupport Aceptableparasoportarventiladores 11 ADVERTENCIA Parareducirelriesgodeincendiosochoquesel ctricos nouseesteventiladorconundispositivodecontroldevelocidaddeestados lidoparaventilador...
Страница 4: ...westinghouselighting com para obtener opciones sobre equipos de dosel especialmente dise ados Features Caracter sticas For normal ceilings Para techos normales VAULTED CEILING INSTALLATION Instalaci n...
Страница 5: ...to wobble 2 pREPARING for installation Preparando Para la instalaci n Quite el envoltorio e inspeccione detenidamente el ventilador para verificar que todas las piezas est n incluidas Apague la alimen...
Страница 6: ...rod supplied with fan proceed to page 7 step 5 OPCI N CON VARILLA VERTICAL PARA TECHO NORMAL Si instala la varilla vertical incluida con el ventilador proceda a la p gina 7 paso 5 EXTENDED DOWNROD OPT...
Страница 7: ...ubierta deldosel 2 ylacubiertadelacoplador 3 Paseloscablesdelmotorhaciaarribaa trav sdelaparteinferior delconjuntodelavarillavertical 4 2 1 MotorWires Cables del Motor 3 4 Quitale el pasador de prensa...
Страница 8: ...idecouplingcover 3 overthedownrodcoupling PROCEEDTO PAGE11 STEP 11 Aflojelostornillosdefijaci n 1 enelacoplador 2 Insertelavarillaverticalenelacoplador Aseg resedequeelagujerodelavarillaverticalyeldel...
Страница 9: ...lojelabola 1 delavarillavertical 2 quitandoeltornillo 3 8 2 3 1 EXTENDED DOWNROD OPTION OPCI N CON VARILLA VERTICAL M S LARGA Slidedownrodball 1 offofdownrodandremovepin 2 Deslicelabola 1 delavarillav...
Страница 10: ...aainstalarelpasadortranservaldelavarillaverticalm slargaydeslicelaboladelavarillaverticalhastaelextremosuperiordelamisma Vuelvaainsertareltornillode fijaci nparaasegurarlabolaalavarillavertical Nota A...
Страница 11: ...arriba Fije las aletas del ventilador al motor alinee los agujeros de las aletas con los de la rueda del motor fije las aletas a la rueda del motor con los tornillos incluidos Carefully lift fan assem...
Страница 12: ...neutral neutral Follow diagram above to make wiring connections for fan pull chain control WIRING neutral neutral Siga las instrucciones del diagrama anterior para hacer las conexiones de cableado par...
Страница 13: ...the canopy until both screws from the mounting bracket drop into the slot recesses Tighten screws securely Afloje los 2 tornillos de la parte inferior del soporte de montaje no los extraiga completame...
Страница 14: ...en the canopy cover ring is installed La cubierta interior para el anillo 1 del dosel tiene dos ranuras que permiten montarla en las cabezas de los dos tornillos que sobresalen del soporte de montaje...
Страница 15: ...the remote away from excessive heat or humidity Restablezca el suministro el ctrico de la caja de embutir conectando la alimentaci n el ctrica en la caja prin cipal de fusibles Para que el ventilador...
Страница 16: ...erform the control setting process again Proceso de ajuste del control remoto y la velocidad 1 Luego de instalar la unidad y restablecer la alimentaci n el ctrica de su ventilador presione y mantenga...
Страница 17: ...te will result in the motor first being turned off and allowed to coast to a stop before starting to turn in the opposite direction Los botones del control remoto funcionan de la siguiente manera 1 Ve...
Страница 18: ...L ES Damen WH17 HOW TO REPLACE YOUR RECEIVER C MO REEMPLAZAR SU RECEPTOR 1 Carefully take down the fan and place onto a flat surface Cuidadosamente retire el ventilador y col quelo en una superficie p...
Страница 19: ...using 3 off the down rod coupling 2 after unscrewing the six set screws 4 save the screws for future usage Retire el conjunto de la varilla vertical quitando el pasador transversal que tiene un pasado...
Страница 20: ...SU RECEPTOR Remove the 8 fixing screws 3 from the Motor 1 keep them in future usage Take off the Motor from the blade assembly 2 Retire los 8 tornillos de fijaci n 3 del motor 1 gu rdelos para uso en...
Страница 21: ...osen do not remove the other 2 Twist the receiver housing 1 counter clockwise and take it off the motor support 2 Hay un alojamiento del receptor 1 debajo del soporte del motor 2 Retire 1 de los 3 tor...
Страница 22: ...ew 5 at each end of the receiver 3 save them for future usage Take away the old receiver 3 and replace with a new one Desconecte los conectores de 9 v as 1 entre el motor 2 y el receptor 3 Retire los...
Страница 23: ...3 removed in step 5 Reconnect the 9 way connectors 4 between motor 2 and new receiver 3 Apriete el nuevo receptor 1 en el alojamiento del receptor 2 utilizando los 2 tornillos de fijaci n 3 que se qu...
Страница 24: ...using and tighten all 3 screws to complete attachment of receiver housing 1 Fije el alojamiento del receptor 1 al soporte del motor 2 colocando los agujeros de las bocallaves en las dos cabezas de los...
Страница 25: ...ng the 8 holes from motor support with the 8 holes from the blade assembly tighten them with the 8 screws 3 removed in step 3 Coloque con cuidado el motor 1 en el conjunto de las aletas 2 alineando lo...
Страница 26: ...amiento superior del motor 1 en el acoplamiento de la varilla vertical 2 apretando los 6 tornillos de fijaci n 3 retirados en el paso 2 Inserte los cables del motor en el conjunto de la varilla vertic...
Страница 27: ...se direction An upward airflow moves warm air off the ceiling area as shown in illustration B This allows you to set your heating unit on a lower setting without affecting your comfort Maintenance 1 B...
Страница 28: ...jas del reloj Una corriente de aire ascendente aleja el aire caliente del rea del ventilador de techo como lo indica la ilustraci n B Esto le permite ajustar la calefacci n a un nivel m s bajo sin que...
Страница 29: ...are sensitive to signals from Solid State variable speed controls DO NOT USE a Solid State variable speed control 4 Allow break in period of 24 hours Most noises associated with a new fan will disapp...
Страница 30: ...gurarse de que los tornillos que fijan el soporte de la aleta del ventilador al motor est n apretados 3 NO USE un control de velocidad variable de estado s lido 4 Permita el rodaje del ventilador dura...
Страница 31: ...PUESTOS Description 1 Mounting Bracket 1 2 Blade Bracket 8 3 Blade 8 4 Remote Control 1 5 Hardware Pack 1 No Descripci n 1 Soporte de montaje 1 2 Soporte para aleta 8 3 Aleta 8 4 Control Remoto 1 5 To...
Страница 32: ...Philadelphia PA 19154 1029 U S A www westinghouselighting com WESTINGHOUSE and INNOVATION YOU CAN BE SURE OF are trademarks of Westinghouse Electric Corporation Used under license by Westinghouse Lig...