CONNECTING THE SERVER AND GETTING STARTED
13
WD SENTINEL DX4200
ADMINISTRATOR AND MAINTENANCE GUIDE
Connecting the WD Sentinel Server to Your Network
Use the following steps to physically connect your WD Sentinel DX4200 server to your
network.
1.
Connect your monitor to the VGA port on the rear of your WD Sentinel server.
2.
Connect your USB keyboard and USB mouse to the USB ports on the back of your
WD Sentinel server.
3.
Using the provided ethernet cable, connect the WD Sentinel server (either ethernet
port 1 or 2) to a DHCP-enabled LAN.
4.
Using the provided AC adaptors, connect the WD Sentinel server to an electrical outlet
or a UPS.
5.
Turn on your monitor.
6.
Press the power button on the front of your WD Sentinel unit.
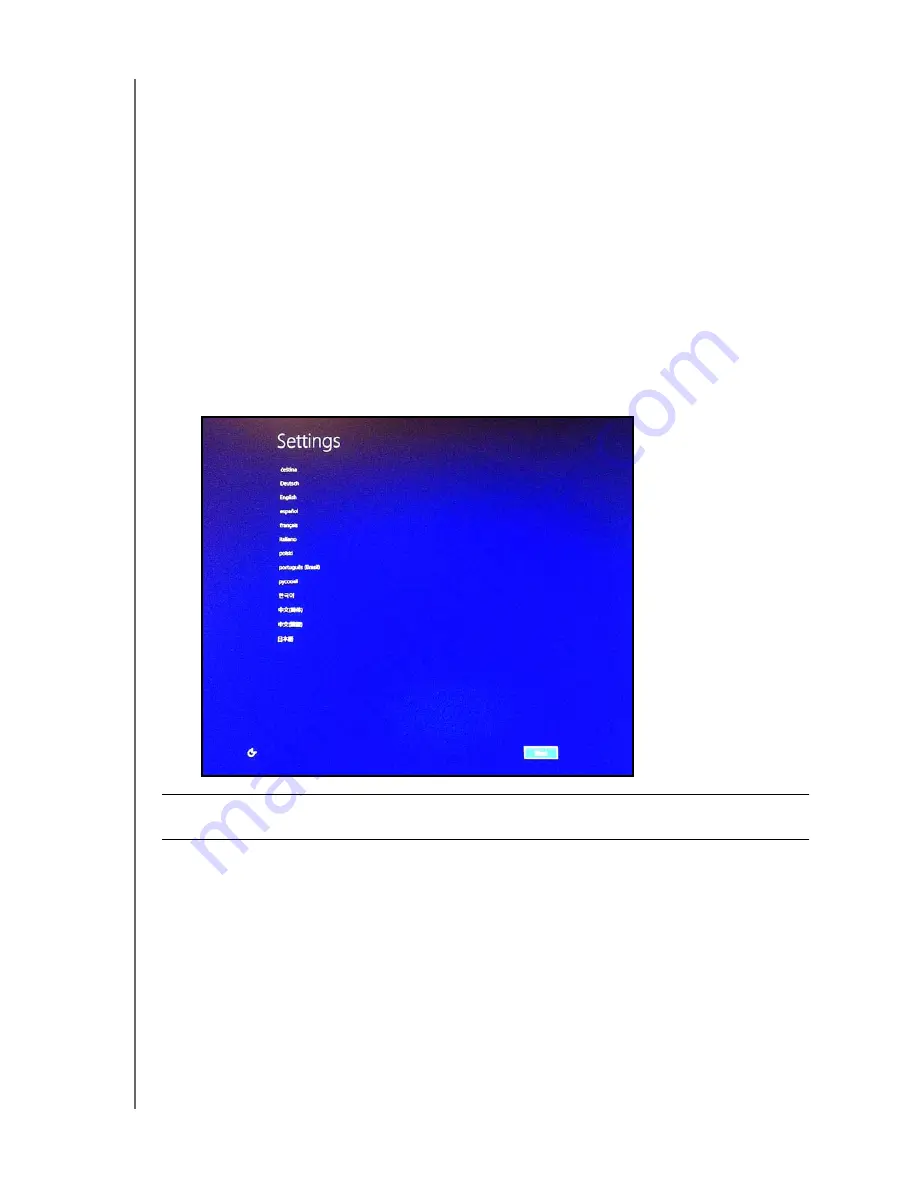
Once the WD Sentinel boot up process is complete, the Windows Storage Server
Settings screen displays. The Power LED on the front of the WD Sentinel server will
display a solid blue light.
WARNING!
This process takes a few minutes. Do not interrupt the process. Do
not power off or disconnect the WD Sentinel server.


