Confidential
Page 25
Appendix A – Quick Start Help
This section is provided to enable installers with a check list of things to do when installing the system.
1)
Mount the device and make all the required connections. Power the system on. For more
information follow the instruction above in the section: Setting up the system.
Using Window File explorer, or equivalent, and select Network to find the MX-
400. Alternatively use the MX-400 front panel to obtain or configure the
systems IP address. See Front panel
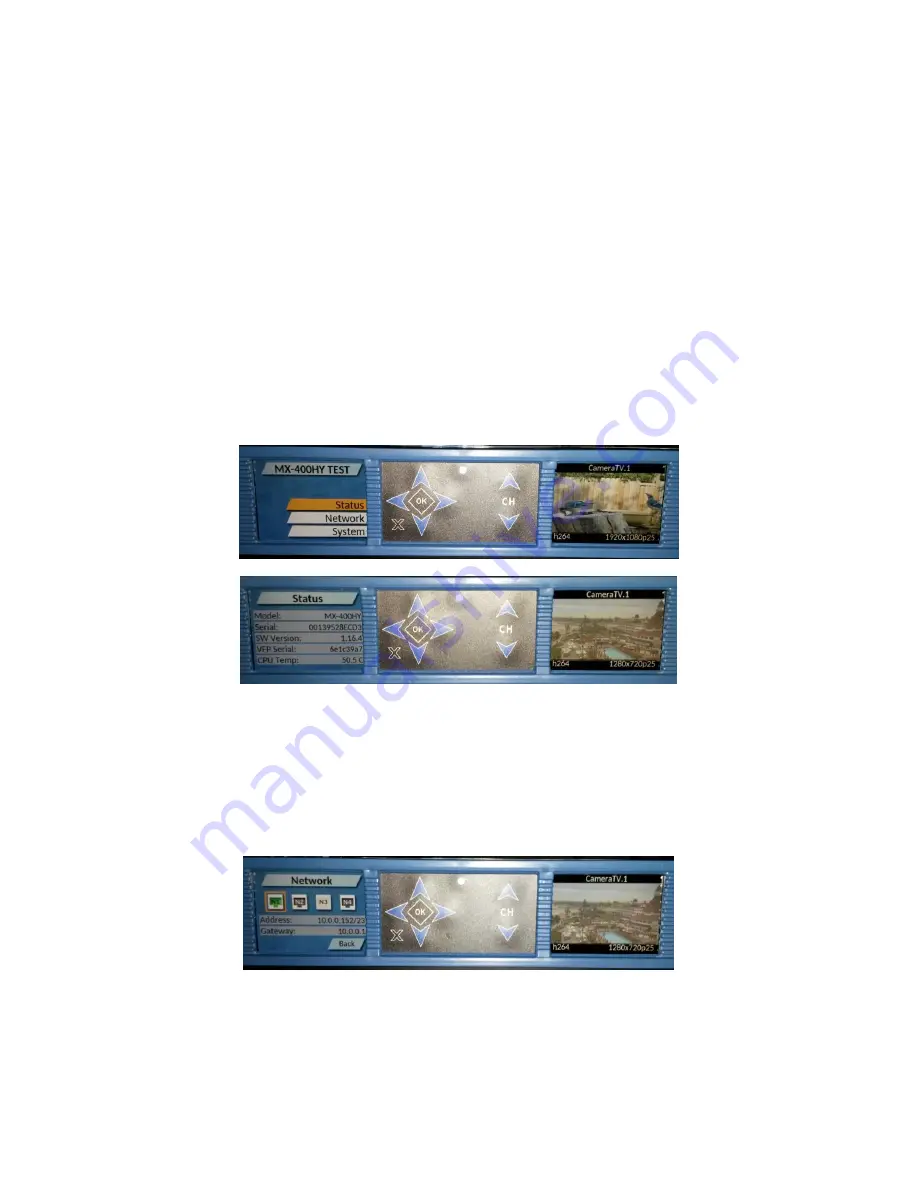
Use the front panel of the MX-400 to check system status, configure each of the MX-400 network ports,
and reset the WebUI admin password. The main menu shows the System Name as configured in the
Web UI System/Settings page. Use the navigation pad to the right of the left screen to navigate the
menus. The Status screen provides information about the system including serial numbers, software
version, etc.
Navigate to the Network menu to configure each of the Network ports. Once the network port has been
correctly configured, and connected to the network, the network icon on the front screen should be
outlined in green. If not, check the connections at the rear of the device and the configuration screen
for errors. A black outline indicates the port is enabled but not functioning, a white outline indicates the
port is not enabled. When configuring the ports, one common error is mistaking N1 for N4, i.e. mentally
reversing the logical order of the network ports. These ports can also be configured using the Web UI.


