


41
1168680000/02/12.2016
Description de l’appareil
4.1 À la découverte du traceur
Cette section vous présente les éléments
du traceur et leur fonctionnement, afin que
vous puissiez suivre plus facilement les
instructions des sections suivantes.
Méthode de fonctionnement
Les données d’une tâche d’impression sont
transférées depuis le PC connecté vers la mémoire de
données du traceur, puis sauvegardées. Le processus
d'impression commence par le déplacement du bras
d'écriture vers la position de départ ; puis l'impression
est réalisée. Une fois le processus d'impression terminé,
le bras d'écriture retourne à la position de départ et un
signal sonore est émis (voir « Signal sonore »).
Calibrage automatique
À chaque fois qu’il est démarré ou qu’un processus
d’écriture est repris, le traceur exécute un calibrage
automatique. Dans le cadre de ce processus, le bras
d’écriture se déplace complètement à droite et le
support pour stylo est décalé vers le coin supérieur
droit. À ce stade, évitez de toucher ou de déplacer le
bras d’écriture, car il serait alors impossible de garantir
une position d’écriture correcte.
Commandes et affichages
Toutes les commandes et les LED sont affichées
sur le panneau de commande. Les touches carrées
réagissent à un léger effleurement du bout du doigt.
Bras d’écriture
Pendant son fonctionnement, le bras d’écriture,
qui soutient le support pour stylo, se déplace
automatiquement sur la surface d’écriture. Il est donc
important qu’il ne soit pas entravé par des objets placés
sur la surface d’écriture ou à proximité du traceur.
Stylos pour traceur
Les stylos pour traceur qui ne sont pas utilisés peuvent
être placés dans les ouvertures de stockage sur le
côté.
Signal sonore
À la fin du processus d’écriture, un signal sonore est
émis, et répété toutes les 20 secondes. Cela indique
que le stylo pour traceur est toujours sur le support de
stylo et qu'il pourrait sécher.
Le signal peut être éteint ou désactivé de manière
permanente grâce à la touche « arrêt signal ».
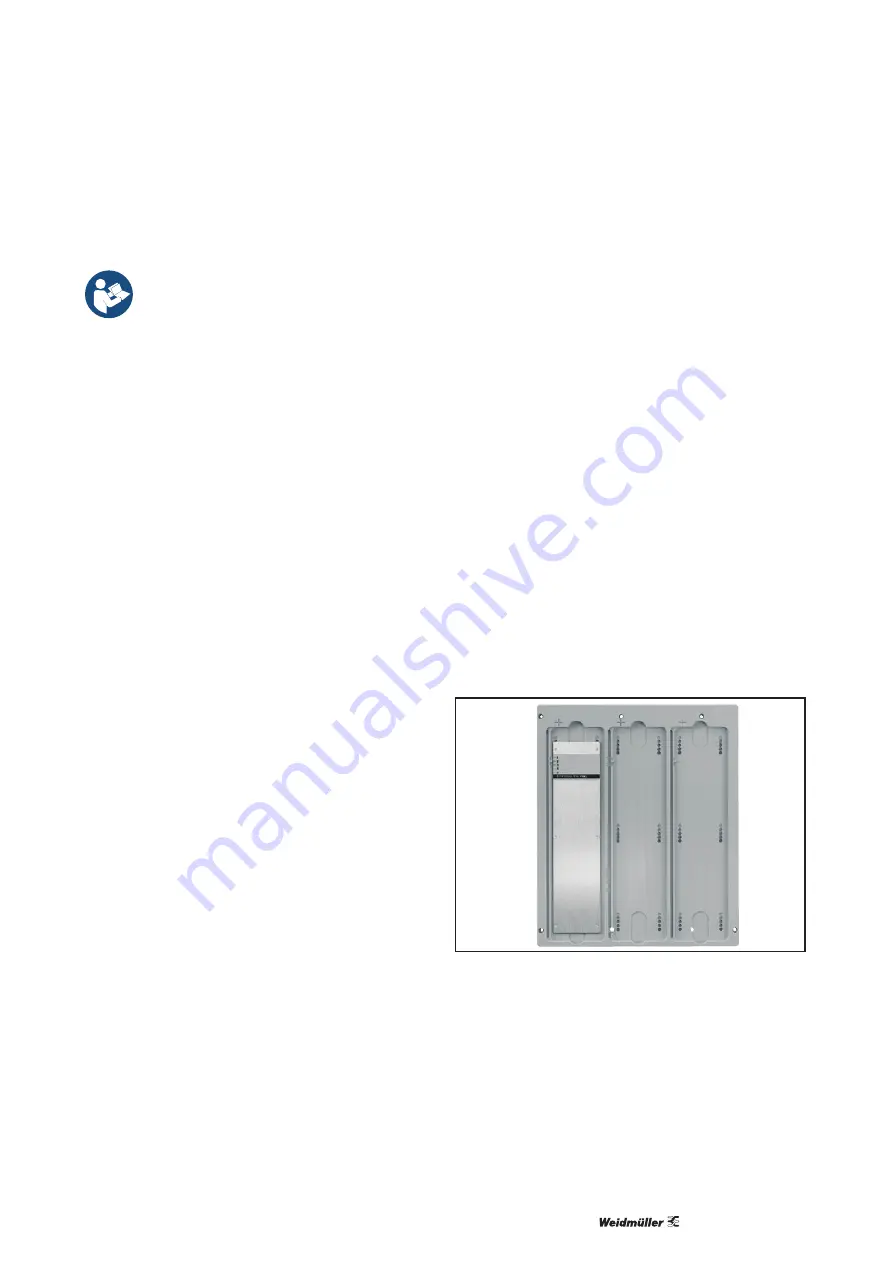
Plaque de maintien pour les éléments de repérage
Les éléments de repérage doivent être insérés dans
une plaque de maintien, afin de permettre leur
positionnement à des endroits précis sur le traceur.
Deux goupilles de retenue fixées à la plaque de
base du traceur sont situées sur les bords inférieur
et supérieur de la surface d’écriture. Ces goupilles
servent de guide de positionnement pour les plaques
de maintien.
Vous pouvez utiliser différentes plaques de maintien
avec le traceur MCP Basic 2 :
–
Plaque de maintien pour MultiCard (fournie)
–
Plaque de maintien pour repérages SlimFix
(SF4 à SF6)
–
Plaque de maintien pour pages d’étiquettes DIN A4
Fig. 4.3 Plaque de maintien avec plaque de réglage
Содержание MCP Basic 2
Страница 2: ...1168680000 02 12 2016 2...
Страница 18: ...1168680000 02 12 2016 18...
Страница 34: ...1168680000 02 12 2016 34...
Страница 50: ...1168680000 02 12 2016 50...
Страница 66: ...1168680000 02 12 2016 66...
Страница 82: ...1168680000 02 12 2016 82...
Страница 98: ...1168680000 02 12 2016 98...
Страница 100: ...1168680000 02 12 2016 100 web Weid m ller web Weidm ller 1...
Страница 103: ...103 1168680000 02 12 2016 4 4 1 1 plotter 2 3 4 5 6 7 8 9 10 11 Sub D 15 12 USB 1 3 5 6 8 7 9 2 4 11 12 10...
Страница 106: ...1168680000 02 12 2016 106 4 4 SlimFix 4 5 DIN A4 plotter 5 4 STOP plotter STOP LED STOP plot ter LED Clear buffer 6 2...
Страница 108: ...1168680000 02 12 2016 108 5 4 plotter plotter plotter plotter 1 5 6 1 2 3 4 5 6 without this inlay 5 2 3 plotter...
Страница 110: ...1168680000 02 12 2016 110 7 1 plotter plotter plotter plotter plotter plotter 10 plotter 7...
Страница 114: ...1168680000 02 12 2016 114...
Страница 130: ...1168680000 02 12 2016 130...
Страница 132: ...1168680000 02 12 2016 132 Weidm ller 1...
Страница 134: ...1168680000 02 12 2016 134 MCP Basic 2 MCP AP BASIC MCP EP 0 25 USB M Print PRO DVD 3 1 9 600 mm 600 mm 3 1 MCP Basic 2 3...
Страница 135: ...135 1168680000 02 12 2016 1 3 5 6 8 7 9 2 4 11 12 10 4 1 1 2 3 4 5 6 7 8 9 10 11 Sub D 15 12 USB 4...
Страница 137: ...137 1168680000 02 12 2016 4 1 20 MCP Basic 2 MultiCard SlimFix SF4 SF6 DIN A4 4 3...
Страница 138: ...1168680000 02 12 2016 138 4 4 SlimFix 4 5 DIN A4 5 4 STOP STOP STOP Clear buffer 6 2...
Страница 139: ...139 1168680000 02 12 2016 5 5 1 M Print PRO DVD DVD 5 2 100 240 V AC 50 60 Hz 4 1 10 USB 4 1 12 5 3 10 5 1...
Страница 140: ...1168680000 02 12 2016 140 5 4 1 5 6 1 2 3 4 5 6 without this inlay 5 2 3...
Страница 142: ...1168680000 02 12 2016 142 7 1 10 7...
Страница 143: ...143 1168680000 02 12 2016 8 USB USB 1 1 1 10 8 1 MCP Basic 2 Weidm ller...
Страница 146: ...1168680000 02 12 2016 146...
Страница 162: ...1168680000 02 12 2016 162...
Страница 178: ...1168680000 02 12 2016 178...
Страница 194: ...1168680000 02 12 2016 194...
Страница 210: ...1168680000 02 12 2016 210...
Страница 226: ...1168680000 02 12 2016 226...
Страница 242: ...1168680000 02 12 2016 242...
Страница 258: ...1168680000 02 12 2016 258...
Страница 274: ...1168680000 02 12 2016 274...
Страница 290: ...1168680000 02 12 2016 290...
Страница 306: ...1168680000 02 12 2016 306...
Страница 307: ...307 1168680000 02 12 2016...


