background image

34

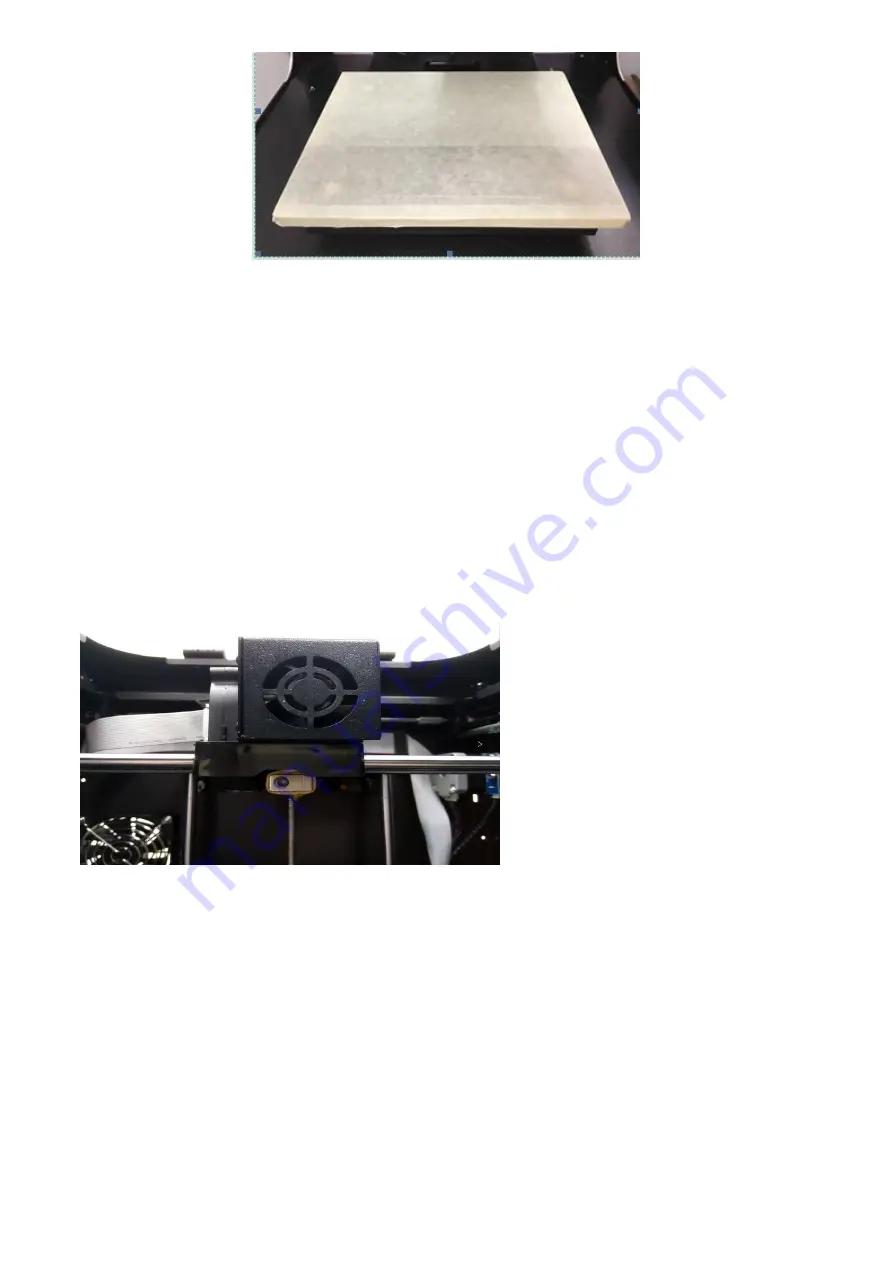
Tear the tape sticker from the bottom left of the glass plate, strip it slowly, do not leave any residue,

and then paste the new stickers. Be careful not to leave a gap between the stickers.

7. Optical Shaft and Screw Rod Maintenance

In the process of using printer, the two directions of X and Y depends on the precise guide rail and

shaft X screw rod to ensure stable and precise rectilinear motion.After add silicon grease lubrication,

it can reduce the friction and lower the wear of mechanical moving parts,thus it must be performed

with regular maintenance. It is suggested to perform once maintenance after use 1000 hours.

Maintenance method: take out the lubrication silicon grease from the accessories box in accompany

with printer,and evenly paint them on the screw rod and optical shaft,and then start the equipment

to make each shaft perform full trip for about several times and to make the silicon lubrication

grease even distributed on the surface of each shaft.

8.Printing Nozzle Maintenance and Replacement

After printer has been used for a long time,as feed gear continues to convey and rub the filament,

on the gear would be pasted with filament powder,which leads to gear becomes weak in holding

power and affect the transmission effect.Regular dis-assembly and cleaning nozzle components can

maintain the machine work smoothly.It is suggested that it should be performed with nozzle

component cleaning after print 500 hours.

Firstly, make sure that printer is shutdown, pull out the plug of connecting cable from the nozzle

motor.

Содержание F150S

Страница 1: ...1 WEEDO F150S 3D Printer User Manual...

Страница 2: ...Mode 233 4 5 Removing Model 23 5 Details of the Printing Operation 24 5 1 Operation Panel Setting 24 5 1 1 Introduction of the Operation Panel 24 5 1 2 Operation Panel Menu 25 5 1 3 Common operations...

Страница 3: ...should be the responsibility of the user 6 Please use the power cord and the USB data cable supplied by our company For printer failure and other consequences because of using the third party power ca...

Страница 4: ...innovative design such as a metal frame a fully enclosed structure an electric heating platform with the characteristic of high printing speed good printing quality easy to use easy maintenance and s...

Страница 5: ...0 340 420mm Nozzle Diameter 0 4mm Machine Weight 15kg Printing Speed 20 130mmmm s Input Voltage 100 240V 120W Positioning Accuracy Z axis 0 0025mm XY axis 0 011mm Maximum Power 24V 5A Consumables para...

Страница 6: ...e printing online printing 3D model editing and management of 3D printers Wiibuilder uses a multithreading slicing engine including user interface and professional interface 3 1 Install Wiibuilder sof...

Страница 7: ...rough the configuration menu in the upper left corner of the software choose GUI choices Easy GUI is user interface Expert GUI is professional interface 3 2 Wiibuilder Instructions for advanced settin...

Страница 8: ...igure you will see the following interface There are nine settings in the settings box above the advanced settings menu which are speed infill support build plate adhesion retraction material empty wa...

Страница 9: ...aces of the model support Initial layer speed mm s the printing speed of the first layer of the model Travel speed mm s the movement speed of the nozzle without entering the printing state The above p...

Страница 10: ...rint the model after filling and print the outline Outer before inner that is to choose whether to print the outline of the model before printing the internal walls Gradual infill steps that is for th...

Страница 11: ...higher the filling density the higher the support strength the lower the filling density the lower the support strength Support top gap mm the distance between the top and the model surface the larger...

Страница 12: ...ifficulty of removing it from the model See the following figure Raft extra margin mm That is the distance between the adhesion edge and the model it is usually set by default Raft base thickness mm T...

Страница 13: ...latform it is usually set by default 3 2 5 Retraction interface In order to prevent stringing during printing process retraction setup is added in the software Horizontal travel retraction that is whe...

Страница 14: ...s which is usually set by default 3 2 6 Material interface Filament flow that is the flow rate of the consumables in the melting state it is set according to the consumable material In general the flo...

Страница 15: ...enerally set the default Layer start position X mm that is you want to change the X axis coordinates of the position of the model layer Layer start position Y mm that is you want to change the Y axis...

Страница 16: ...ructure line Skirt Brim Line Width mm Width of a single skirt or brim line Raft Top Line Width mm Width of the lines in the top surface of the raft These can be thin lines so that the top of the raft...

Страница 17: ...o be printed The residual temperature of the nozzle leads to the overflow of the nozzle from the nozzle or prevents the print head from touching the model and damages the model surface Therefore a cir...

Страница 18: ...rface of the model and the printed plate so that the contact surface of the model bottom and the print floor is greater so as to prevent the warping edge 3 the initial layer temperature increment that...

Страница 19: ...ncave line or point on the solid model is a blank joint Therefore when the model is sliced the seam should be set Joint type As a picture The position of the seams in the printing model is the nearest...

Страница 20: ...inates determine the X axis coordinates of the specified joint position Joint position Y coordinates determine the Y axis coordinates of the specified joint position The seam concealment the seam will...

Страница 21: ...emperature is too high turn on the left fan and open the fan by default Enable draft shield when the ambient temperature is low or ABS consumables are printed a layer of insulation shell can be added...

Страница 22: ...t on the left side of the printer and start the printer 4 2 Loading the filament Place the filament on the filament tray inside the printer Insert one end of the filament through the detection module...

Страница 23: ...ration panel right turn the button to select print the SD Ducky gcode press the button to start printing 4 5 Removing Model After model is completed with printing it uses the presented plastic scraper...

Страница 24: ...les on SD card display printer information do parameter settings and so on Turn the button to the right and twist the next menu The middle button is for confirmation 1 In the menu operation the cursor...

Страница 25: ...ick the button to enter the submenu of the menu item Click the button to return to the previous menu 5 1 3 Common operations of the control panel Print the file on the SD card Back Info Screen Prepare...

Страница 26: ...to 100 degrees it will take 5 10 minutes or longer depending on the ambient temperature After printer starts heating LCD would display the real temperature of nozzle and printing platform At this mome...

Страница 27: ...enter the filament unload program heat the nozzle to the preset temperature then start the nozzle motor to unload the filament In the start menu choose the second item Prepare enter to the secondary...

Страница 28: ...quality molding In the start menu select the third item Control rotate the button and click to select Manual Level bed to enter the printer platform debugging interface Wait for the platform to rise t...

Страница 29: ...g the spin button on the bottom of the platform and adjust the gap between the platform and the nozzle until the A4 paper has a slight frictional resistance when sliding After adjustment click the spi...

Страница 30: ...sition 5 1 10 Stop printing Pause printing There are two ways to pause the printer 1 Open the front door To ensure safety during printing the nozzle will automatically pause and back to the home posit...

Страница 31: ...menu select item 3 Control rotate the knob and click the button to select Temperature click the button to select the setting Nozzle and bed to enter the print head temperature reset interface rotatin...

Страница 32: ...6 1 1 Clean and replace the nozzle In the process of 3D printing the part of consumable debris and dust particles is likely to accumulate around the printing nozzle AS time goes on these accumulative...

Страница 33: ...the screw Note after clean the nozzle need to re calibrate the platform level before printing 6 1 2 Replacing the tape of the glass plate Check the surface of tape on the glass plate for wear and une...

Страница 34: ...licon grease from the accessories box in accompany with printer and evenly paint them on the screw rod and optical shaft and then start the equipment to make each shaft perform full trip for about sev...

Страница 35: ...Will the wire replacement script be running for every booting The wire replacement script will not run for every booting it is only running when the wire is replaced 2 Can the finished model be picked...

Страница 36: ...pull out the feed wire using pliers Turn off the printer and reinstall the printing Nozzle when it is cool 2 The feed wire does not run out indicating that the print Nozzle is clogged Remove the fan a...

Отзывы: