Element
Section 9: Controls Startup
L-OMM-0003_A
• 10/8/2021 Technical Support • (800) 526-0288 • Mon-Fri, 8 am - 5 pm EST Page
50
of
157
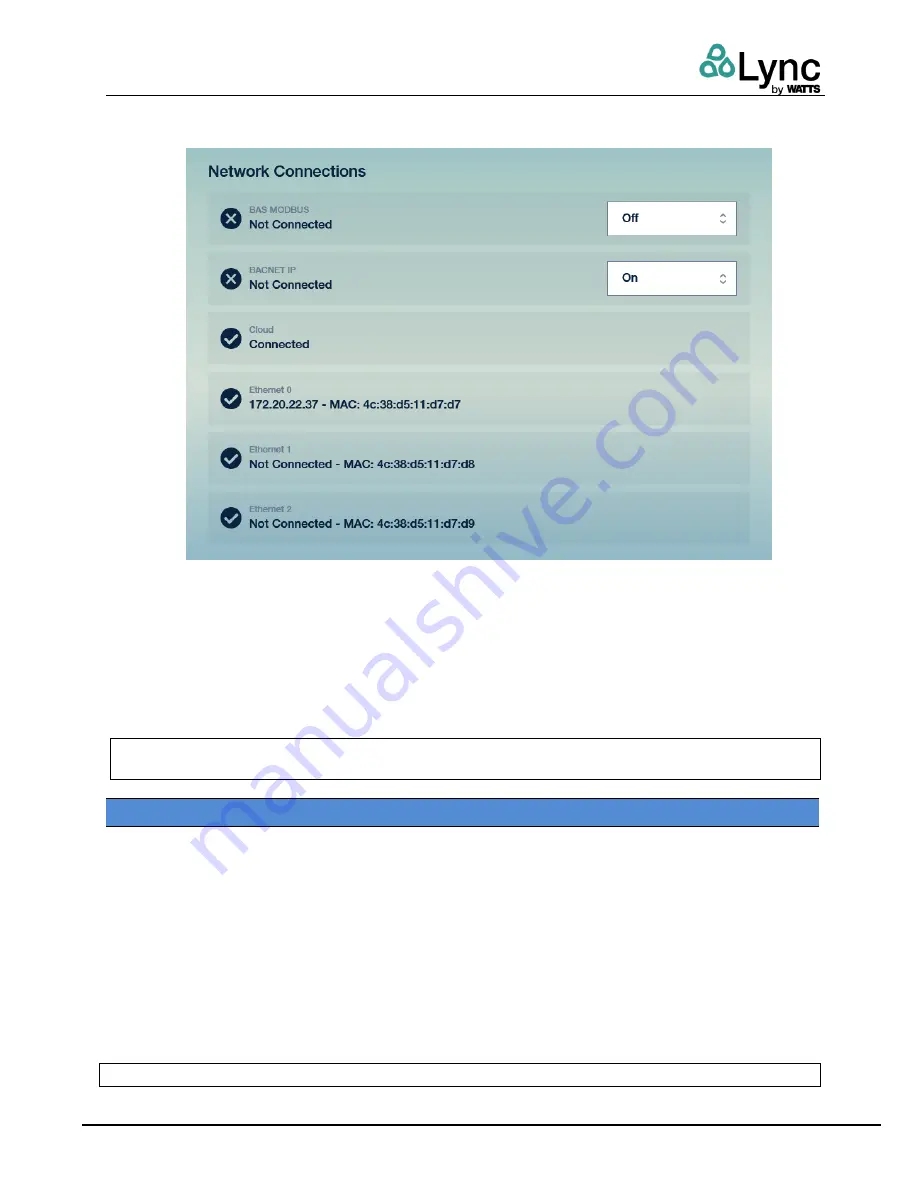
2. Confirm that a network connection is established by scrolling to the network connections
section and observing a checkmark and IP address for Ethernet.
Figure 26
–
Network Settings
If an IP address is not present, check the rear of the unit in the low voltage section of the electrical
compartment for a proper network connection to ENET 1 per Figure 24. Element receives an IP
address via DHCP rather than a static IP.
MAC addresses are available if the building network requires MAC filtering.
3. Change the BAS MODBUS and/or BACNET IP dropdowns from Off to On.
4. Verify in the building automation software that Element is visible.
NOTE:
All points are read-only. Any configuration of the unit may be performed using the myLync
app or at the unit itself with sufficient permissions.
9.6 Initial Startup and the First User
The myLync app available on iOS and Android provides remote monitoring of any Element
associated with an organization to anyone who has the appropriate permission and credentials.
Initial setup is performed by the Lync rep and installer and then the unit is transferred to the
customer. Follow the flow chart in Figure 31 as well as the instructions below.
1. Install the Element and connect to a network with access to the internet. Turn the unit on.
2.
The first user created is the “Owner”. Log in as the Owner with the code:
2143
. It is
recommended that once the customer receives access to the unit that the user managing the
Owner role changes this code immediately.
3. The Element can now be accessed locally. Cloud provisioning is recommended to gain full
access to the benefits of Element. This is performed between the Lync rep and the installer.
NOTE:
If you choose not to connect to the cloud at this time, continue to Section 9.8
.


