


IS-HF-AccUViewLEDEx-100125 Rev 0
10
Setting the Address
The last selection is the address. The address is important when
multiple instruments are wired on a single string. Each instrument
MUST have a unique address. The factory default is Address 1.
1. Select the desired instrument address using the
and
buttons.
2. Once the instrument address is selected, press the
button to set it.
Modbus Mode
To enable the Modbus mode, select
ASCII
or
RTU
. For more
information, refer to the Modbus section later in this manual.
Security Access Feature
The instrument is equipped with a security access feature that can be
activated in Configuration Mode. If this option is turned on, the user
is required to enter the access code into the instrument to get to any
mode other than
AUTO
. The security code is 333 and may not be
changed.
If the security feature is enabled, the screen shown below will appear
when the
MODE/EXIT
button is pressed.
The security code (333) must be entered to gain access to
CAL
or
CONFIG
menus. Flashing digit indicates that is the number to be
entered.
1. Use the
or
buttons to select the first of the three numbers in
the code.
2. Press the
button to set the first number.
3. Repeat steps 1 and 2 for the remaining two numbers in the code.
If the valid access code has been entered, the instrument will switch
to Calibration Mode (
CAL
). If the configuration mode (
CONFIG)
is
needed, push the
MODE/EXIT
button one more time.
If the wrong access code is entered, the instrument will return to the
AUTO
mode.
Extended Settings
The last few settings are grouped together to prevent them being
unintentionally changed. To gain access to the extended settings:
1. Use the
and
buttons to select ON.
2. Press the
button to enter the extended settings menu.
Units
This instrument can measure in either ABS or %T. This selection affects
menus prior to the Extended Settings menu.
1. Use the
and
buttons to select the desired unit of
measurement.
2. Once the desired unit of measurement is selected, press the
button to set it.
Speed of Response
The speed of response for both displayed and output values can be
adjusted. There are 10 response speed options; the factory default is 3.
The response is simply an average of the previous readings combined
with the current reading. If the setting is 1, only the current reading is
displayed. If the setting is 10, the last 9 readings are averaged with the
current reading.
1. Use the
and
buttons to select the desired speed of response.
2. Once the desired speed of response has been selected, press the
button to set it.
LCD Backlight Brightness
The backlit LCD allows for easier readability of the LCD display in low
light or no light conditions. The backlight is intended for continuous
operation.
The LCD backlight brightness has 10 brightness levels available; the
factory brightness level is 8.
1. Use the
and
buttons to select the desired brightness.
2. Once the desired brightness is selected, press the
button to set it.
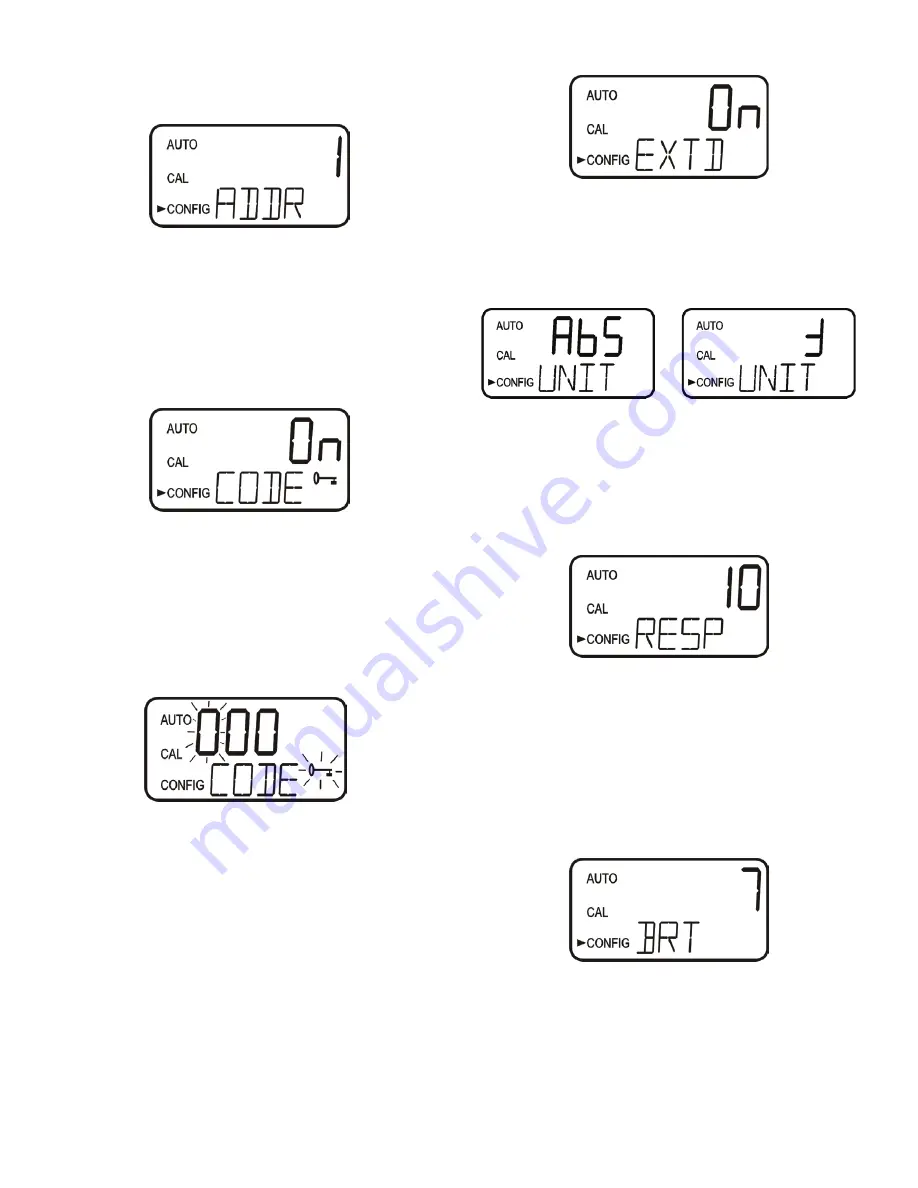
Screen Display - Setting the Address
Screen Display - Security Access On
Screen Display - Security Access Enabled
Screen Display - Extended Settings
Screen Display - Units
Screen Display - Response Time
Screen Display - LCD Brightness


