CLEANING
Clean using only a cloth dampened with water and a little mild detergent.
Use of solvents or hydrocarbon-based cleaners may cause permanent damage.
TROUBLESHOOTING
During Set House ID, the LED is not flashing on some Wireless Miro
devices.
• If LED is solid green before initiating house ID binding:
The device already has another house ID. Reset it to the factory default so
that it can be bound to the desired house ID. Resetting to factory defaults is
described in the “I need to start over” issue.
• If LED is solid yellow after initiating house ID binding:
The device may be out of range of the initiating device. Relocate the MRR2. It
may be necessary to add another MRR2 if reception to a particular area of the
house is blocked.
I made a configuration mistake. I need to start over.
You can reset any wireless Miro device to factory default settings by pressing
and holding until the LED changes to solid yellow (approximately 10
seconds). During the process, the LED fl ashes yellow and when complete, it
changes to solid yellow. The device can then be reconfi gured, exactly like any
new device.
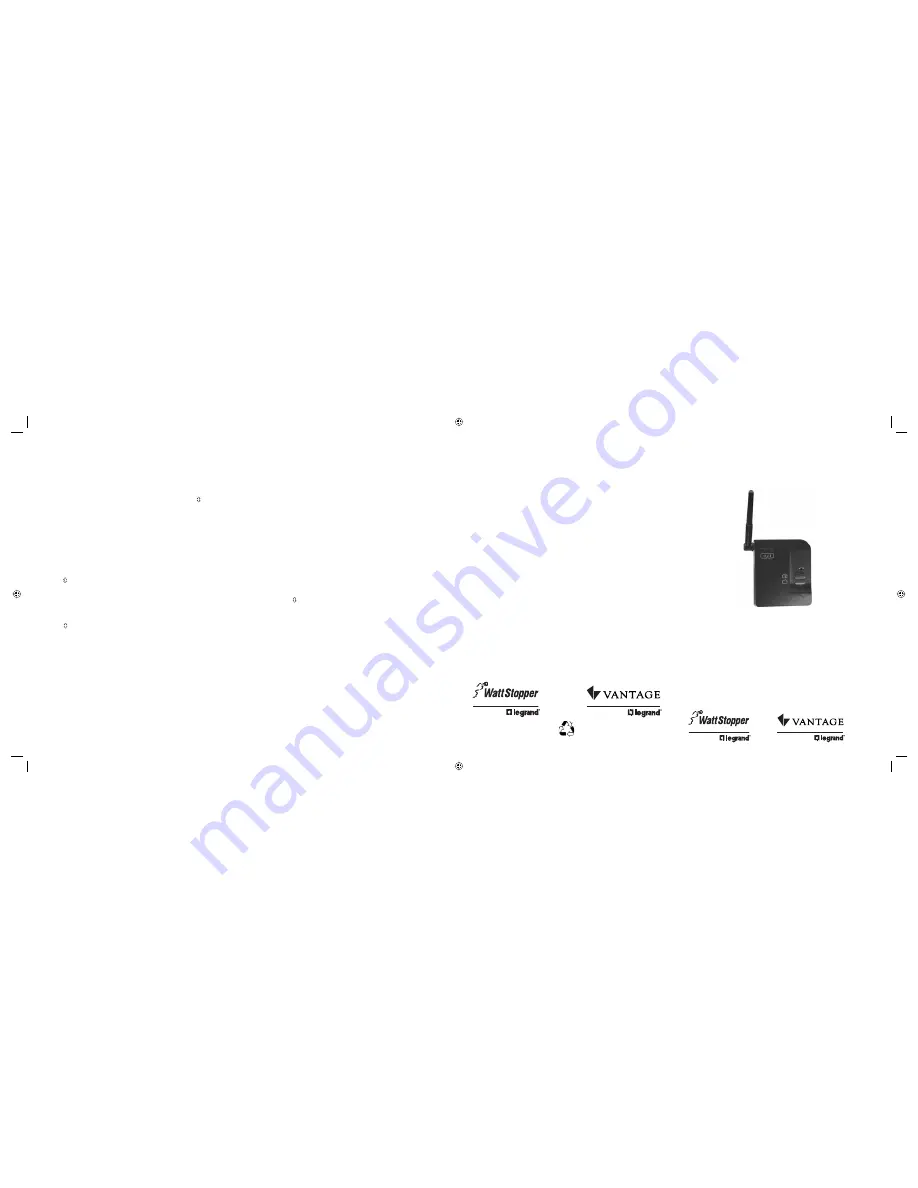
MRR2
Wireless Repeater
Specifications
MRR2 Input Voltage ......................... 9-12VDC, 50mA minimum
AC-DC adaptor (provided)
Input
120VAC,
60Hz
Output ............................................................. 9VDC, 50mA
Patents pending
ADVANCED OPERATION
Assigning Occupancy Emulation to a House Scene
You can assign the repeater’s occupancy emulation function to a Miro House
Scene button. This is very convenient, especially if the repeater is installed in a
hard to reach area.
1. From a wireless house scene controller (MRD5 or MRH5), press until its
LED begins fl ashing (about 2 seconds).
2. Press the scene button you want to use. We recommend the fourth one. The
LEDs on all the Miro wireless devices begin to fl ash. You now have 10 minutes
to complete this process.
3. Go to the repeater and press both buttons for 2 seconds until the repeater
status LED blinks yellow.
IMPORTANT: Only one repeater should be assigned to the house scene
button. If you have more than one repeater, use the most centrally located.
4. Check all the Miro wireless device LEDs. If they are blinking yellow, they are
assigned to the selected scene button. To exclude a device from the scene
press on the device until the LED begins to fl ash green.
Yellow
fl ashing LED = Included in the active scene
Green
fl ashing LED = NOT included in the active scene
If a device LED is NOT fl ashing, the 10 minute binding process timer may have
expired. Go back to step 1 and repeat.
5. Return to the house scene controller used in step 1.
Press for 2 seconds — the status LED stops fl ashing, then all the status
LEDs in the house turn to solid green.
6. From the same house scene controller, press and hold the same scene button
until the LED fl ashes once (about 2 seconds). Scene recording for this button
is complete.
7. When you leave the house, press the House Scene button you just recorded.
One minute later, occupancy emulation will begin.
FCC NOTICE
This equipment has been tested and found to comply with the limits for a Class
B digital device, pursuant to part 15 of the FCC Rules. These limits are designed
to provide reasonable protection against harmful interference in a residential
installation. This equipment generates, uses and can radiate radio frequency
energy and, if not installed and used in accordance with the instructions, may
cause harmful interference to radio communications. However, there is no
guarantee that interference will not occur in a particular installation. If this
equipment does cause harmful interference to radio or television reception,
which can be determined by turning the equipment off and on, the user is
encouraged to try to correct the interference by one or more of the following
measures:
• Reorient or relocate the receiving antenna.
• Increase the separation between the equipment and receiver.
• Connect the equipment into an outlet on a circuit different from that to which
the receiver is connected.
• Consult the dealer or an experienced radio/TV technician for help.
Caution
: Any changes or modifi cations to this device not explicitly approved by
The Watt Stopper could void your authority to operate this equipment.
Ins
tallation Ins
tructions
Warranty Information
Manufacturer warranties its products to be free of defects in materials and
workmanship for a period of fi ve (5) years. There are no obligations or liabilities
on the part of manufacturer for consequential damages arising out of, or
in connection with, the use or performance of this product or other indirect
damages with respect to loss of property, revenue or profi t, or cost of removal,
installation or reinstallation.
2800 De La Cruz Blvd.
Santa Clara, CA 95050
Phone: 800.879.8585
www.wattstopper.com
Please
Recycle
1061 South 800 East
Orem, UT 84057
Phone: 800.555.9891
www.vantagecontrols.com
03886r2 9/2007
Watt Stopper Customers contact:
Vantage Customers contact:
ii MRR2 03886r2.indd 1-4
ii MRR2 03886r2.indd 1-4
10/2/2007 11:53:46 AM
10/2/2007 11:53:46 AM


