


Part 2 - How to Thread the Main Unit
Once you have winded your threads, you can now remove the
existing installed ones on the machine. To remove, simply pull
out the threads. Also, remove the metal bobbin in the Bobbin
Compartment (I).
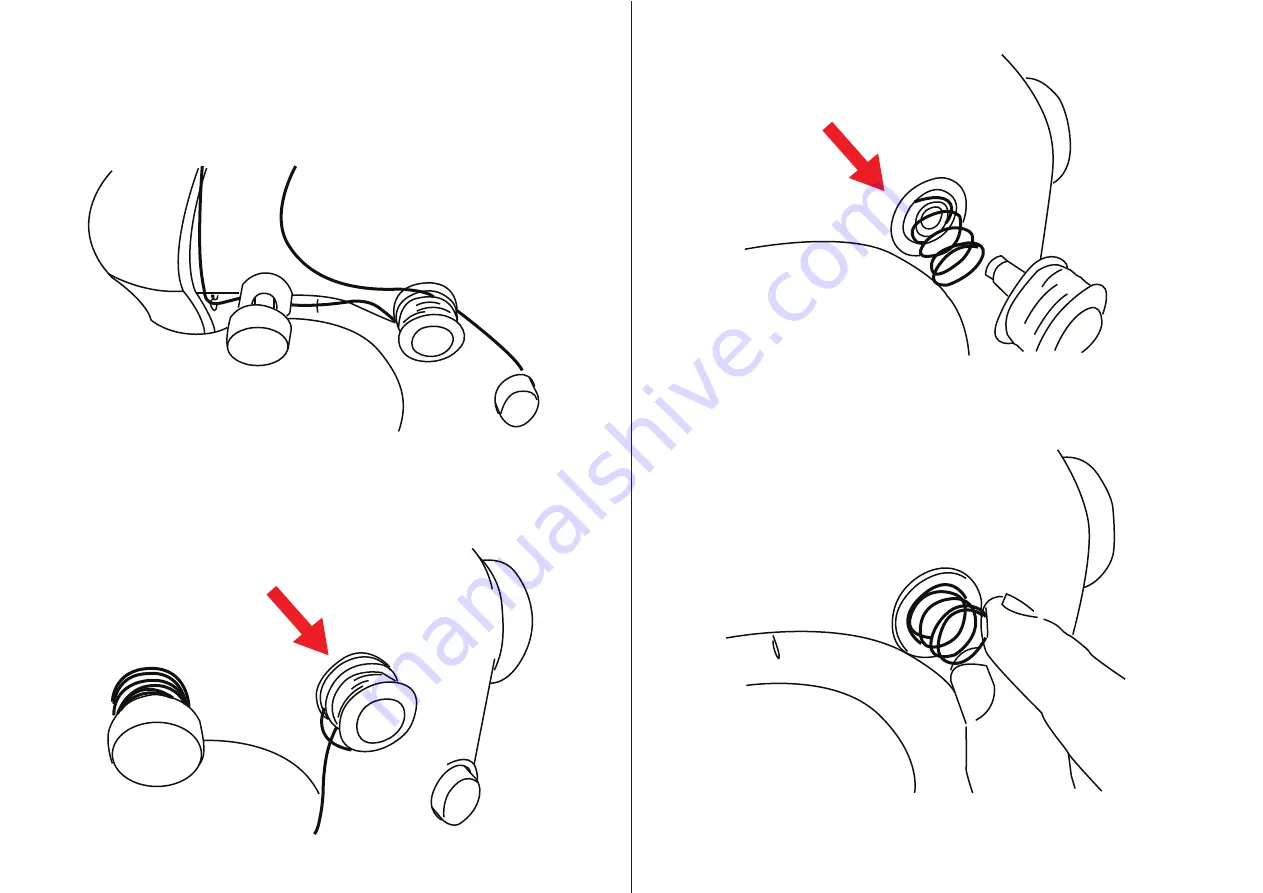
1.
Pull out the metal bobbin from the Bobbin Holder (V) and
be careful not to lose the spring.
2.
Attach the spring back and place your metal bobbin with
thread on the Bobbin Spindle.