Rev Feb-2023
INSTALLATION INSTRUCTIONS
™
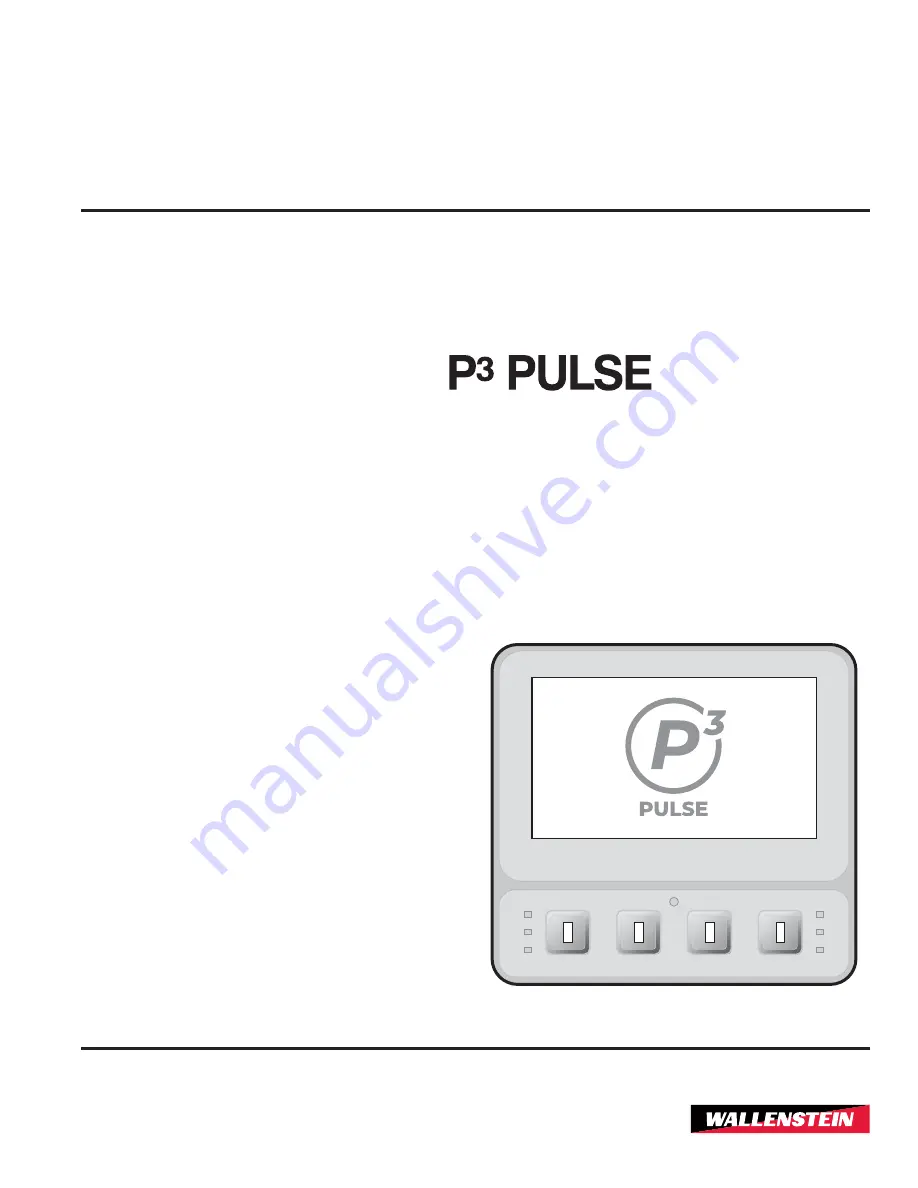
Display Kit
C
550
Part Number: Z97853_En
02079
Страница 1: ...Rev Feb 2023 INSTALLATION INSTRUCTIONS Display Kit C550 Part Number Z97853_En 02079...
Страница 2: ...e The P3 Pulse display accessory only works with P3 Pulse controllers and wire harnesses that are version 3 0 and above Illustrations are provided for reference only Some details may not be shown For...
Страница 3: ...at if not avoided will result in death or serious injury This signal word is to be limited to the most extreme situations typically for machine components which for functional purposes cannot be guard...
Страница 4: ...4 C550 P3 Pulse Display 3 Accessory Components 1 2 Figure 1 C550 accessory kit components Item Part Number Description Quantity 1 1062E004 P3 Pulse display 1 2 Z77817 Screw M4x 0 7 x 5 mm 4...
Страница 5: ...t can cause serious injury or damage the machine 4 1 Install a P3 Pulse Display on a BX52RI BX72RI or BX102RI Wood Chipper The following images show the BX52RI model however the process is the same fo...
Страница 6: ...screws from the mounting bracket Set aside the fasteners They are not necessary for installation Step 4 Remove the mounting bracket Set aside the mounting bracket It is necessary for installation Step...
Страница 7: ...play 1 in the indicator panel location 1 Step 7 Install the mounting bracket on the rear of the display 1 Align the four mounting bracket holes with the display 1 Step 8 Install the four screws 2 thro...
Страница 8: ...8 C550 P3 Pulse Display Step 9 Connect the wire harness to the display 1 1...
Страница 9: ...the wire harness Components that hang on a wire harness can damage the wires and connectors Step 1 The P3 Pulse indicator panel is on the left side of the machine Step 2 Remove the three bolts and th...
Страница 10: ...sconnect the wire harness from the indicator panel Step 4 Remove the four screws from the mounting bracket Set aside the fasteners They are not necessary for installation Step 5 Remove the mounting br...
Страница 11: ...11 C550 P3 Pulse Display Step 6 Remove the indicator panel from the machine guard Step 7 Put the P3 Pulse display 1 in the machine guard 1...
Страница 12: ...mounting bracket on the rear of the display 1 Align the four mounting bracket holes with the display 1 Step 9 Install the four screws 2 through the mounting bracket and into the display 1 2 1 Step 10...
Страница 13: ...13 C550 P3 Pulse Display Step 11 Attach the machine guard to the machine Install the three bolts and three washers that were removed in step 2 Only hand tighten the fasteners...
Страница 14: ...hanging on the wire harness Components that hang on a wire harness can damage the wires and connectors Step 1 The P3 Pulse indicator panel is on the right side of the machine Step 2 Remove the four bo...
Страница 15: ...sconnect the wire harness from the indicator panel Step 4 Remove the four screws from the mounting bracket Set aside the fasteners They are not necessary for installation Step 5 Remove the mounting br...
Страница 16: ...6 Remove the indicator panel from the machine guard Step 7 Put the P3 Pulse display 1 in the machine guard 1 Step 8 Install the mounting bracket on the rear of the display 1 Align the four mounting br...
Страница 17: ...four screws 2 through the mounting bracket and into the display 1 2 1 Step 10 Connect the wire harness to the display 1 1 Step 11 Attach the machine guard to the machine Install the four bolts remove...
Страница 18: ...ractor and the display is correct For more information see the wood chipper Operator s Manual 4 Turn off the tractor For instructions see the tractor manual 5 2 Test the Electirical Connection on a BX...
Страница 19: ...e original purchase receipt with any claim This warranty does not cover the following 1 Normal maintenance or adjustments 2 Normal replacement of wearable and service parts 3 Consequen al damage indir...
Страница 20: ...WallensteinEquipment com...