P.1
Copyright
©
2019 b
y
Walker Edison Furniture Co., LLC. All rights reserved.
Please visit our website for the most current instructions, assembly tips, report damage,
or request parts.
www.walkeredison.com
Revised 29/11/2019 (I)
®
Walker Edison
TM
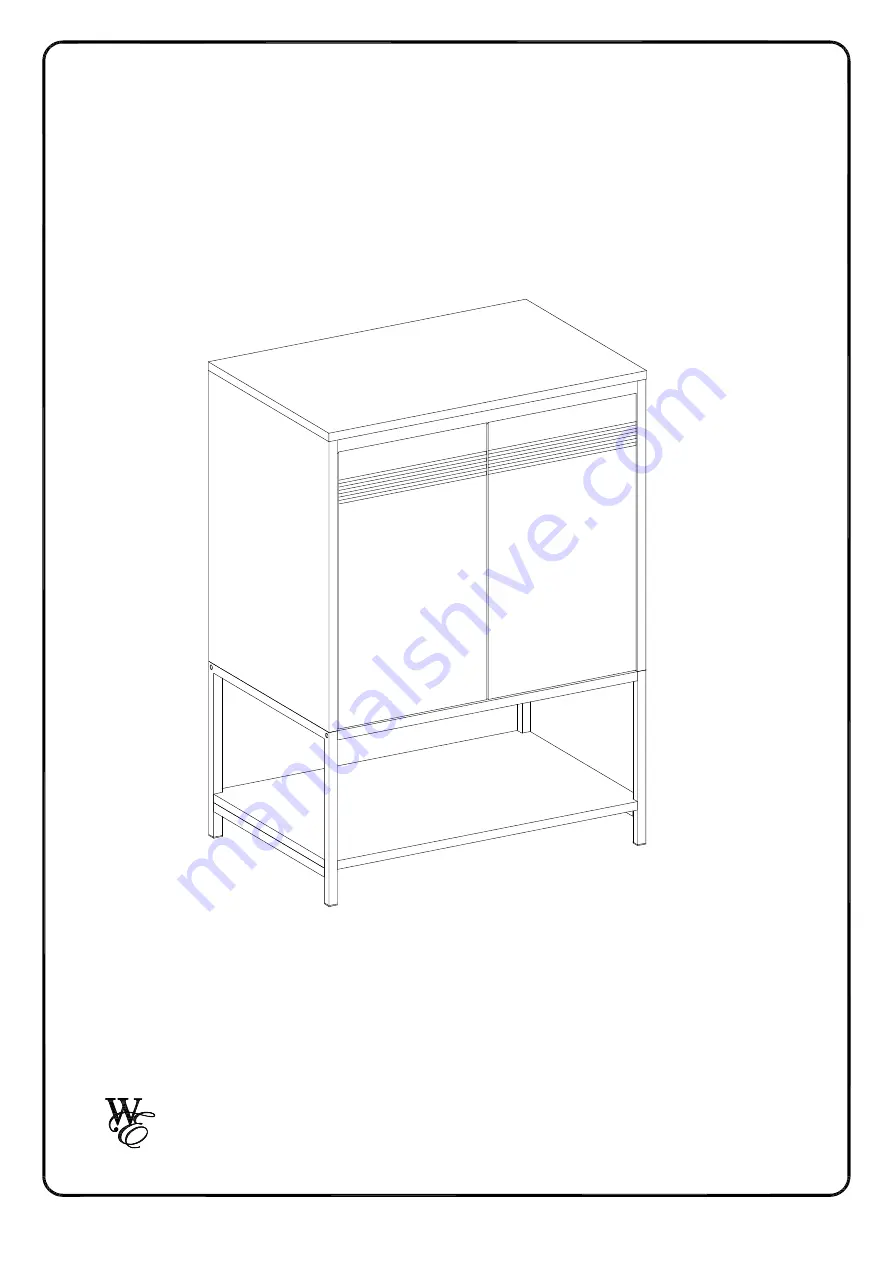
Item # : AF24NYM2D
Assembly Instructions


