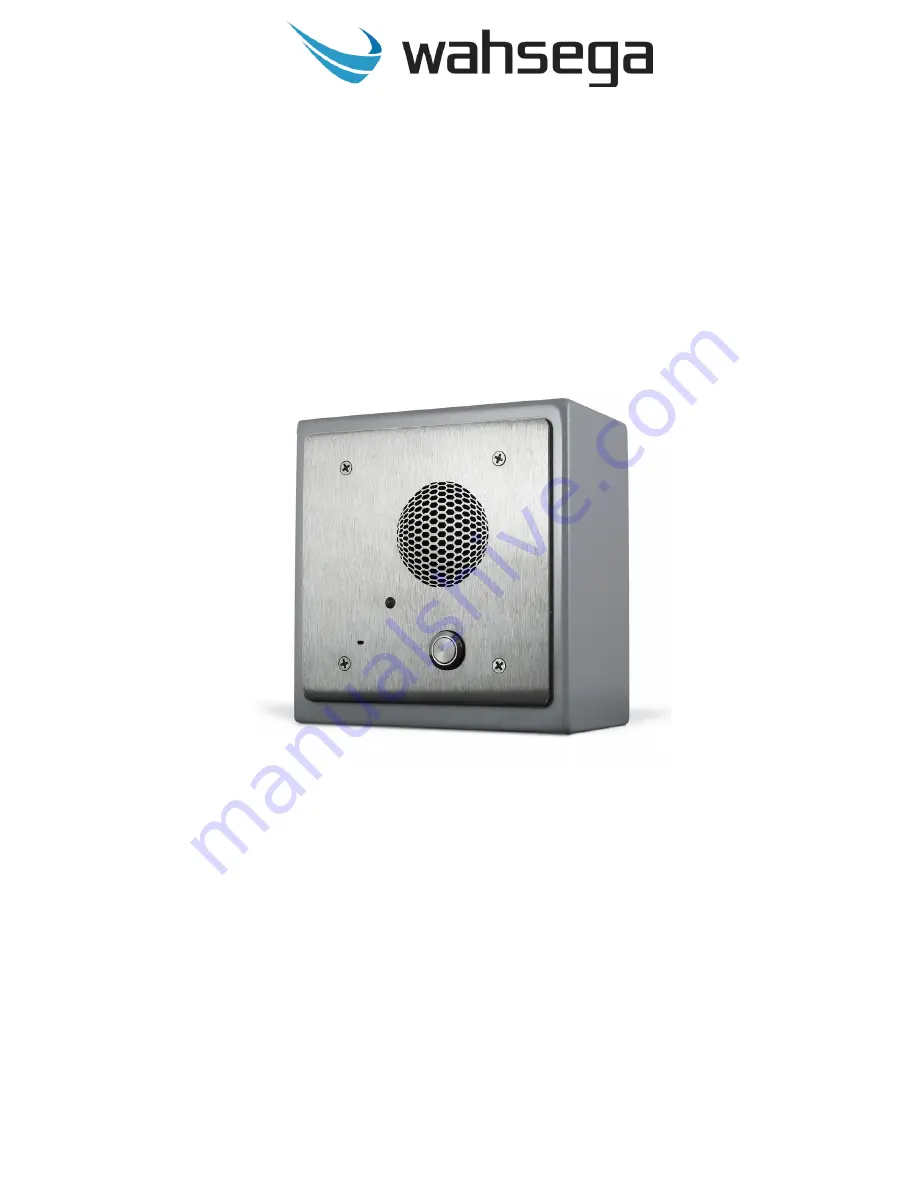
Outdoor Pedestal IP Intercom
Installer’s Guide
This step-by-step guide will help you install your
Wahsega Outdoor Pedestal IP Intercom.
Страница 1: ...Outdoor Pedestal IP Intercom Installer s Guide This step by step guide will help you install your Wahsega Outdoor Pedestal IP Intercom...
Страница 2: ...Outdoor Pedestal IP Intercom Installation Guide Page 2 What s in the Box WL BKMT HOOD OV...
Страница 3: ...or Peer to peer device to call Network cable Cat5e or Cat6 max 100m Wrench or ratchet set RTV sealant for weatherproofing Screwdrivers Small flat head screwdriver Phillips head screwdriver T 15 Torx...
Страница 4: ...st to Exit and Door Latch Wiring The Outdoor Pedestal IP Intercom provides an integrated relay with connections for controlling magnetic door latches request to exit REX functionality for buttons and...
Страница 5: ...for Auxiliary Output is a 3 pin male connector wired to a Form C relay SPDT used to connect door latches gates and other points of entry Its contacts are rated for 30VDC or 270VAC at 3A Pin 1 is a Nor...
Страница 6: ...4 7k to 3 3V and wired through 220 Connect to the NO of an SPDT NOTE 1 Pin 2 Door status ground reference pin Connect to Common Pin 3 Request to exit button and or motion activated exit monitor line...
Страница 7: ...tallation Guide Page 7 Door Status Monitor REX Connector The REX input can be wired in parallel with a REX button and an exit motion sensor Both REX and door status inputs go to Normally Open NO conne...
Страница 8: ...Pedestal IP Intercom Installation Guide Page 8 Wall Mount Installation Refer to pages 2 3 for a list of included hardware and what you will need to properly install your Wahsega Outdoor Pedestal IP I...
Страница 9: ...o ensure accurate bolt placement Studs or fasteners should protrude from the wall no more than 0 50 when using hood or 0 40 without hood Images C D 2 For proper weatherproof deployment use a conduit s...
Страница 10: ...our device s MAC address which is printed on a white sticker on the rear of the circuit board 6 Attach the intercom s faceplate to the back box using either the Phillips head screws or the security sc...
Страница 11: ...Outdoor Pedestal IP Intercom Installation Guide Page 11...
Страница 12: ...Outdoor Pedestal IP Intercom Installation Guide Page 12 Pedestal Mount Installation Refer to pages 2 3 for list of included hardware and equipment needed to properly install your Wahsega intercom...
Страница 13: ...n below in the orientation shown in Image B 2 For proper weatherproof deployment apply a generous amount of RTV sealant onto both sides of the interior washers and around the perimeter of the pedestal...
Страница 14: ...e sure to make a note of your device s MAC address which is printed on a white sticker affixed to the rear of the circuit board 6 Attach the intercom s faceplate to the back box using either the Phill...
Страница 15: ...ollowing RF emissions standards FCC 47 CFR Part 15 Subpart B Industry Canada ICES 003 Issue 5 Cet appareil num rique de la classe A est conforme la norme ICES 003 du Canada This product is designed ma...
Страница 16: ...Outdoor Pedestal IP Intercom Installation Guide Page 16 Images not to scale Larger versions available at Wahsega com...
Страница 17: ...Outdoor Pedestal IP Intercom Installation Guide Page 17 Wall Installation Mounting Template This image is to scale Use to find accurate bolt placement...
Страница 18: ...com Installation Guide Page 18 Outdoor Pedestal IP Intercom WL IC BKMT CAR OV R WL IC BKMT CAR OVNB R WL IC BKMT CAR OV2B R WL IC BKMT SIP OV R WL IC BKMT SIP OVNB R WL IC BKMT SIP OV2B R Optional Wea...