Specifications are subject to change without notice.
© 2016 VTech Communications, Inc. All rights reserved.
05/16. VM344_QSG_V6. Document order number: 96-010955-050-100
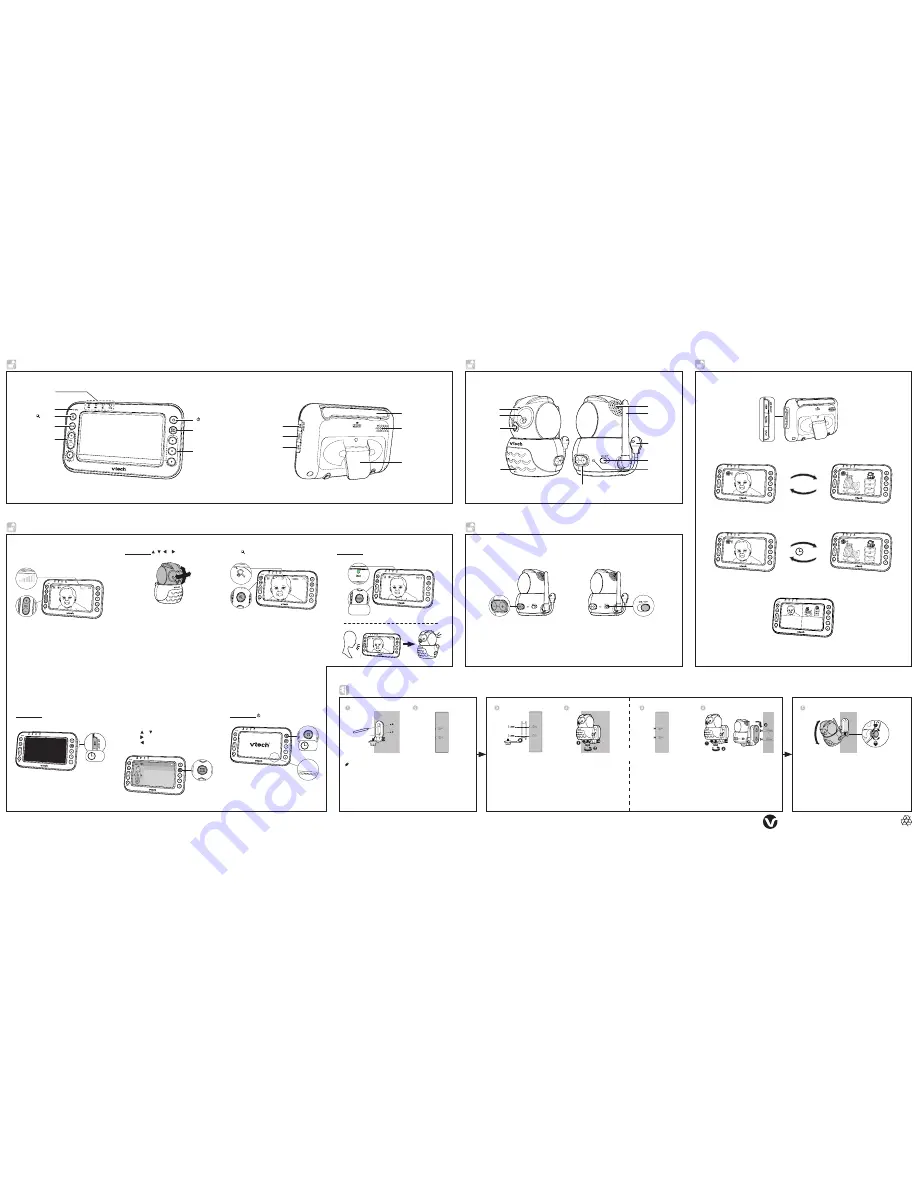
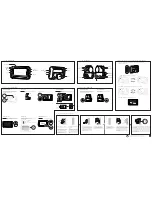
Overview -
Parent unit
VIEW / LCD ON/OFF
PATROL
SPLIT
Antenna
Speaker
Stand
At least 1 meter
(3 feet)
Zoom
TALK
+ / VOL / -
On/off
MENU/SELECT
Arrow keys
Light indicators
Microphone
Overview -
Baby unit
Microphone
Camera
Light sensor
Infrared LEDs
Temperature
sensor
Antenna
+ / VOL / -
Speaker
ON/OFF switch
ON/OFF light
Change different views (require additional baby units - VM314)
You can view from different baby units if you have more than one baby units in your system
(
VM314
purchased separately).
Press
VIEW
to switch between the images of the baby units.
Press
VIEW
Press
PATROL
to alternately view the image from the baby units every 10 seconds.
Press
SPLIT
to view the images from all baby units at once.
10s
Basic operation -
Parent unit
Pan, tilt, zoom
Press and hold , , or to move the camera.
Talk to your baby unit
Press and hold
TALK
and speak to your parent unit. Your voice
is transmitted to the baby unit.
If you drill the holes into a stud,
go to step 3.
-OR-
If you drill the holes into an object
other than a stud, insert the wall
anchors into the holes. Tap gently
on the ends with a hammer until
the wall anchors are flush with
the wall.
Mount the baby monitor (optional)
Place the wall mount bracket on a
wall and then use a pencil to mark
the top and the bottom holes as
shown. Remove the wall mount
bracket and drill two holes in the
wall (7/32 inch drill bit).
NOTES
Check for reception strength and
camera angle before drilling the holes.
•
The default angle of the wall mount bracket is 90 degrees. You
can maximize your baby unit’s viewing angles by tilting the wall
mount bracket.
Hold the baby unit, and then rotate the knob in anticlockwise
direction. This will loosen the joint of the wall mount bracket.
Tilt your baby unit up or down to adjust to your preferred angle.
Then, rotate the knob in clockwise direction to tighten the joint
and secure the angle.
Insert the screws into the
holes and tighten the screws
until only 1/4 inch of the
screws are exposed.
OR
Align the wall mount bracket and
screws with the holes in the wall
as shown. Tighten the screw in the
middle hole first, so that the wall
mount bracket position is fixed. You
can tighten the other screw in the
top hole.
Place the baby unit on the wall mount
bracket. Tighten the screw into the threaded
socket at the bottom to secure the baby
unit. Align the holes on the wall mount
bracket with the screws on the wall, and
slide the wall mount bracket down until it
locks into place.
Place the baby unit on the wall
mount bracket. Tighten the screw
into the threaded socket at the
bottom to secure the baby unit.
Use the menu
Press
MENU/SELECT
to enter the menu, choose
a menu item, or save a setting.
While in the menu:
Press or to scroll up or down.
Press to select an item.
Press
BACK
to return to the main menu or
idle screen.
•
•
•
Turn off the parent unit
Press and hold
to power off your parent unit.
Turn off the screen
Press and hold
LCD ON/OFF
to turn off the screen.
You can still hear sound from the selected baby unit.
Press to zoom in or out.
Adjust speaker volume
Press
+ / VOL / -
to adjust your parent unit speaker
volume. It determines the volume of sound
transmitted from your baby unit.
63
ē
63
ē
63
ē
63
ē
63
ē
63
ē
63
ē
63
ē
63
ē
Long press
63
ē
63
℉
More than
1 meter (3 feet)
63
℉
LCD is turning off...
2s
Alert Tone
Low Battery Tone
No Link Alert
Sound alert in split-view
Alert Tone
Low Bettery Tone
No Link Alert
Sound alert in split-view
6U]KXOTMULL
6U]KXOTMULL
6U]KXOTMUT
2s
Basic operation -
Baby unit
Adjust speaker volume
Press
+ / VOL / -
to adjust your baby unit speaker
volume. It determines the talkback volume
transmitted from your parent unit.
Turn off the baby unit
Slide the
ON/OFF
switch to the right to power
off your baby unit.


