background image


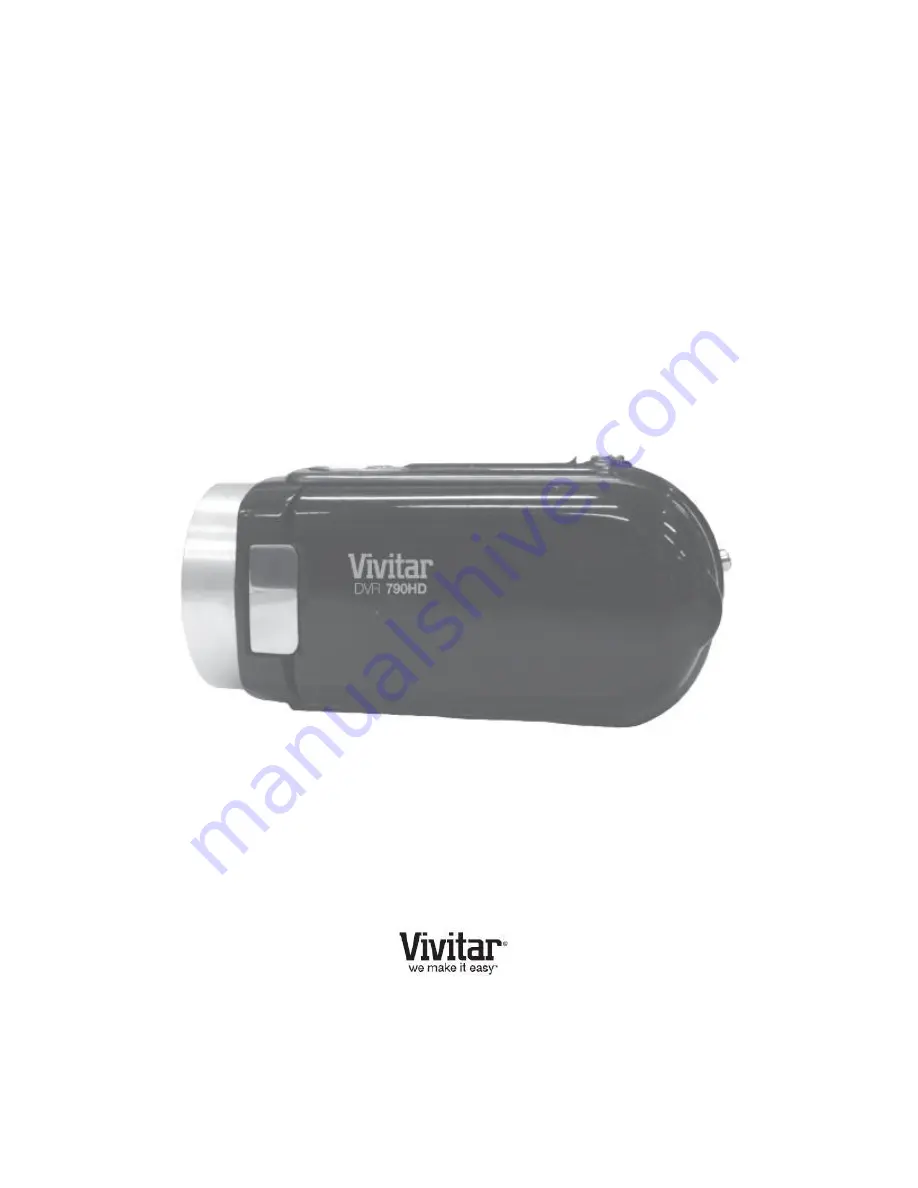
DVR 790HD   

3D Digital Camcorder 


User Manual 


© 2009-2011 Sakar International, Inc. All rights reserved. 

Windows and the Windows logo are registered trademarks of Microsoft Corporation. 

All other trademarks are the property of their respective companies. 

Содержание DVR 790HD

Страница 1: ...amcorder User Manual 2009 2011 Sakar International Inc All rights reserved Windows and the Windows logo are registered trademarks of Microsoft Corporation All other trademarks are the property of thei...

Страница 2: ...ing the Menus 13 Video Capture Mode 14 Video Playback Mode 28 Photo Capture Mode 33 Photo Playback Mode 49 Connecting the Camcorder to a TV and HDTV 55 Installing the Software 57 Connecting the Camcor...

Страница 3: ...ual carefully first in order to get the most out of your digital camcorder Note Your camera needs an SD Memory card up to 32GB for normal use SD Memory cards are not included and need to be purchased...

Страница 4: ...w Button 11 Zoom Out Zoom In 3 Delete Down Button 12 Indicator Light 4 LED On Off Left Button 13 USB AV HDMI Slot 5 ViviLink Right Button 14 Hand Strap 6 SET MENU Button 15 Tripod Mount 7 MODE Button...

Страница 5: ...the other end of the USB cable to the USB port on your computer B Charge the battery using the USB connection cable included and the AC Adapter included Connect one end of the USB cable into the USB p...

Страница 6: ...camera SD card not included To properly insert the SD Card Push the SD card into the slot in the direction shown on the camera see SD icon by the SD card slot Push the SD card until you hear a slight...

Страница 7: ...lly charged 2 SD Card Make sure the SD Memory Card has been inserted properly 3 Power On Press the POWER button to turn on the camera Setting the Camera Language 1 You will first be prompted to select...

Страница 8: ...tton to confirm the selection and move to the next part of the camera setup Setting the ViviLink Default Option Once the Date and Time have been set you will be asked to set the default ViviLink desti...

Страница 9: ...ODE button once to open the Video Capture mode To take a video aim your camera as desired and press the Shutter button to start the record A red record indicator will appear on the LCD screen while re...

Страница 10: ...posure 3 0EV 3 0EV White Balance Auto Daylight Cloudy Fluorescent Incandescent ISO Auto 100 200 400 Scene Auto Scenery Portrait Night Scenery Night Portrait High Sensitivity Beach LED Flash Yes Self T...

Страница 11: ...nitor 1024 X 768 recommended screen resolution CD ROM Drive QuickTime 6 or higher Microsoft Internet Explorer 7 or higher Windows Media Player 10 or higher DirectX 9 or higher Internet connection requ...

Страница 12: ...fter powering on the camera emits a sound and the LED light turns on briefly The LCD screen turns on with your camera in Video Capture mode to start Powering the camera OFF While the camera is on you...

Страница 13: ...powered ON the Video Capture Mode will be active The icons that appear on the LCD screen are the best default settings so that you can begin to capture and enjoy clear quality photos To change the ac...

Страница 14: ...u selection 4 Press the SET button to confirm and save the highlighted menu option 5 If the selection can be remembered by the camera a selection icon will appear to the right of the selected menu opt...

Страница 15: ...ppears on the right side of the LCD screen 3 Press the Shutter button on the top of the camera to START the video capture 4 You will see a red icon at the top of the LCD indicating that the record is...

Страница 16: ...Opens the ViviLink for Videos menu Other Shutter STARTS STOPS the video capture SET Opens the menu options for Video Capture Mode Saves your selected menu option Note To navigate through the Menus us...

Страница 17: ...16 Video Capture Mode Menus The following are the menus that appear in your camera s 2D and or 3D Video Capture Mode...

Страница 18: ...er that this setting will be saved by your camera until you manually change the setting or restore the camera s default factory settings Scene Menu 2D Image Capture only The Scene Menu allows you to c...

Страница 19: ...d by your camera until you manually change the setting or restore the camera s default factory settings Image Quality Menu 3D and 2D Image Capture The Image Quality menu allows you to select the desir...

Страница 20: ...ton to exit the menu and return to your previous mode 8 An icon reflecting your selection will display on the LCD screen 9 Remember that this setting will be saved by your camera until you manually ch...

Страница 21: ...setting or restore the camera s default factory settings Light Exposure Menu 3D and 2D Image Capture The Light Exposure setting helps you control the amount of light that enters your camera s lens Thi...

Страница 22: ...ess the SET button to open the menus for the current mode 2 Push the joystick button LEFT or RIGHT to scroll and select the ISO menu 3 Push the joystick button UP or DOWN to scroll through the menu op...

Страница 23: ...n reflecting your selection will display on the LCD screen 9 Remember that this setting will be saved by your camera until you manually change the setting or restore the camera s default factory setti...

Страница 24: ...factory settings Date Time Menu 3D and 2D Image Capture When you capture an image with your camera the image will include a time stamp with the date and time that the image was taken The Date Time me...

Страница 25: ...return to your previous screen Auto Power Off Menu 3D and 2D Image Capture You can use the Auto Power Off feature in order to conserve you camera s battery life The designated time represents when you...

Страница 26: ...nu item 7 Press the MODE button to exit the menu and return to your previous mode 8 Remember that this setting will be saved by your camera until you manually change the setting or restore the camera...

Страница 27: ...to scroll and select the Format Memory Card menu 3 Push the joystick button UP or DOWN to highlight the menu options 4 To exit without formatting the card select Cancel and press the SET button 5 To...

Страница 28: ...on to proceed with the reset You will then automatically exit the menu and return to the previous mode with the digital camcorder settings set to the Factory Default Settings Note After RESETTING to t...

Страница 29: ...th an AVI icon on the top left of the LCD screen 2 Play your selected video Press the Shutter button to START playing the video Press the Shutter button again to PAUSE the video and to continue playin...

Страница 30: ...Function Left Displays the PREVIOUS image Up STOPS a playing video Right Displays the NEXT image Down Other Shutter PLAYS and PAUSES a playing video W Zoom out Opens Thumbnail View To Navigate in the...

Страница 31: ...firm the deletion of the photo If you would like to proceed with deleting the current image select Yes and press the SET button to confirm The video will be deleted and you will exit the menu and retu...

Страница 32: ...ck button LEFT or RIGHT to scroll and select the ViviLink menu 3 Push the joystick button UP or DOWN to scroll through the menu options 4 Press the SET button to select and save the desired option 5 A...

Страница 33: ...o scroll and select the Protect Lock menu 3 Push the joystick button UP or DOWN to scroll through the menu options 4 Press the SET button to select and save the desired option 5 Press the MODE button...

Страница 34: ...Note The actual shape of the zoom buttons may vary per camera model You can magnify your subject up to 4 times using the digital zoom The following Digital Zoom Indicator appears on the right side of...

Страница 35: ...otos menu Other Shutter Captures the photo SET Opens the menu options for Photo Capture Mode Saves your selected menu option Note To navigate through the Menus use the UP DOWN LEFT RIGHT direction con...

Страница 36: ...35 Photo Capture Mode Menus The following are the menus that appear in your camera s 2D and or 3D Photo Capture Mode...

Страница 37: ...be saved by your camera until you manually change the setting or restore the camera s default factory settings Scene Menu 2D Photo Capture only The Scene Menu allows you to choose scene settings that...

Страница 38: ...our camera until you manually change the setting or restore the camera s default factory settings Image Quality Menu 3D and 2D Image Capture The Image Quality menu allows you to select the desired qua...

Страница 39: ...return to your previous mode 8 An icon reflecting your selection will display on the LCD screen 9 Remember that this setting will be saved by your camera until you manually change the setting or rest...

Страница 40: ...acing the camera The face of the subject s you are photographing must be facing the camera and must hold the pose for at least 4 to 5 seconds until the green square s appears around the subject s face...

Страница 41: ...ton to exit the menu and return to your previous mode 8 An icon reflecting your selection will display on the LCD screen 9 Remember that this setting will be saved by your camera until you manually ch...

Страница 42: ...D screen 9 Remember that this setting will be saved by your camera until you manually change the setting or restore the camera s default factory settings Image Sharpness Menu 2D Image Capture You can...

Страница 43: ...FT or RIGHT to select the next menu item 7 Press the MODE button to exit the menu and return to your previous mode 8 An icon reflecting your selection will display on the LCD screen 9 Remember that th...

Страница 44: ...onditions the camera divides and adjusts the settings of the image into several zones for light metering such as complex light conditions position of subject brightness background direct light and sce...

Страница 45: ...settings Date Time Menu 3D and 2D Image Capture When you capture an image with your camera the image will include a time stamp with the date and time that the image was taken The Date Time menu allows...

Страница 46: ...us mode 8 Press the MODE button to exit the menu without saving your settings and return to your previous screen Silent Mode Menu 3D and 2D Image Capture You have the option of activating the camera s...

Страница 47: ...saved by your camera until you manually change the setting or restore the camera s default factory settings Frequency Menu 3D and 2D Image Capture The options in the Frequency menu represent the frequ...

Страница 48: ...setting will be remembered by your camera until you manually change the setting or restore the camera s default factory settings Format Memory Card Menu 3D and 2D Image Capture You can use the Format...

Страница 49: ...d 4 Press the SET button to reset the camera to the factory default settings 5 You will be asked to confirm the resetting to the factory default settings Select No to exit the menu and return to the p...

Страница 50: ...screen Viewing your 3D Photos Wear the 3D glasses included to view the photos you have captured in 3D 2 Zooming In Out of your selected Photo Press the T Zoom In button to Zoom In and magnify the sele...

Страница 51: ...5 or 10 second intervals To exit the Slide Show press any button Right Displays the NEXT image Down Other W Zoom out Opens Thumbnail View To Navigate in the Thumbnail View press the UP DOWN LEFT RIGHT...

Страница 52: ...s 5 To delete the selected photo Select Delete This Photo and press SET button You will be asked to confirm the deletion of the photo If you would like to proceed with deleting the current image selec...

Страница 53: ...to open the menus for the current mode 2 Push the joystick button LEFT or RIGHT to scroll and select the ViviLink menu 3 Push the joystick button UP or DOWN to scroll through the menu options 4 Press...

Страница 54: ...stick button LEFT or RIGHT to scroll and select the Crop Image menu 3 Push the joystick button UP or DOWN to highlight the Crop option 4 Press the SET button to open the Crop option 5 The Crop box wil...

Страница 55: ...ou cannot delete or edit photos while they are locked Slide Show Menu 3D and 2D Images You can view a Slide Show of all the pictures taken with your camera by pressing the UP Quick Function button whi...

Страница 56: ...the TV out cable a message will appear on the LCD screen to select NTSC or PAL for the type of TV you are using 5 Select the option as per the format of the TV set you are using and press the SET but...

Страница 57: ...on the TV screen and view the recording on the TV 4 When the camera is set to Playback mode you can review all the stored photos and videos on the TV 5 In Playback Mode push the LEFT or RIGHT button...

Страница 58: ...ation s CD DVD drive and click on Setup exe to launch the installer 3 On Macintosh Click the icon that appears on the desktop to install the Vivitar Experience Image Manager 4 If you do not have inter...

Страница 59: ...nd then click Install 11 Please wait while the application continues the installation process on your computer 12 On PC Click the Close button when the installation is complete Click the Launch Vivita...

Страница 60: ...connected then it will be selected automatically 5 Select a location on the computer where to place the new photo and video files 6 Add the new photo and video files to albums if desired 7 Select to...

Страница 61: ...page Transferring Images from my Camera to my Computer Manually Transferring Photos and Videos WINDOWS 1 Use the USB cable that came with your camera to connect your camera to your computer 2 MSDC ap...

Страница 62: ...ckaging for compatibility with the iPad Apple iPad Camera Connection For models that are compatible with the iPad photos and videos can be imported from your digital camcorder to your iPad by followin...

Страница 63: ...will be repaired at no charge for parts or labor for a period of one year from the time of purchase What Is Not Covered By Warranty Damages or malfunctions not resulting from defects in material or w...

Страница 64: ...sage that the images were successfully transferred but the photos do not appear on my computer What do I do First ensure that you have in fact taken photos Press the Shutter button to take some sample...

Страница 65: ...our photos to your computer as soon as possible to prevent unintentional data loss Q I deleted images using the Vivitar Experience Image Manager The images were also deleted from my computer How do I...

Отзывы: