

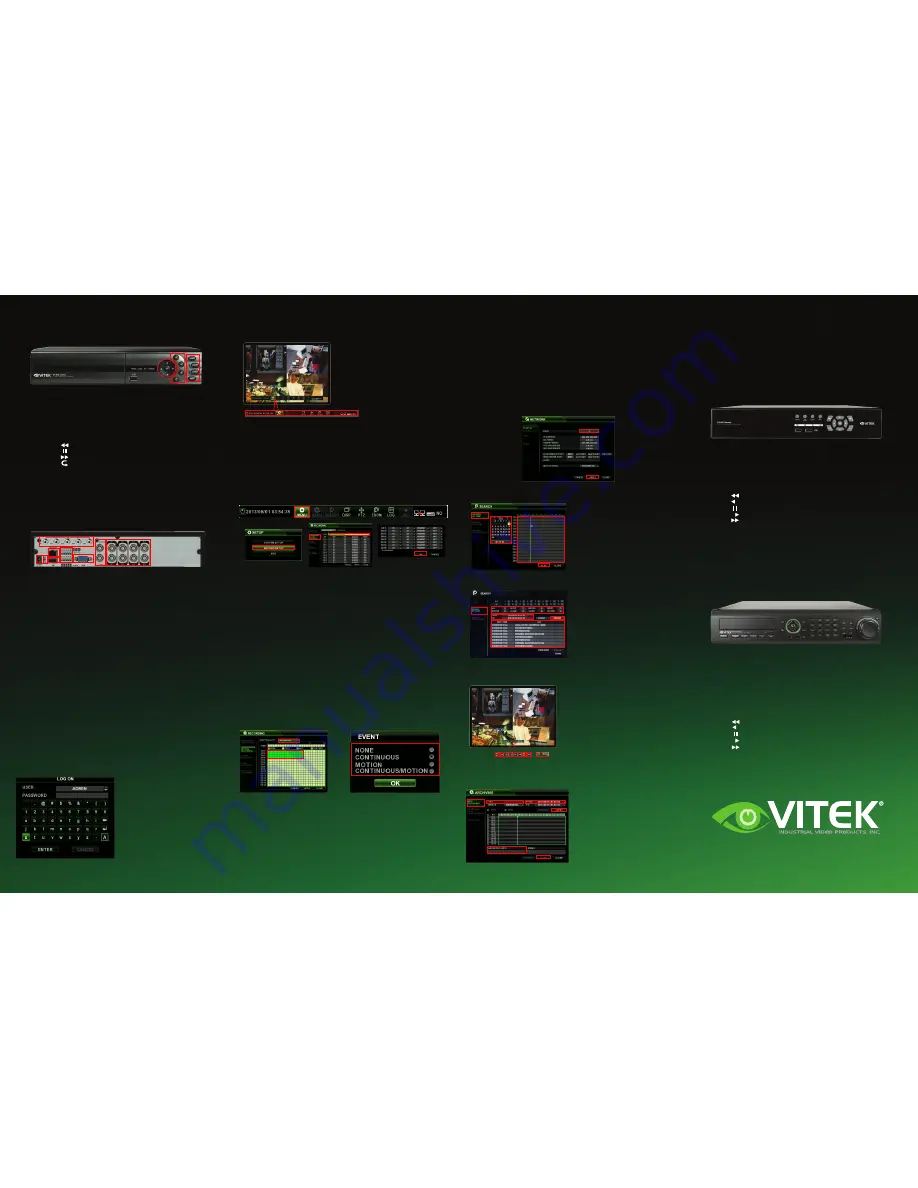
VT-EH/EHL/EHP
Quick Installation Guide
Front Panel VT-EHL Controls
System Bootup
Record Menu
Rear Panel Inputs/Outputs
1. CAMERA INPUTS
Connect up to 8 camera inputs
2. MAIN MONITOR / SPOT MONITOR OUTPUTs
Connect AV monitor instead of VGA output / One spot
monitor can be connected
3. AUDIO INPUTS & OUTPUTS
Up to 4 audio inputs and one audio output can be connected
4. PAL / NTSC SWITCH
5. ALARM INPUTS & RELAY OUTPUT
Up to 4 alarm inputs can be connected and configured as
high or low inputs with common ground. One Relay output
can be connected and configured as high or low with
common ground connection to external telemetry
6. RS-485 - Devices for PTZ or Keyboard controller
7. LAN - LAN connection to a router or internal network
8. VGA - Main monitor connection to a PC monitor or LCD
screen.
9. DC POWER– Connection 12V/5A adaptor
10. USB Port– USB 2.0
Press Power button to boot up
the system.
After startup diagnostics com-
plete, the operator must logon
to the system.
Default user name: ADMIN
Using the CHANNEL SELEC-
TION buttons, key in the default
password of ‘1234’ and press
the
ENTER button.
STATUS BAR
MENU – Access to system or
recording setup
ARCH – Enter to Backup Menu
SEARCH – Open Search Menu
DISP – Change Display Mode/
Split Mode
PTZ – Open PTZ Control Panel
LOG – Open Live Log list with
image
REC – Start Panic Recording
Mode
CHANGE RECORDING CONFIGURATION - PARAMETER
1. From the Live Screen, click the MENU icon on the STATUS BAR
2. Select RECORD SETUP
3. Select CONTINUOUS/MOTION RECORDING
4. Select TIME LINE
5. Change SIZE, FPS, QUALITY, AUDIO at each Channel and press OK
button.
www.vitekcctv.com | [email protected] | 888-VITEK-70
Network IP Setup
Cycle the DHCP feature to obtain a valid IP address
CHANGE RECORDING CONFIGURATION - ACTIVATION
1. Click ACTIVATION Tab
2. Select Areas (Vertical line – Channels / Parallel line – Time) and press
Enter
3. Select Recording Option
NONE – Not recording
CONTINUOUS - Recording continuously
MOTION – Start recording when ‘Motion’ events happens.
CONTINOUS/MOTION - Recording continuously while
earmarking events.
Search
SEARCH BY TIME
1. From the Live Screen click the
SEARCH icon
2. Select SEARCH BY DATE/TIME
3. Select Date on calendar
4. Select Time line
5. Select PLAY
PANO – Thumbnail style Playback
PLAY – Normal Multi-Channel Playback
SEARCH BY EVENT
1. Select SEARCH BY EVENT
2. Check category for queries
3. Set start /end time for querying
4. Press SEARCH button
5. Double Click an event on the
list for playing
Playback Control
Backup - USB Device
1. Display – Change Multi View
Mode
2. Playback Control
3. Backup – Start backup to
external device
4. Return – Exit from playback
mode
5. Playback Speed
1. Click the ARCH icon from the
Live Screen
2. Select NEW ARCHIVING
3. Set FROM/ TO time
4. Press QUERY button
5. Input TAG NAME for name of
folder on media
6. Check data size and select
proper device for data
7. Press BURN button
8. Press START button
1
2
3
4
9
10
7
5/6
8
AN EYE ON INNOVATION
1
2
3
1)
CONTROL PAD:
Navigates the Menu System
Apply settings or Select an item
Cancel or go to Previous Menu
2)
PLAYBACK CONTROLS:
Reverse playback
Pauses / Resumes playback
Forward playback
Return/Exit
3)
FUNCTION KEYS:
Turns unit On/Off
Selects various display modes
Displays the Search Menu
Displays the Setup Menu
CURSOR KEYS
ENTER
RETURN
POWER
DISPLAY
SEARCH
MENU
2
3
4
1
3
2
3
5
4
1
3
2
4
5
Example: To change the recording settings between 09:00 and
18:00
Use the CURSOR KEYS to move the green cursor to the 09:00 position
and press ENTER. The cursor will change color to green to show the start
position. Use the CURSOR KEYS to stretch the green cursor across to
the 18:00 position, then press ENTER.
* Try using a USB mouse to make changes quickly and easily.
1
2
1
2
3
4
5
2
3
4
5
6
7
Front Panel VT-EH Controls
1)
CONTROL PAD:
Navigates the Menu System
Apply settings or Select an item
Cancel or go to Previous Menu
2)
PLAYBACK CONTROLS:
Increases reverse playback speed
Selects reverse playback
Pauses / Resumes playback
Selects forward playback, accesses the instant playback feature
Increases forward playback speed
3)
FUNCTION KEYS:
Turns unit On/Off
Selects various display modes
Change display mode/ Split mode
Displays the Search Menu
Displays the Setup Menu
ARROWS
ENTER
RETURN
POWER
DISPLAY
SCR MODE
SEARCH
MENU
Front Panel VT-EHP Controls
1)
CONTROL PAD:
Used to display individual channels in live display and playback. Also
used to enter numeric passwords for various login screens
Allow to Navigate on the menu
Apply or Select an item
Cancel or go to Previous menu
2)
PLAYBACK CONTROLS:
Used to move footage forwards or backwards, frame by frame
Locks current function of SHUTTLE WHEEL so it can be released
Increases reverse playback speed
Selects reverse playback
Pauses/ Resumes playback
Selects forward playback , accesses the instant playback feature
Increases forward playback speed
3)
FUNCTION KEYS:
Turn On/Off the system power
Selects various display modes in live display and playback
Selects PTZ mode in live display
Displays the Setup menu
Displays the Search menu
CHANNEL
SELECTION
ARROWS
ENTER
RETURN
POWER
DISPLAY
PTZ
SETUP
SEARCH
4. Once the network reboots, go back and ‘check’ DHCP and select
Apply. Again, the network will reboot.
5. Now, go back and ‘uncheck’ DHCP; this will set your DVR’s IP
address to STATIC
**If DHCP is ‘unchecked’, select it, then select ‘Apply’ at the bottom of
the screen. You should get a pop-up indicating the network is rebooting.
Make note of your DVR’s IP address; you will need this for port forward-
ing. Now, go back and ‘uncheck’ DHCP; this will set your DVR’s IP
address to STATIC.
1. Go to your DVR’s ‘main’ menu, --> System Setup--> Network.
2. Select ‘IP SETUP.’ To the right, ‘DHCP’ is listed. If it is ‘checked’,
uncheck it, then select ‘Apply’ at the bottom of the screen. You should
get a pop-up indicating the network is rebooting. (**If DHCP was
unchecked, see below)
JOG
HOLD


