Use & Care
MANUAL
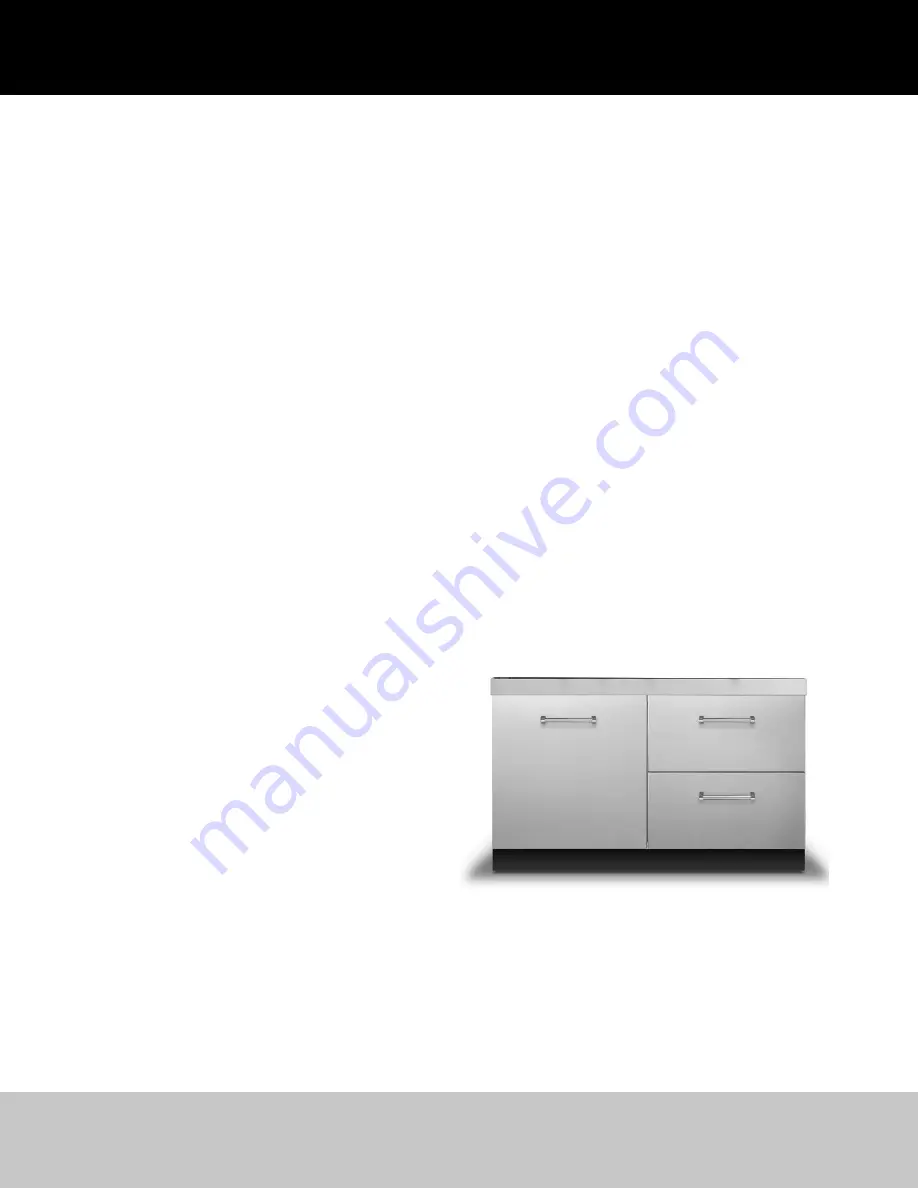
Outdoor Stainless Steel Cabinets
VBBO1601 / VBBO2602 / VBBO5160 / VBBO5260
VURO3200 / VBO1811 / VBO1830 / VSBO2402 / VTOP1810
VQBO4121 / VQBO5322 / VQBO5420 / VQBO5540 / VQWO4120 / VQWO5311
Страница 1: ...Use Care MANUAL Outdoor Stainless Steel Cabinets VBBO1601 VBBO2602 VBBO5160 VBBO5260 VURO3200 VBO1811 VBO1830 VSBO2402 VTOP1810 VQBO4121 VQBO5322 VQBO5420 VQBO5540 VQWO4120 VQWO5311 ...
Страница 2: ...l cabinetry Tanks must be located outside of the cabinetry at all times TO INSTALL CABINETS 1 Verify cabinet product number s on box es to list of cabinets ordered 2 Carefully unpack cabinets making sure not to scratch fronts Front panels are protected by plastic coating that must be removed after setup Cabinets with interchangeable doors are shipped from the factory with opening from left to righ...
Страница 3: ...st be adjusted when cabinets are level in final position There are two adjustment screws on the hinge receiver See Illustration 5 The front screw is used to center the door in the opening Turning the front screws in or out will center the door over the cabinet opening The back screw is used to align the front of the door with the cabinet frame and secure the door to the cabinet Slightly loosen the...
Страница 4: ...o match the front toe kick See Illustration 7 The plastic material can be cut with any common type wood saw blade FOR ISLAND INSTALLATIONS The side front and rear toe kick must be modified See Illustration 7 Illustration 6 Snap toe kick to front legs Illustration 7 1 Place side panel into area of the cabinet 2 Attach from inside front and rear toe kick A Side toe kick B LH Side panel Installation ...
Страница 5: ...all amounts of rust may accumulate on stainless steel A slightly more oily cleaner like Sheila Shine will protect better against oxidation or slight surface rust Cleaning the surfaces periodically will protect the finish for many years 10 BACK PANEL INSTALLATION Remove all protective covering from panel and install using the 10 x 1 2 tek screws provided See Illustration 8 Attach rear toe kick to l...
Страница 6: ...7 8 75 9 cm VQBO5540 54 1 4 137 8 cm 34 1 2 87 6 cm 29 7 8 75 9 cm VURO3200 32 81 3 cm 34 1 2 87 6 cm 29 7 8 75 9 cm VBPFLR4 4 10 2 cm 34 1 2 87 6 cm 3 4 1 9 cm VFLR4 4 10 2 cm 34 1 2 87 6 cm 3 4 1 9 cm VBFLR8 8 20 3 cm 34 1 2 87 6 cm 3 4 1 9 cm VFLR8 8 20 3 cm 34 1 2 87 6 cm 3 4 1 9 cm VSP30 29 7 8 75 9 cm 34 1 2 87 6 cm 0 VCF90 3 7 6 cm 34 86 4 cm 3 4 1 9 cm VOCF90 33 83 8 cm 34 1 2 87 6 cm 3 4 ...
Страница 7: ... it if service is ever required Model No _____________________________________ Serial No ____________________________________________________ Date of Purchase ________________________________ Date Installed ________________________________________________ Dealer s Name _______________________________________________________________________________________________________ Address __________________...
Страница 8: ... remedy the defect or malfunction the owner is entitled to either a refund or replacement of the product or its component part or parts Replacement of a component part includes its free installation except as specified under the limited warranty Under the terms of this warranty service must be performed by a factory authorized Viking Range LLC service agent or representative Service will be provid...