Installation
Professional Built-in Gas Cooktops
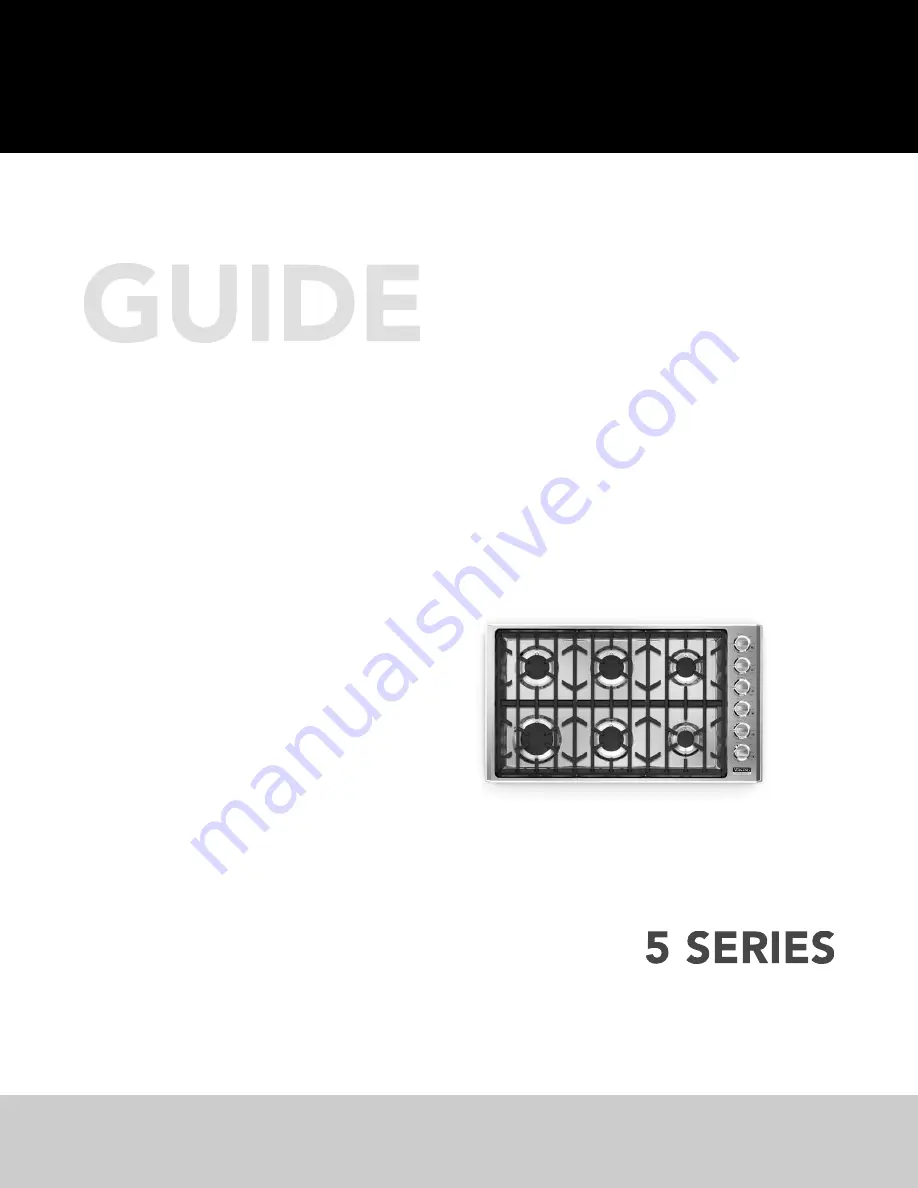
VGC530 / CVGC530 / VGC536 / CVGC536
VGSU530 / CVGSU530 / VGSU536 / CVGSU536
Страница 1: ...Installation Professional Built in Gas Cooktops VGC530 CVGC530 VGC536 CVGC536 VGSU530 CVGSU530 VGSU536 CVGSU536 ...
Страница 2: ..._____12 Clearance Dimensions Wood Composite Overlay _____________________________________13 Electrical Gas Requirements _______________________________________________________14 General Information ________________________________________________________________15 Installation_________________________________________________________________________16 Gas Electrical Connection______________________...
Страница 3: ...ucts must be installed by a Massachusetts licensed plumber or gasfitter A T type handle manual valve must be installed in the gas supply line to the appliance An air curtain or other overhead range hood which operates by blowing a downward airflow onto the range shall not be used with a gas appliance 3 Your safety and the safety of others is very important We have provided many important safety me...
Страница 4: ...own to cause cancer birth defects or other reproductive harm For example benzene is a chemical which is part of the gas supplied to the cooking product It is consumed in the flame during combustion However exposure to a small amount of benzene is possible if a gas leak occurs Formaldehyde and soot are byproducts of incomplete combustion Properly adjusted burners with a bluish rather than yellow fl...
Страница 5: ...ctrician This appliance is equipped with a three prong grounding plug for your protection against shock hazard and should be plugged directly into a properly grounded receptacle DO NOT cut or remove the grounding prong from the plug For personal safety this appliance must be properly grounded DO NOT under any circumstances cut or remove the third ground prong from the power plug WARNING IMPORTANT ...
Страница 6: ...6 Dimensions 21 53 3 cm 30 3 4 78 1 cm 21 53 3 cm 36 3 4 93 3 cm 1 2 5 cm 2 3 4 7 0 cm 5 12 7 cm 1 1 4 3 2 cm 7 3 16 18 3 cm 30 VGC Gas Cooktop 36 VGC Gas Cooktop VGC Front View VGC Side View ...
Страница 7: ... V 60 Hz 4 ft 121 9 cm 3 wire cord with grounded 3 prong plug attached to product Maximum amp usage 1 0 amps Surface burner rating Left front Left rear Center Center front Center rear Right front Right rear 18 000 Nat 16 500 LP BTU 5 4 Nat 4 9 LP kw 12 000 Nat 11 000 LP BTU 3 6 Nat 3 3 LP kw 12 000 Nat 11 000 LP BTU 3 6 Nat 3 35 LP kw N A 6 000 Nat 6 000 LP BTU 1 8 Nat 1 8 LP kw 8 000 Nat 7 000 LP...
Страница 8: ... Dimensions 30 3 4 78 1 cm 21 53 3 cm 36 3 4 93 3 cm 21 53 3 cm 1 5 8 4 1 cm 7 7 16 18 9 cm 2 3 4 7 0 cm 1 1 16 2 5 cm 4 1 2 11 4 cm 30 VGSU Gas Cooktop 36 VGSU Gas Cooktop VGSU Front View VGSU Side View ...
Страница 9: ...l requirements 120 V 60 Hz 4 ft 121 9 cm 3 wire cord with grounded 3 prong plug attached to product Maximum amp usage 1 0 amps Surface burner rating Left front Left rear Center Center front Center rear Right front Right rear 18 000 Nat 16 500 LP BTU 5 4 Nat 4 9 LP kw 12 000 Nat 11 000 LP BTU 3 6 Nat 3 3 LP kw 12 000 Nat 11 000 LP BTU 3 6 Nat 3 35 LP kw N A 6 000 Nat 6 000 LP BTU 1 8 Nat 1 8 LP kw ...
Страница 10: ...3 4 47 6 cm min to 19 7 8 50 5 cm max C 3 7 6 cm min If countertop is less than 1 1 2 3 8 cm thick a filler block will have to used for bolt to push against Cutout Dimensions VGC Gas Cooktop 30 W Model 36 W Model A 27 3 4 70 5 cm min to 29 3 8 74 6 cm max 33 3 4 85 7 cm min to 35 3 8 89 9 cm max B 19 1 8 48 6 cm min to 20 1 8 51 1 cm max C 3 7 6 cm min VGSU Gas Cooktop ...
Страница 11: ...ill require an elbow to be installed off of the regulator Cutout Dimensions Cooktop over Single Electric Oven Cooktop over 30 W Electric Oven 30 W Model A 27 3 4 70 5 cm min to 29 3 8 74 6 cm max B 18 3 4 47 6 cm min to 19 7 8 50 5 cm max VGC Gas Cooktop 30 W Model A 27 3 4 70 5 cm min to 29 3 8 74 6 cm max B 19 1 8 48 6 cm min to 20 1 8 51 1 cm max VGSU Gas Cooktop ...
Страница 12: ...st be 18 45 7 cm above the 36 91 4 cm high countertop Wall cabinet above the cooktop must be a minimum of 36 91 4 cm above the countertop for a full width of the cooktop This minimum height requirement does not apply if a rangehood is installed over the cooking surface A 120 volt wall receptacle should be located approximately 6 15 2 cm below the countertop cutout and 12 30 5 cm from the right sid...
Страница 13: ...m to 36 max 91 4 cm 13 The bottom of a standard hood should be 30 76 2 cm min to 36 91 4 cm max above the countertop This would typically result in the bottom of the hood being 66 167 6 cm to 72 182 9 cm above the floor Refer to the rangehood installation instructions for additional information These dimensions provide for safe and efficient operation of the hood Clearance Dimensions Wood Composit...
Страница 14: ...regulator All heavy duty commercial type cooking equipment must have a pressure regulator on the incoming service line for safe and efficient operation since service pressure may fluctuate with local demand The regulator supplied with the cooktops must be installed before any gas connections are made Manifold pressure should be checked with a manometer natural gas requires 5 0 WCP and LP Propane r...
Страница 15: ... cleaning and or service Shut off gas at main supply Disconnect AC power supply Disconnect gas line to the inlet pipe Lift appliance out of cabinet cutout Electrical Requirement Normal grounded household current 120 volts 60 Hz 15 amps single phase Electrical installation should comply with national and local codes Air Supply and Ventilation Means must be provided for any heavy duty cooking applia...
Страница 16: ...ects on the cooktop before turning upside down Installation Peel away the plastic covering and place the gasket material all the way around the burner flange IMPORTANT Make sure the corners are covered completely leaving no air gaps Turn the cooktop over and place into countertop opening 2 2 2 2 1 1 1 2 Optional Gasket 3 Optional Gasket 4 ...
Страница 17: ...o the burner box Screw the eye bolt into the self retaining nut and tighten firmly against bottom of countertop Bracket Installation Note Refer to Electrical Gas Requirements section for proper installation information 1 Cooktop Bracket Screw Countertop 1 Cooktop Eye bolt Bracket Countertop 2 ...
Страница 18: ...er ignition The low flame should light at every port Starting with the left front burner turn the corresponding knob to the HI position see drawing for proper flame height Repeat steps for other burners Performance Checklist Final Preparation All stainless steel parts should be wiped regularly with hot soapy water and with a liquid cleanser designed for this material if build up occurs DO NOT USE ...
Страница 19: ...d it if service is ever required Model number ____________________________________________________________________________________ Serial number _____________________________________________________________________________________ Date of purchase __________________________________________________________________________________ Date installed ______________________________________________________...
Страница 20: ...D EN 091515 Viking Range LLC 111 Front Street Greenwood Mississippi 38930 USA 662 455 1200 For product information call 1 888 845 4641 or visit our website at vikingrange com in the US or brigade ca in Canada ...