Installation
GUIDE
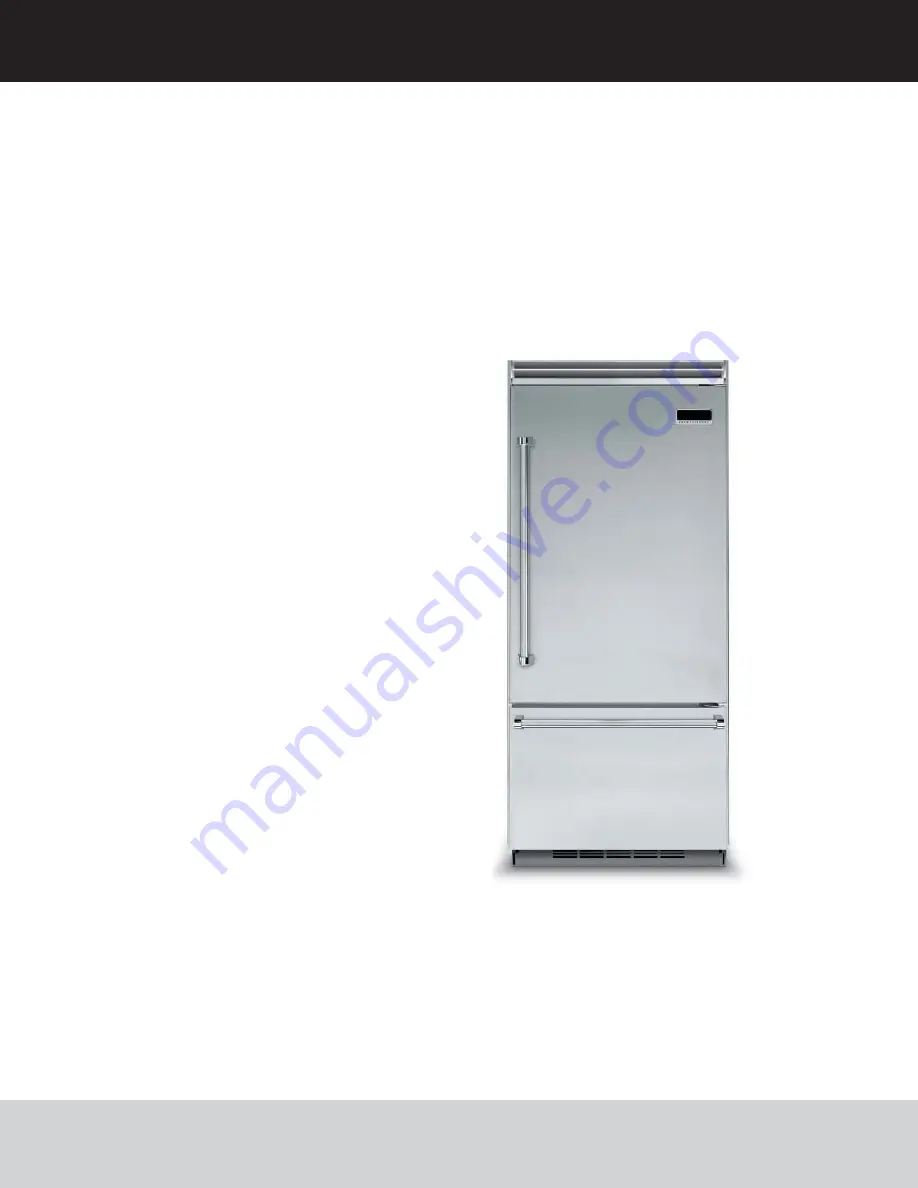
5 SERIES
Professional Built-In Bottom-Freezer Refrigerator
VCBB5363E / CVCBB5363E
Страница 1: ...Installation GUIDE 5 SERIES Professional Built In Bottom Freezer Refrigerator VCBB5363E CVCBB5363E...
Страница 2: ...flush mount trim ___ 13 General Information_____________________________________________ 14 Unpacking Moving____________________________________________ 16 Flush Mount Side Trim Installation _________...
Страница 3: ...s use and for future reference DANGER WARNING You will be killed or seriously injured if you don t follow instructions You can be killed or seriously injured if you don t follow instructions All safe...
Страница 4: ...rements below If the use of a GFI is required it should be Of the receptacle type breaker type or portable type NOT recommended Used with permanent wiring only temporary or portable wiring NOT recomme...
Страница 5: ...nt tipping Use cardboard shipping material or plywood under unit until it is installed in the operating position to protect floor surface It is your responsibility to comply with installation specific...
Страница 6: ...1 16 213 5 cm max 20 3 4 52 7 cm 22 3 16 56 4 cm 1 1 2 3 8 cm 26 1 2 67 3 cm 24 61 0 cm 35 88 9 cm 52 132 1 cm 23 1 16 58 5 cm 3 19 32 9 1 cm 36 36 91 5 cm 91 5 cm 36 91 5 cm 9 5 32 23 3 cm 82 3 4 210...
Страница 7: ...city 15 3 cu ft 434 liters 5 1 cu ft 145 liters 20 4 cu ft 579 liters Approximate shipping weight 565 lbs 254 3 kg 36 Bottom Freezer with Flush Mount Trim Description VCBB CVCBB Flush Mount Overall wi...
Страница 8: ...in to 35 3 4 90 8 cm max 36 91 5 cm PFlush Mount only 24 61 0 cm Electric Outlet Location Water Line Entry Area 6 3 4 17 1 cm 7 5 8 19 4 cm 3 7 6 cm 5 8 1 6 cm 5 8 1 6 cm 10 1 2 26 7 cm 5 8 1 6 cm 10...
Страница 9: ...0 cm then shim behind the mounting boards by the difference One 2 x 4 Mounting Board 3 7 6 cm x 3 1 2 8 9 cm Bottom of anti tip board is 3 7 8 9 8 cm below opening height NOTE Top of unit must be pla...
Страница 10: ...6 0 8 cm Professional models fit semi flush in standard 24 61 0 cm deep cabinet openings The door face protrudes 1 3 4 4 4 cm from the cabinet face The handle protrudes an additional 2 1 2 6 4 cm into...
Страница 11: ...ull End Panel Door Wall 1 2 5 cm space if 25 63 5 cm cabinet depth is used 3 4 1 9 cm Full End Panel 25 63 5 cm Flush 1 2 5 cm space if 25 63 5 cm cabinet depth is used Flush Professional models with...
Страница 12: ...l 22 7 16 57 0 cm 22 7 16 57 0 cm 22 1 4 61 0 cm 6 15 2 cm Optional kickplate Notch dimensions determined by cabinets 82 7 8 210 5 cm min to 84 1 16 213 5 cm max 82 7 8 210 5 cm min to 84 1 16 213 5 c...
Страница 13: ...g feet are raised and cabinet enclosure height 3 4 1 9 cm End panel 1 2 5 cm 1 4 0 6 cm Z Bracket 21 3 4 55 2 cm 21 3 4 55 2 cm 24 61 0 cm Optional kickplate Notch dimensions determined by cabinets 24...
Страница 14: ...nce with the National Electrical Code ANSI NFPA 70 latest edition or Canadian Electrical Code C22 1 1998 and C22 2 No 0 M91 or latest edition and all local codes and ordinances A 115 volt 60 Hz 15 amp...
Страница 15: ...e installation of Viking units with a reverse osmosis system is acceptable as long as the water pressure remains within the allowable PSI as stated below It is important to note that with many reverse...
Страница 16: ...d Keep doors closed until appliance is completely installed and secured per installation instructions Use two or more people to move and install appliance Failure to do so can result in death or serio...
Страница 17: ...3 Align the top of the flush mount side trim with the top of the unit s machine compartment Using the screws included in the hardware kit attach the side trim to the unit only using the holes visible...
Страница 18: ...ge for exact location Loosen the four hinge screws Adjust door Retighten four hinge screws 2 1 5 Remove four side screws and remove unit top 8b Wall 2 x 4 Refrigerator 9 If needed depending on cabinet...
Страница 19: ...water valve using a 1 2 wrench Note DO NOT overtighten Turn on water supply and check for leaks 10b Place unit within 3 7 6 cm of being flush with cabinets Note To avoid cabinet damage place cardboard...
Страница 20: ...x 4 Refrigerator Screw 16 Lift unit off rollers to desired height and level unit using a 5 16 head wrench NOTE DO NOT use an electric device Overtightening can cause damage Reinstall handle side door...
Страница 21: ...r screw should be in 110 door opening position Remove shoulder screw and place in 90 or 120 position 1 2 18 2 1 3 19 Align holes on both ends of louvered panels and insert screws Using a Phillips scre...
Страница 22: ...8972 Based on the use of Cryptosporidium parvum oocysts Operating Specifications Capacity Certified for up to 750 gallons 2 838 L up to nine months Pressure Requirement 20 120 psi 1 4 8 2 bar Temperat...
Страница 23: ...ouver 22 Replace top air grille Using an 8 20 3 cm magnetic nut driver replace the two 1 4 0 6 cm screws 23 24 25 Open door The display should flash 26 Press ACTIVATE CONTROLS pad and close door Note...
Страница 24: ...ply if applicable Verify icemaker fill tube is properly inserted Verify icemaker bail arm is down Verify dispenser operation if applicable Align square door s Verify drain pan is properly installed an...
Страница 25: ...r is in Showroom Mode SHOW will be lit To exit Showroom Mode B Press and hold ACTIVATE CONTROLS while holding press and hold HIGHER and ALARM OFF together The control will beep three times to alert th...
Страница 26: ...r your appliance are located on the identification plate mounted behind the top light Record the information indicated below You will need it if service is ever required Model number _________________...
Страница 27: ...27...
Страница 28: ...iking Range LLC 111 Front Street Greenwood Mississippi 38930 USA 662 455 1200 For product information call 1 888 845 4641 or visit our web site at vikingrange com in the US or brigade ca in Canada 120...