4
Attach to the VESA mount plate
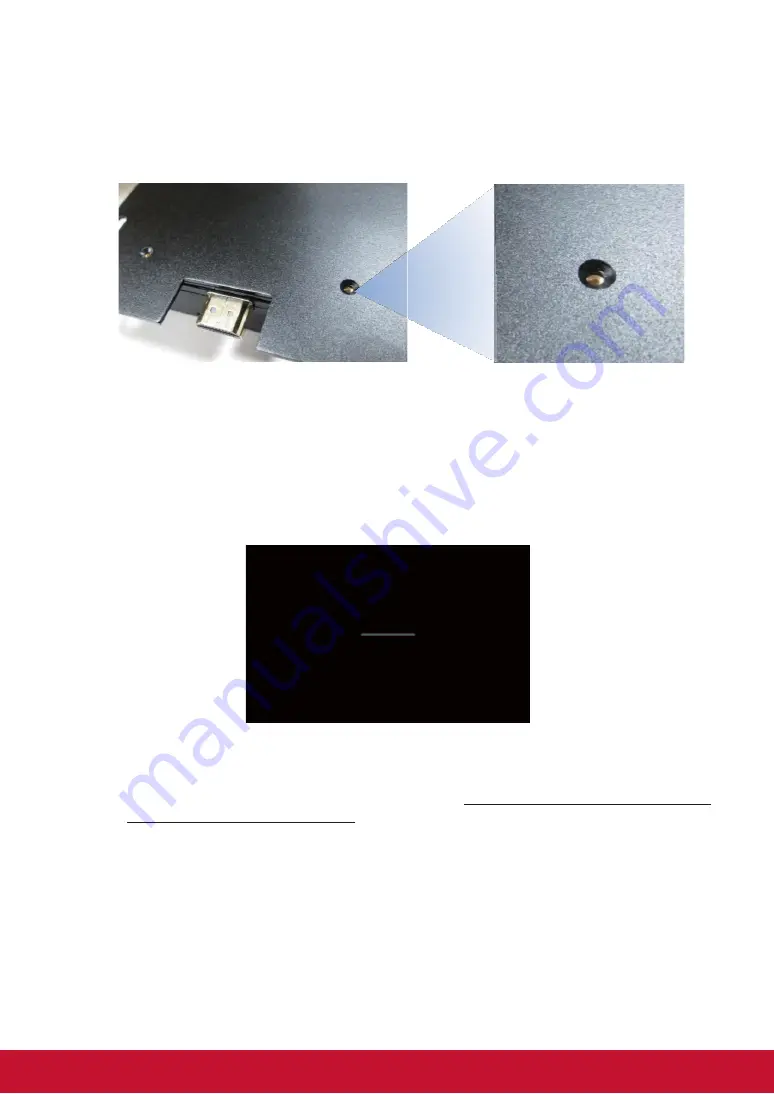
1. Put the VESA mount plate on the bottom of the player, with the screw
holes aligned.
2. Make sure the countersunk holes are facing up, so when the screw goes
in, the screw head is level with the surface.
2. Configuring the device
2.1. System connections
1. Attach the AC power adapter to provide power to the unit. After
approximately 35 seconds, booting animation will be displayed on the
screen below as shown here:
2. The player boot process takes approximately 60 seconds to complete.
After boot up is complete, the signboard will stay in the
Basic settings
menu if no content service has been configured (i.e. first boot up for a
brand new unit or after a factory reset). Plug in a USB mouse to start
configuring the signboard. If you have already set content into the
signboard, contents will start playing back automatically 15 seconds after
boot up.
Содержание NMP309-W
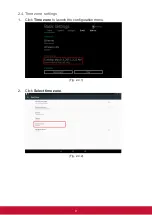
Страница 19: ...10 3 Choose the correct time zone from the available options Fig 2 4 3...
Страница 44: ...33...


