background image

1

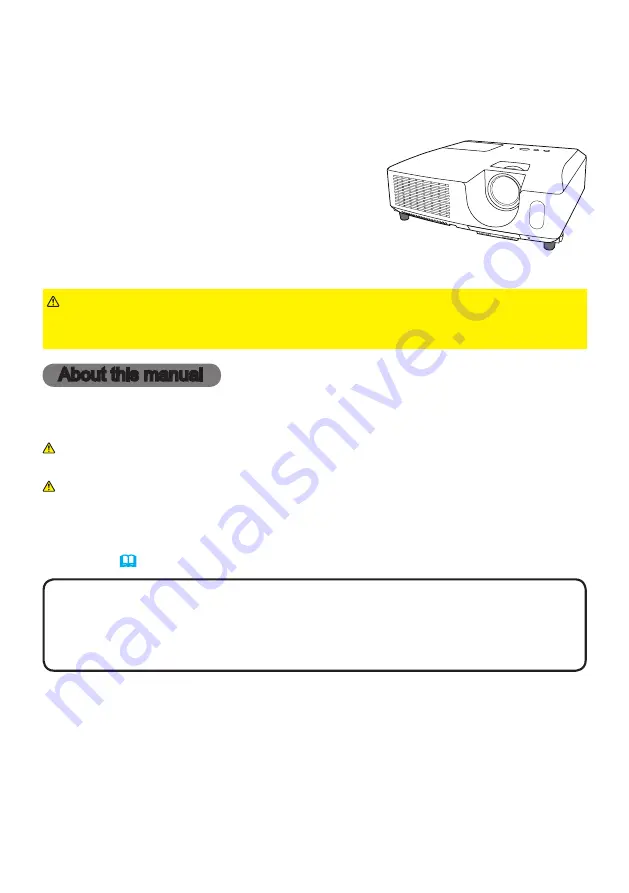
Projector

CP-RX78

User’s Manual (detailed)  

Operating Guide

Thank you for purchasing this projector.

►Before using this product, please read all manuals for this 

product. Be sure to read “

Safety Guide

” first. After reading them, store them in a 

safe place for future reference.

WARNING

• The information in this manual is subject to change without notice.

• The manufacturer assumes no responsibility for any errors that may appear in 

this manual.

• The reproduction, transfer or copy of all or any part of this document is not 

permitted without express written consent.

NOTE

Trademark acknowledgment

Various symbols are used in this manual. The meanings of these symbols are 

described below. 

About this manual

WARNING

CAUTION

This symbol indicates information that, if ignored, could possibly 

result in personal injury or even death due to incorrect handling.
This symbol indicates information that, if ignored, could possibly 

result in personal injury or physical damage due to incorrect 

handling.

Please refer to the pages written following this symbol.

•  Mac

®

 is a registered trademark of Apple Inc.

•  Windows

®

 is a registered trademark of Microsoft Corporation in the U.S. and/or 

other countries.

•  VESA and DDC are trademarks of the Video Electronics Standard Association.
All other trademarks are the properties of their respective owners.

NOTICE

This entry notices of fear of causing trouble.

Содержание CP-RX78

Страница 1: ...t Various symbols are used in this manual The meanings of these symbols are described below About this manual WARNING CAUTION This symbol indicates information that if ignored could possibly result in...

Страница 2: ...creen 20 Using the menu function 21 EASY MENU 23 Aspect Keystone Picture mode Eco mode Mirror Reset Filter time Language Advanced menu Exit PICTURE menu 25 Brightness Contrast Gamma Color temp Color T...

Страница 3: ...ser s manuals Book x1 CD x1 4 2 1 VIDEO DOC CAMERA KEYSTONE ASPECT SEARCH BLANK MUTE MY BUTTON POSITION 1 2 ESC ENTER MENU RESET COMPUTER MY SOURCE AUTO MAGNIFY PAGE UP VOLUME DOWN ON OFF FREEZE 3 The...

Страница 4: ...use since it is too hot Do not look into the lens or vents while the lamp is on since the strong light is not good for your eyes Do not handle the elevator buttons without holding the projector since...

Страница 5: ...POWER indicator 11 14 55 5 TEMP indicator 55 6 LAMP indicator 55 Rear panel 9 1 COMPUTER IN port 2 Shutdown switch 56 3 VIDEO port Use the shutdown switch only when the projector is not turned off by...

Страница 6: ...buttons 21 19 ENTER button 21 20 ESC button 13 21 21 RESET button 13 21 22 Battery cover 12 Back of the remote control These buttons don t work 2 1 6 5 12 8 9 15 13 16 18 20 10 4 3 7 11 14 17 19 21 22...

Страница 7: ...distance Screen height Screen height Projection distance Screen height Screen height min max min max type inch m m inch m inch cm inch cm inch m inch m inch cm inch cm inch 30 0 8 0 8 33 1 0 40 38 15...

Страница 8: ...jector in direct sunlight or near hot objects such as heaters Do not place anything near the projector lens or vents or on top of the projector Do not place anything that may be sucked into or stick t...

Страница 9: ...mage the cables and do not use damaged cables WARNING Turn off all devices and unplug their power cords prior to connecting them to projector Connecting a live device to the projector may generate ext...

Страница 10: ...l of the corresponding laptop PC When the picture resolution is changed on a PC depending on an input automatic adjustment function may take some time and may not be completed In this case you may not...

Страница 11: ...he power cord for complete separation Never modify the power cord WARNING Using the security bar and slot AC IN Power cord A commercial anti theft chain or wire up to 10 mm in diameter can be attached...

Страница 12: ...e the batteries with care and use them only as directed Improper use may result in battery explosion cracking or leakage which could result in fire injury and or pollution of the surrounding environme...

Страница 13: ...ON OFF FREEZE 30 30 Approx 3 m About the remote control signal The remote control works with the projector s remote sensor This projector has a remote sensor on the front The sensor senses the signal...

Страница 14: ...touch around the lamp cover and the exhaust vents during use or just after use since it is too hot WARNING 1 Press the STANDBY ON button on the projector or the remote control The message Power off w...

Страница 15: ...document camera Select the input port that connected the document camera 1 Press the INPUT button on the projector Each time you press the button the projector switches its input port from the curren...

Страница 16: ...signal is found in either port the projector selects the first port again Searching an input signal For a computer signal NORMAL 4 3 16 9 16 10 For a video signal or component video signal 4 3 16 9 1...

Страница 17: ...tons in order to lock the elevator feet Focus ring Zoom ring To loose an elevator foot push the elevator button on the same side as it To finely adjust twist the foot 4 After making sure that the elev...

Страница 18: ...o its maximum size prior to attempting to use this feature A dark picture may still be incorrectly adjusted Use a bright picture when adjusting For a video signal The video format best suited for the...

Страница 19: ...nged or when the display condition is changed In the MAGNIFY mode the keystone distortion condition may vary it will be restored when the projector exits from the MAGNIFY mode 1 Press KEYSTONE button...

Страница 20: ...normal press the FREEZE button again Temporarily freezing the screen The projector automatically exits from the FREEZE mode when some control buttons are pressed If the projector continues projecting...

Страница 21: ...hese menus are as follows In the EASY MENU MENU button Cursor buttons VIDEO DOC CAMERA KEYSTONE ASPECT SEARCH BLANK MUTE MY BUTTON POSITION 1 2 ESC ENTER MENU RESET COMPUTER MY SOURCE AUTO MAGNIFY PAG...

Страница 22: ...SET button on the remote control during the operation Note that some items ex LANGUAGE cannot be reset In the ADVANCED MENU when you want to return to the previous display press the cursor button or E...

Страница 23: ...and COLOR TEMP settings Choose a suitable mode according to the projected source NORMAL CINEMA DYNAMIC BOARD BLACK DAYTIME WHITEBOARD BOARD GREEN GAMMA COLOR TEMP NORMAL 1 DEFAULT 2 MID CINEMA 2 DEFAU...

Страница 24: ...the button performs resetting FILTER TIME The usage time of the air filter is shown in the menu Performing this item resets the filter time which counts usage time of the air filter A dialog is displ...

Страница 25: ...an item using the buttons and adjust the level using the buttons You can display a test pattern for checking the effect of your adjustment by pressing the ENTER button Each time you press the ENTER bu...

Страница 26: ...R button Each time you press the ENTER button the pattern changes as below No pattern Gray scale of 9 steps Ramp Gray scale of 15 steps Lines or other noise might appear on the screen when this functi...

Страница 27: ...emory will be lost by saving new data into the memory LOAD 1 LOAD 2 LOAD 3 LOAD 4 Performing a LOAD function loads the data from the memory linked in the number included in the function s name and adj...

Страница 28: ...adjusts the vertical position Down Up Over adjusting the vertical position may cause noise to appear on the screen If this occurs please reset the vertical position to the default setting Pressing the...

Страница 29: ...attempting to use this feature A dark picture may still be incorrectly adjusted Use a bright picture when adjusting For a video signal The video format best suited for the respective input signal will...

Страница 30: ...for example jagged line of the picture for a quick moving object In such a case please select OFF even though the screen image may lose sharpness VIDEO NR Using the buttons switches the noise reducti...

Страница 31: ...AUTO mode allows you to input a sync on G signal or component video signal from the port To input component video signal to the projector an RCA to D sub cable or adapter is required In the AUTO mode...

Страница 32: ...ustom resolution use the buttons to select the CUSTOM and the RESOLUTION_CUSTOM box will be displayed Set the horizontal HORZ and vertical VERT resolutions using the buttons This function may not supp...

Страница 33: ...TONE Using the buttons corrects the vertical keystone distortion Shrink the bottom of the image Shrink the top of the image The adjustable range of this function will vary among inputs For some input...

Страница 34: ...the remote control MyScreen ORIGINAL BLUE WHITE BLACK MyScreen Screen can be registered by the MyScreen item 35 ORIGINAL Screen preset as the standard screen BLUE WHITE BLACK Plain screens in each col...

Страница 35: ...he frame position Please move the frame to the position of the image which you want to use The frame may not be able to be moved for some input signals To start registration press the ENTER or INPUT b...

Страница 36: ...utomatically adjusting NO INPUT IS DETECTED SYNC IS OUT OF RANGE INVALID SCAN FREQ NOT AVAILABLE Searching while searching for the input Detecting while an input signal is detected The indication of t...

Страница 37: ...1 character or all characters will be erased The name can be a maximum of 16 characters 4 To change an already inserted character press the button to move the cursor to the first line and use the butt...

Страница 38: ...he OSD menu is active The Closed Caption is the function to display the dialogue narration and or sound effects of a television program or other video sources The Closed Caption availability is depend...

Страница 39: ...arted from the current port Then when an input is found the projector will stop searching and display the image COMPUTER IN VIDEO DIRECT ON Using the buttons turns on off the DIRECT ON function ON OFF...

Страница 40: ...shown in the OPTION menu Pressing the RESET button on the remote control or the button of the projector displays a dialog To reset the lamp time select the OK using the button CANCEL OK Please reset...

Страница 41: ...ta are saved the adjustment changes every time the MY BUTTON is pressed When no data is saved in memory the dialog No saved data appears When the current adjustment is not saved to memory the dialog a...

Страница 42: ...ase choose DISABLE to disable the automatic adjustment and make adjustment manually GHOST 1 Select a color element of ghost using the buttons 2 Adjust the selected element using the buttons to disappe...

Страница 43: ...remote control does not function correctly disable either of them 13 It s not possible to disable both options at the same time INFORMATION Selecting this item displays a dialog titled INPUT_ INFORMA...

Страница 44: ...d press and hold the RESET button on the remote control for about 3 seconds or press and hold the INPUT button for 3 seconds while pressing the button on the projector 2 The 10 digit Inquiring Code wi...

Страница 45: ...rn to MyScreen PASSWORD on off menu When a password is set for MyScreen The MyScreen registration function and menu will be unavailable The MyScreen Lock menu will be unavailable The START UP setting...

Страница 46: ...ain If an incorrect PIN Code is input 3 times the projector will turn off Afterwards the projector will turn off every time an incorrect PIN code is input The projector will also turn off if there is...

Страница 47: ...ght side of the NEW PASSWORD AGAIN box and press button to display the NOTE NEW PASSWORD box for about 30 seconds then please make note of the password during this time Pressing the ENTER button on th...

Страница 48: ...r INPUT button to select and enter characters To erase 1 character at one time press the RESET button or press the and INPUT button at the same time Also if you move the cursor to DELETE or ALL CLEAR...

Страница 49: ...oosen any other screws 5 Insert the new lamp and retighten firmly the 3 screws of the lamp that are loosened in the previous process to lock it in place 6 While putting the interlocking parts of the l...

Страница 50: ...ilate the room well and make sure not to breathe the gas that comes out of the projector vents or get it in your eyes or mouth Before replacing the lamp turn the projector off and unplug the power cor...

Страница 51: ...lter vent of the projector and the outer side of the filter unit 5 Take the filter out pulling the filter s knob up while holding the filter cover 7 Put the filter back into the filter cover 8 Put the...

Страница 52: ...the projector Clean the air filter periodically If the air filter becomes clogged by dust or the like internal temperatures rise and could cause a fire a burn or malfunction to the projector WARNING...

Страница 53: ...e projector or inserting liquids in the projector It could result in a fire an electric shock and or malfunction to the projector Do not put anything containing water cleaners or chemicals near the pr...

Страница 54: ...input signal Please confirm the signal input connection and the status of the signal source The horizontal or vertical frequency of the input signal is not within the specified range Please confirm t...

Страница 55: ...After the projector has sufficiently cooled down please make confirmation of the following items and then turn the power on again Is there blockage of the air passage aperture Is the air filter dirty...

Страница 56: ...emedy please set FAN SPEED of SERVICE item in OPTION menu to HIGH 42 Lighting In Green Simultaneous blinking in Red It is time to clean the air filter Please immediately turn the power off and clean o...

Страница 57: ...wer outlet and allow the projector to cool down at least 45 minutes After the projector has sufficiently cooled down please make confirmation of the attachment state of the lamp and lamp cover and the...

Страница 58: ...30 Pictures appear dark The brightness and or contrast are adjusted to an extremely low level Adjust BRIGHTNESS and or CONTRAST settings to a higher level using the menu function 25 The ECO MODE func...

Страница 59: ...Temperature range 5 35 C Operating Size 317 W x 98 H x 288 D mm Not including protruding parts Please refer to the following figure Weight mass approx 3 2kg Ports Computer input port COMPUTER IN D sub...

Страница 60: ...60 Specifications Specifications continued unit mm 317 288 98 113...

Отзывы: