


16
•
{Dynamic backlight}: Select a backlight level
to optimise dynamic power consumption and
picture contrast.
•
{Colour enhancement}: Dynamically enhance
the vividness and details of colours.
Video or PC
When viewing content from a connected video
console, select {Video} to apply video settings.
When a computer is connected through HDMI,
select {PC}.
Make sure that {Format and edges} {Picture
format} {Unscaled} is selected so as to view
maximum detail.
Format and edges
Access advanced settings to control the displaying
format of the picture.
•
{Picture format}: Change the picture format.
•
{Picture shift}: If available, move the position of
the picture
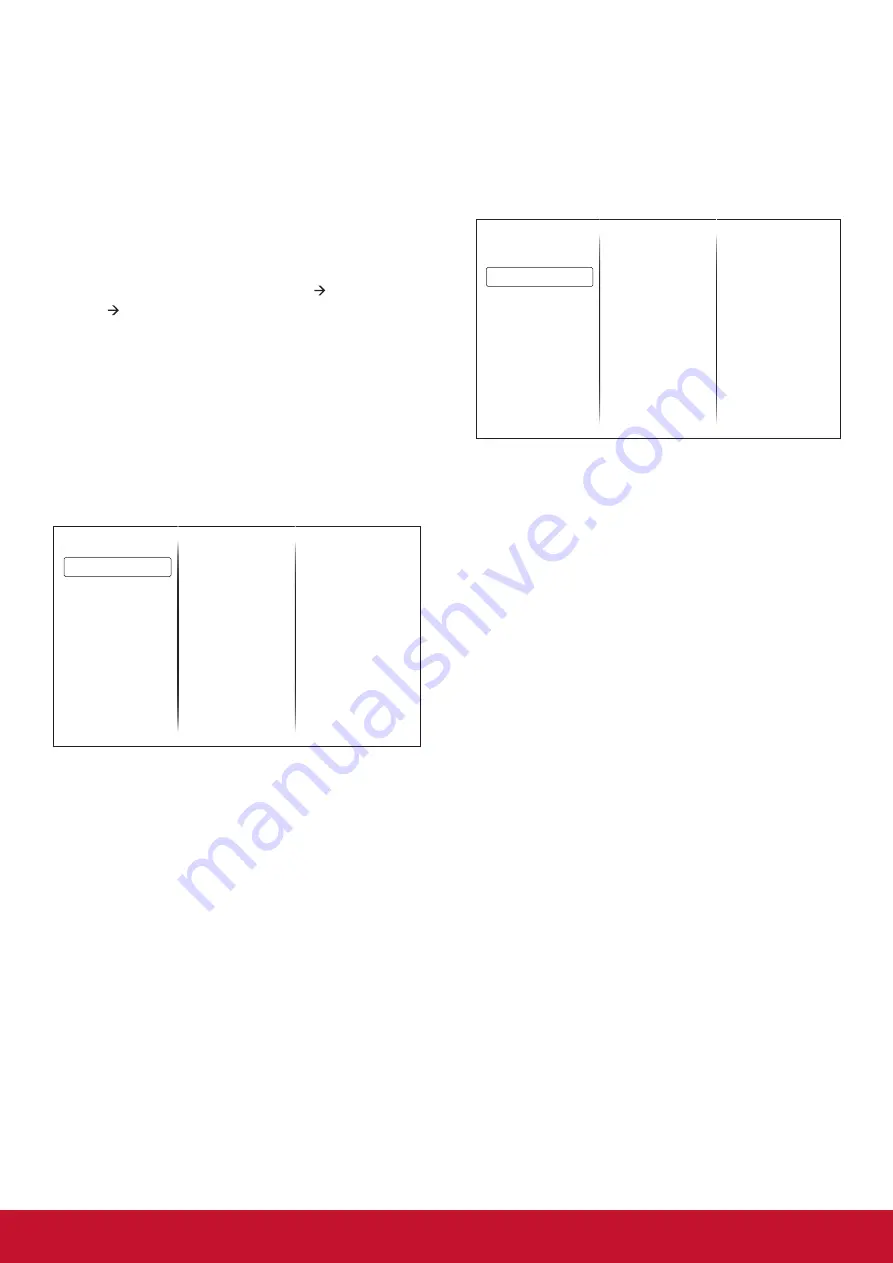
5.1.2. Screen menu
Sound style
Restore style
Bass
Treble
Audio out
Advanced
Picture
Sound
General settings
Network settings
Sound style
Access predefined sound settings.
Restore style
Restore the last-selected predefined sound setting.
Bass
Adjust the bass level of the speaker and
headphones.
Treble
Adjust the treble level of the speaker and
headphones.
Audio out
Adjust audio output volume.
Advanced
Access advanced settings to enhance your audio
experience.
•
{Auto volume leveling}: Enable the reduction of
sudden volume changes.
•
{Speaker}:Turn on or off the internal speakers.
•
{Clear sound}: Enhance sound quality.
5.1.3. General settings menu
Menu language
Monitor id
Eco mode
Auto search
Clock
Scheduling
Sleep timer
Auto switch off
Auto adjust
Pixel shift
Control settings
Factory settings
Picture
Sound
General settings
Network settings
Menu language
Select language used for OSD menus.
Monitor id
Set the ID number for controlling this display via
the RS232C connection. Each display must have
a unique ID number when multiple sets of this
display are connected.
Eco mode
Set this display to reduce the power consumption
automatically.
Auto search
Choose to let this display detect and display
available signal sources automatically.
Clock
Adjust clock settings
Scheduling
This function allows you to program up to 3
different scheduled time intervals for this display to
activate.
You can set:
• Which input source the display will use for each
scheduled activation period.
•
The time for the display to turn on and turn off.
• The days in a week for the display to activate.
NOTES:
• We recommend you to set up current date
and time in the {Clock} menu before using this
function.
•
After changing the {Clock} option in the
{General settings} menu, you need to set this
{Scheduling} again.
Содержание CDE3205
Страница 47: ......


