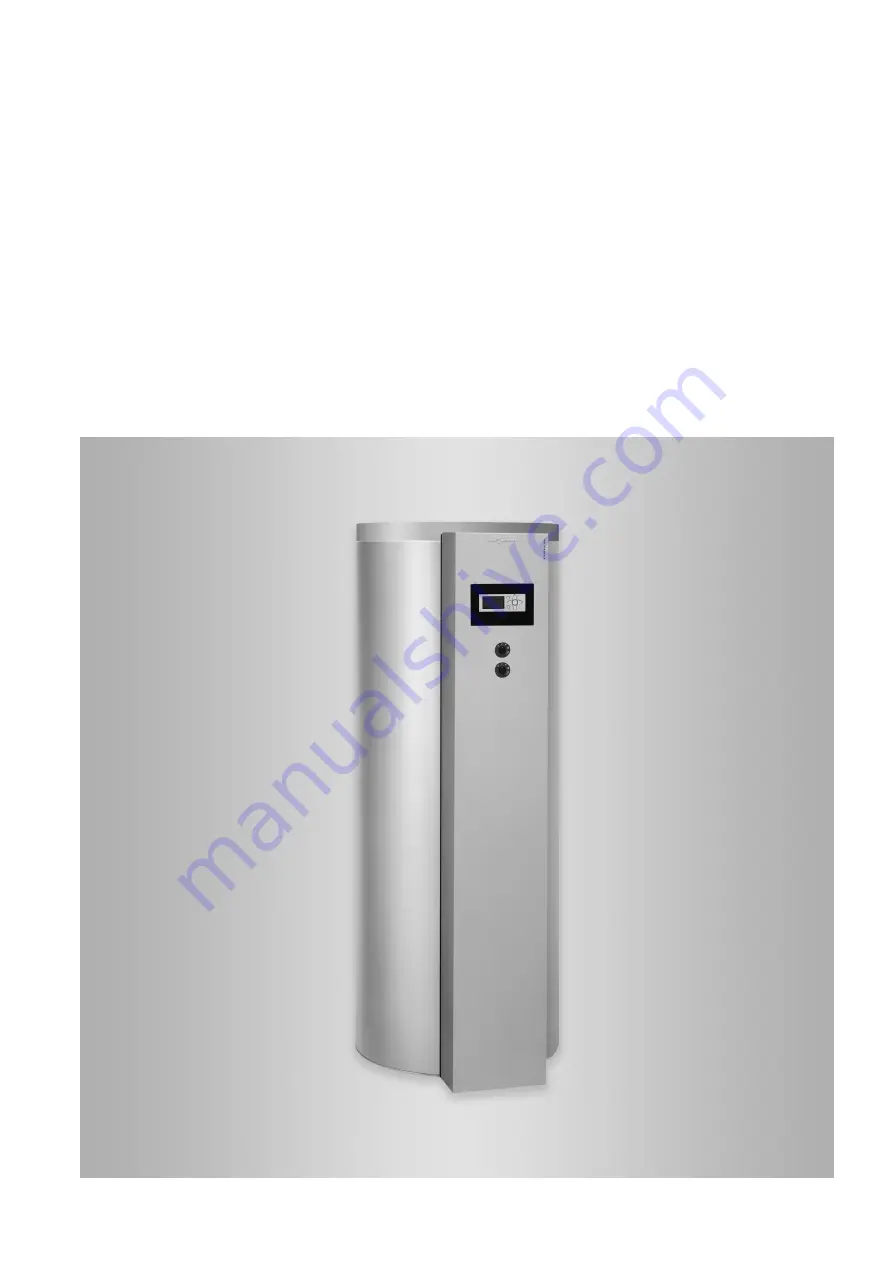
background image

Installation instructions

for contractors

VIESMANN

Vitocell 100-U
Type CVUB

Dual mode DHW cylinder with Solar-Set
 

Vitocell 100-W
Type CVUB/CVUB-A

Dual mode DHW cylinder with Solar-Set

VITOCELL 100-U

VITOCELL 100-W

5838620 GB

2/2019

Dispose after installation.

Содержание CVUB

Страница 1: ...r contractors VIESMANN Vitocell 100 U Type CVUB Dual mode DHW cylinder with Solar Set Vitocell 100 W Type CVUB CVUB A Dual mode DHW cylinder with Solar Set VITOCELL 100 U VITOCELL 100 W 5838620 GB 2 2019 Dispose after installation ...

Страница 2: ... Safeguard the system against reconnection Wear protective clothing Please note Electronic assemblies can be damaged by elec trostatic discharge Prior to commencing any work touch earthed objects such as heating or water pipes to dis charge static loads Danger Hot surfaces can cause burns Before maintenance and service work switch OFF the appliance and let it cool down Never touch the hot surfaces...

Страница 3: ...Safety assembly 12 Thermometer sensors 13 Cylinder temperature sensor of the boiler control unit 14 Connecting the solar control unit 14 Closing the Solar Set 15 Checking the anode connection and fitting the cover 16 Connecting the heating water side and solar side 16 System examples 17 Connections on the DHW side 17 Safety valve 18 Installing the high limit safety cut out STB 19 Electrical connec...

Страница 4: ... installed and operated in sealed unvented systems that comply with EN 12828 DIN 1988 or solar thermal systems that comply with EN 12977 with due attention paid to the associated installation service and operating instruc tions DHW cylinders are only designed to store and heat water of potable water quality Heating water buf fer cylinders are only designed to hold fill water of pot able water qual...

Страница 5: ...of potable water Product information Enamelled DHW cylinder with internal indirect coil for DHW heating in conjunction with solar thermal sys tems as well as floorstanding and wall mounted boil ers in dual mode operation DHW cylinder fully equipped with Solar Set com prising Solar Divicon Vitosolic 100 type SD1 or SDIO SM1A electronics module Pre assembled pipework For cylinder capacity and weight...

Страница 6: ...rect coil con nection to heat exchanger sensor well for cylinder temperature sensor solar N Sensor well for lower thermometer O Heating water flow solar lower indirect coil con nection to heat exchanger Siting information Please note The thermal insulation must not be able to come into contact with naked flames Exercise caution when welding and soldering Please note To prevent material losses site...

Страница 7: ...r Set 3x 1 Fig 3 1 Hook the base support for the Solar Set onto the 3 screws 2 Tighten all screws with a torque of 10 Nm 3 Remove the foam transport packing and cable ties for securing the pump and pipes from within the Solar Set 4 Bend down the two sheet metal transport brackets 5 Align the solar lines with the pipe clips Solar Set 5838620 ...

Страница 8: ...nd union nut provided Torque 50 Nm Cylinder temperature sensor of the Solar Set Note The cylinder temperature sensor is already factory fit ted 1 3 2 Fig 5 A Heating water return solar 1 Insert the sensor well and locking ring into the solar elbow 2 Tighten the union nut onto the solar elbow with a torque of 20 Nm Note Counterhold mating part with a spanner 3 Insert the cylinder temperature sensor...

Страница 9: ... Heat meter if installed 1 2 Fig 6 1 Disconnect the return pipe 2 Disconnect the flow solar elbow 450 154 238 Fig 7 Trim the return pipe and insulation Hydraulic connection on the solar side cont 5838620 ...

Страница 10: ...10 2 1 1 2 Fig 8 1 Fit the flow sensor to the return pipe Note The arrow on the flow sensor must point upwards 2 Fit the return pipe Hydraulic connection on the solar side cont 5838620 ...

Страница 11: ... line Note Counterhold mating part with a spanner 2 Attach heat meter display with support 3 Insert temperature sensor into solar elbow as far as it will go 4 Fasten the temperature sensor with the strain relief screw Hydraulic connection on the solar side cont 5838620 ...

Страница 12: ...ort of the Solar Set and the DHW cylinder Note Insert the pipe with the threaded part on the right heating water flow Position the threaded part at the back of the DHW cylinder 4 Secure the thermally insulated upper connection pipes with the 22 x 18 elbow fittings Note Apply the thermal insulation of the pipes after the installation over the entire pipe length up to the edge of the DHW cylinder Sa...

Страница 13: ...hermometer sensor for the upper ther mometer as far as it will go into the clamping bracket on the flange cover Note Never store excess lengths of lead in the Solar Set store them underneath the DHW cylinder lid 2 Secure the thermometer sensor for the lower ther mometer on the outside of the contact spring of the sensor retainer not in the groove so that it is flush with the front of the spring 3 ...

Страница 14: ...to the out side of the contact spring of the sensor retainer not in the groove so that it is flush with the front of the spring 3 Fasten the lead 4 Insert the sensor retainer together with the sensor as far as they will go into the sensor well Connecting the solar control unit Solar control unit Vitosolic 100 type SD1 or SDIO SM1A electronics module The following are already connected to the solar...

Страница 15: ...ctronics module Collector installation instructions Closing the Solar Set 1 3 2 Fig 15 1 Insert the 2 lower side tabs of the Solar Set fascia at an angle into the cut outs in the base support 2 Hook the 2 upper side tabs of the fascia into the slots in the base support 3 Insert the screw supplied for additional security into the top of the Solar Set fascia Please note The fascia may deform Only ti...

Страница 16: ...chable fittings Seal connections that are not required with caps Adjust the high limit safety cut out so that the DHW temperature in the DHW cylinder does not exceed 95 ºC Permissible temperatures Solar side 160 C Heating water side 160 C Permissible operating pressure Solar side 10 bar 1 MPa Heating water side 10 bar 1 MPa Test pressure Solar side 16 bar 1 6 MPa Heating water side 16 bar 1 6 MPa ...

Страница 17: ...vailable system examples See www viessmann schemes com Connections on the DHW side For the DHW connection observe DIN 1988 and DIN 4753 c SVGW regulations Connect all pipework with detachable fittings Seal any connections that are not required with red brass caps Equip the DHW circulation pipe with a DHW circula tion pump and a check valve Connection of the DHW circulation pump Connection to the b...

Страница 18: ...ng connection diameter R DN 15 max heat input 75 kW If the heat input of the DHW cylinder exceeds 75 kW select an appropriately rated safety valve for the heat input see E DIN 1988 200 Install the safety valve in the cold water line Ensure it cannot be shut off from the DHW cylinder There must be no constrictions in the pipework between the safety valve and the DHW cylinder Never seal off the safe...

Страница 19: ...ote Never wrap insulating tape around sensors 3 Secure the retaining bracket at the selected posi tion Note Observe the length of the capillary tube 4 Slide casing onto retaining bracket 5 Secure the casing by bending up the tabs Electrical connections Earth the appliance with the earth conductor at the PE terminal This cable must have at least the same cross section as the power cable Never loop ...

Страница 20: ... limit safety cut out STB Service instructions Connecting the equipotential bonding Connect the earth bonding in accordance with the requirements stipulated by your local power supply util ity and current regulations c Connect the earthing system in accordance with the technical requirements stipulated by the local power supply utility and SEV regulations Commissioning Service instructions Install...

Страница 21: ...re weight incl thermal insulation kg 179 Total weight in operation kg 481 Connections male thread Heating water flow and return R 1 Cold water DHW R 1 DHW circulation R 1 Specification high efficiency circulation pump incl Solar Set Type PS10 P10 Wilo circulation pump High efficiency circulation pump with PWM control PARA 15 7 0 Rated voltage V 230 Power consumption min W 3 max W 45 Flow indicator...

Страница 22: ... 40 60 80 2 0 A B Pump rate in l min 0 8 3 16 7 25 33 2 kPa 0 200 400 600 800 mbar Fig 20 A Pressure drop curve B Max delivery head Note Pressure drop curve A relates to all Solar Set compo nents together Air vent valve Ball valves HF and HR Flow meter Pipework Specification cont 5838620 ...

Страница 23: ...23 5838620 ...

Страница 24: ... Shropshire TF1 7YP GB Telephone 44 1952 675000 Fax 44 1952 675040 E mail info uk viessmann com Viessmann Werke GmbH Co KG D 35107 Allendorf Telephone 49 6452 70 0 Fax 49 6452 70 2780 www viessmann com 5838620 Subject to technical modifications ...

Отзывы: