


4. Configuration
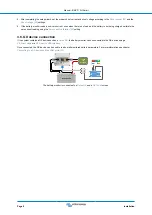
Once the electrical connections have been made, and the battery monitor has been powered up, it needs to be configured to be
suitable for the system it is used in.
This can be done with the buttons on the battery monitor head unit or even easier via the VictronConnect app.
This chapter describes how to configure the battery monitor by making the basic settings. See the
chapter for all settings and features.
4.1. Setup wizard
The battery monitor will automatically start the setup wizard on the first power-up or after a factory reset. The setup wizard must
be completed before any other settings are made.
Alternatively, use the VictronConnect app to configure the battery monitor. This will override the setup wizard.
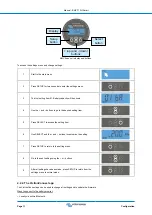
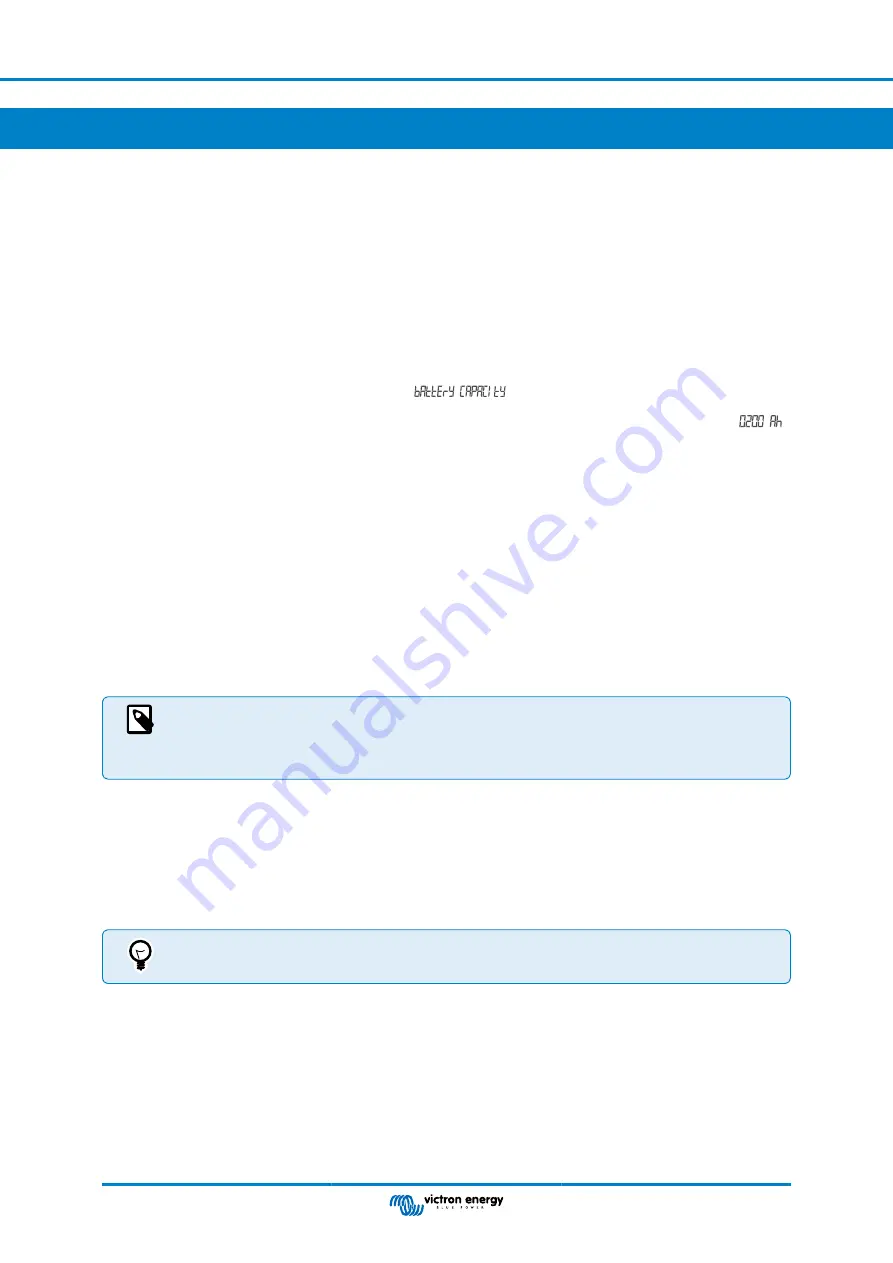
1. The display shows the scrolling text "battery capacity":
.
2. Press any button to enter the setup wizard. The scrolling text will stop, and the factory default battery capacity value
(200 Ah) will be shown with the first digit blinking.
3. Use the + and – buttons to set the first digit of the battery capacity value. Preferably use the 20-hour (C20) battery capacity
rating. For more information on battery capacity, see the
Battery capacity and Peukert exponent [35]
chapter.
4. Press SELECT to set the next digit in the same manner. Repeat this step until the required battery capacity is displayed.
5. Press SELECT to store the value. A short beep confirms this.
Should a correction need to be made, press SELECT again and repeat the previous steps.
6. Press the SETUP, + or – button to end the setup wizard and switch to the normal operating mode.
Immediately after the completion of the setup wizard, the battery monitor will automatically detect the nominal voltage of the
battery system. For details and limitations of automatic voltage detection, see the next chapter
???
.
The battery monitor is now ready for use. It is now set up for an average system with GEL, AGM or flooded lead-acid batteries.
Further battery monitor configurations are required if your system contains a battery with different chemistry, like lithium, or if other
specific system settings are needed. See the
All features and settings [23]
If the setup wizard is not showing, i.e. there is no scrolling text, it can be re-activated by performing a battery
monitor reset. To do this: simultaneously press the SETUP and the SELECT button for 3 seconds. This resets
the battery monitor to its factory settings.
Note that factory settings can only be restored if the
4.2. How to change settings
4.2.1. Settings via the head unit
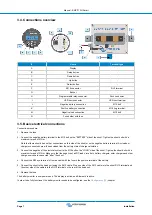
Use the display buttons to enter and navigate through the settings menu. Each setting has a number and a name. For example:
"01 - Battery capacity". The full list of all battery settings and their corresponding number can be found in the
It is also possible (and easier) to make the battery monitor settings via the VictronConnect app. See the
chapter on how to do this.
Manual - BMV-710H Smart
Page 10
Configuration


