Chapter 10
File management
Creating a screenshot
User Manual
76100000200 Rev. 001
83
5
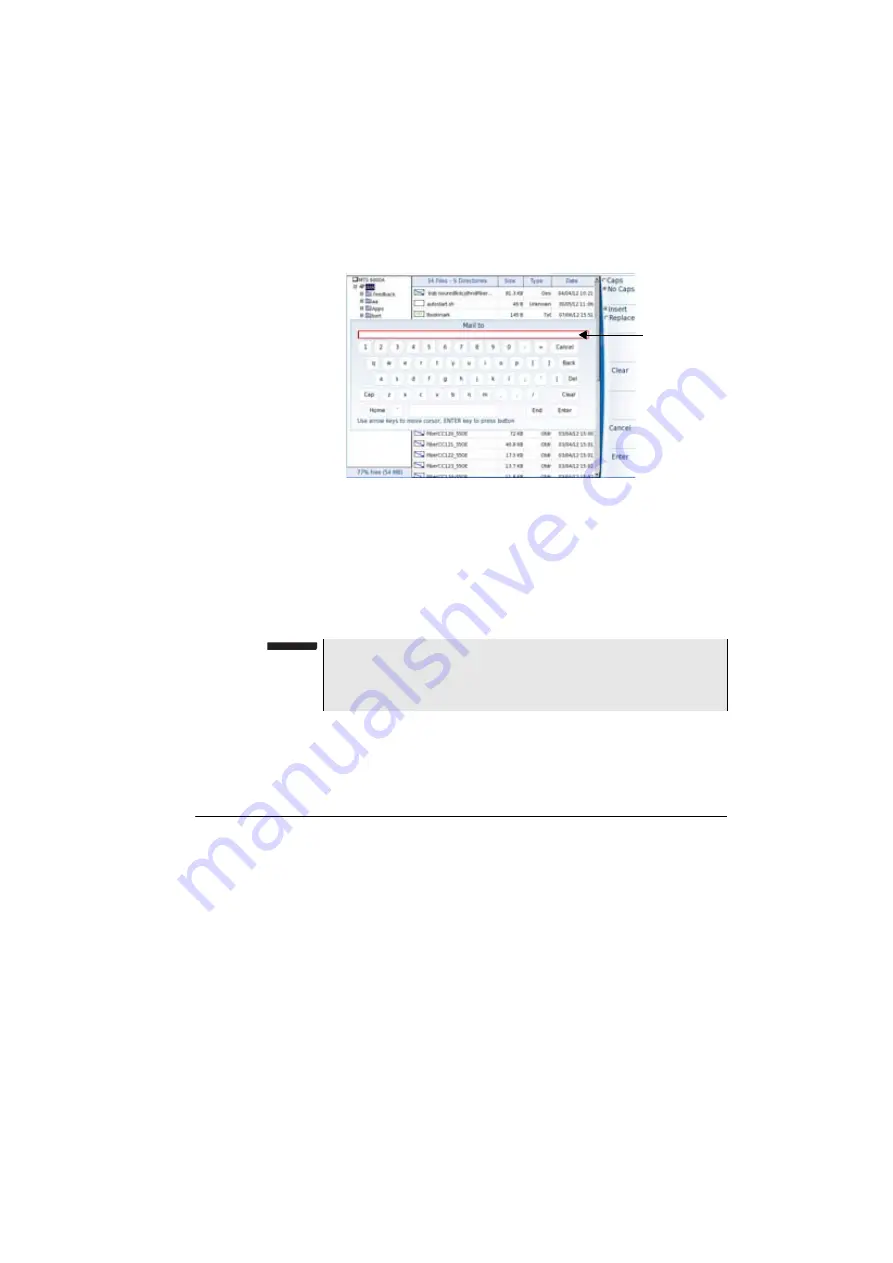
You will have to fill in the two following fields:
–
Mail To
: in the edition window, enter the name of the recipient
and press
Enter
to validate.
–
Subject
: enter the subject of the mail or a comment if neces-
sary. By default, the name of the mail is «
Result
+ sending
date».
6
Click on
Enter
Once the mail has been sent, the following message is displayed:
Sent
. Click on any key to follow.
Creating a screenshot
You can create captures of what is displayed on the screen, directly from
the 6000A V2 Platform.
Configuring the
parameters of
screenshots
To configure the screenshot and choose the format of the generated file:
1
On the
Home
page, press
System Settings
key to reach the
System Settings
page.
2
In the
Printer
box, on the line
Printer
, select
File (Screen)
Fig. 50
Enter e-mail address
Enter an e-
mail address
NOTE
If at least one function is selected in the
System
page (yellow icon),
this two parameters «
Mail to
» and «
Subject
» can be configured by
default in the
Setup
page >
File Export
(see 8100 Module Manual)
Содержание T-BERD 6000A V2
Страница 2: ......
Страница 4: ......
Страница 16: ...Table of Contents xvi User Manual 76100000200 Rev 001 ...
Страница 68: ...Chapter 6 Scope File menu 48 User Manual 76100000200 Rev 001 ...
Страница 78: ...Chapter 7 Applications File Explorer 58 User Manual 76100000200 Rev 001 ...
Страница 114: ...Chapter 10 File management Storage media 94 User Manual 76100000200 Rev 001 ...
Страница 136: ...Chapter 12 WIFI Option Transferring files to from a PC via WIFI 116 User Manual 76100000200 Rev 001 ...
Страница 156: ...Chapter 15 Options and accessories References of accessories 136 User Manual 76100000200 Rev 001 ...
Страница 180: ...Chapter 16 Maintenance and Troubleshooting General information on warranty 160 User Manual 76100000200 Rev 001 ...
Страница 187: ......


