74
Firmware Version 5.4
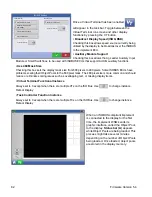
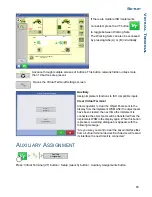
Press: Home button > Setup (wrench) button > Configuration (tractor) button > Configuration tab > your
specific configuration > Setup (wrench) button > Speed Input button > Calibrate Speed Sensor
Follow instructions on screen to calibrate sensor.
Note: Calibration settings can be manually adjusted if desired by pressing Enter CAL Number and making
small changes to the setting.
A
UXILIARY
I
NPUT
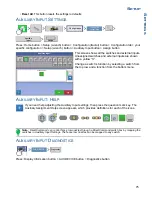
Press: Home button > Setup (wrench) button > Configuration (tractor) button > Configuration tab > your
specific configuration > Setup (wrench) button > Auxiliary Input button
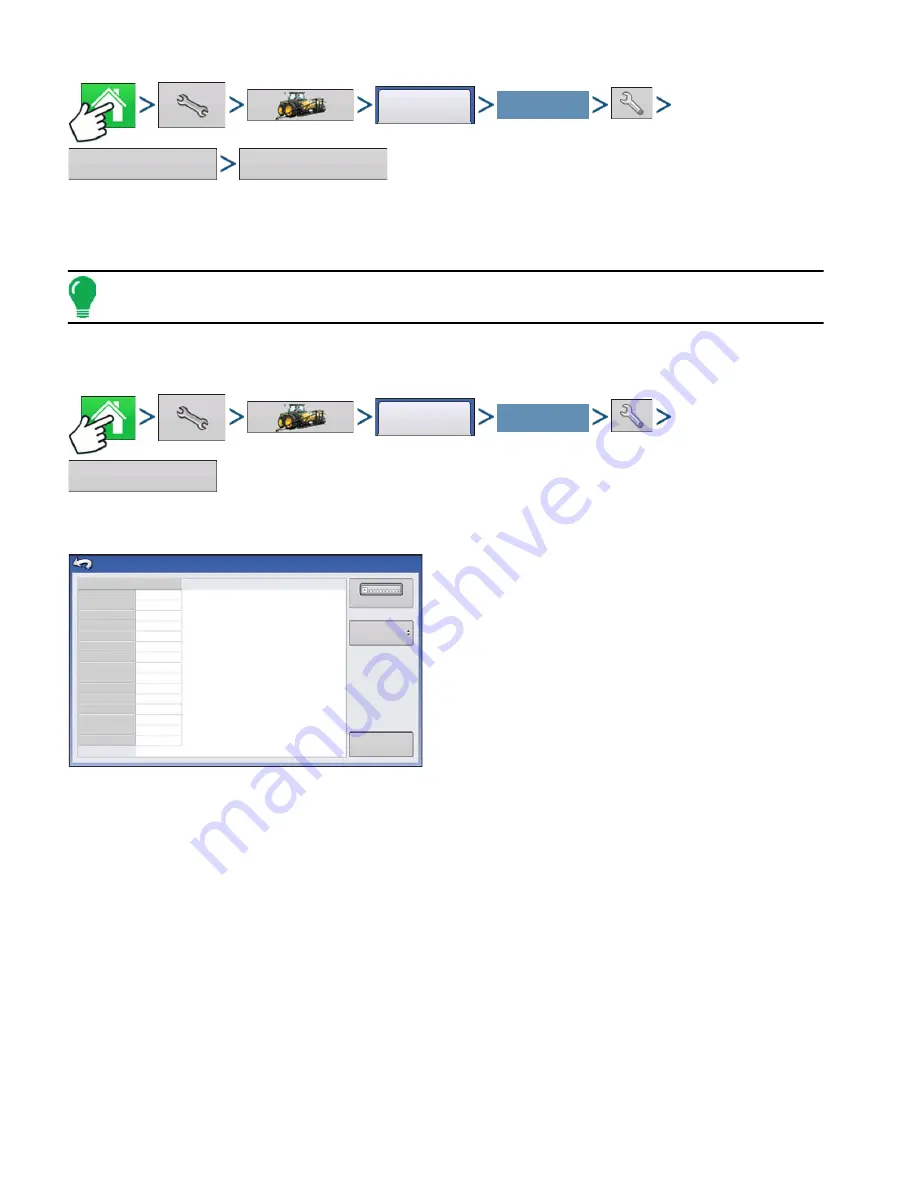
This Switch Mapping function is active only for
DirectCommand or SeedCommand. The Auxiliary
Input Settings screen displays settings for the Master
Switch and other switches on a DirectCommand or
SeedCommand Switch Box.
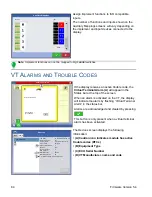
Auxiliary Input Settings can be adjusted by going to
the Auxiliary Input Summary screen. Go to the
Configuration Setup screen and press the Auxiliary
Input button. The Auxiliary Input Summary screen
appears. This screen lists each switch on a switch
box and which functions (if any) are assigned to
particular switches.
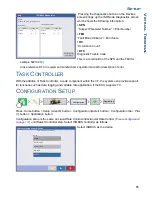
The
Assign
button, located at the upper right-hand corner of this screen, opens the Auxiliary Input
Assignment screen, where you can assign functions to switches and external inputs. For more
information, see
“Auxiliary Input Settings” on page 75
.
The Master Switch Source drop-down menu controls the master switch for your entire configuration. You
may see the following options underneath this menu:
•
Switch
- Controls the master switch.
•
External 2
- This setting can control an optional, floor-mounted master switch.
•
External 1
,
3
&
4
- Not used at this time.
The F1-F11 switches can be assigned to any implement sections. You can use these to choose the
switches that control a particular section or controller planting clutch. You can also make the following
changes to the switch settings.
• Add a switch setting. For more information, see
“Auxiliary Input Settings” on page 75
Configuration
Your Specific
Configuration
Speed
Input
Calibrate Speed Sensor
Configuration
Your Specific
Configuration
Auxiliary
Input
Reset
All
F1 (Master)
F2 (Switch 1)
F3 (Switch 2)
F4 (Switch 3)
F5 (Switch 4)
F6 (Switch 5)
F7 (Switch 6)
F8 (Switch 7)
F9 (Switch 8)
F10 (Switch 9)
F11 (Switch 10)
External 1
External 2
External 3
External 4
1
2
3
DirectLiquid
Auxiliary Input
Switch
Assign
Master Source
Содержание ag leader
Страница 1: ...Operators Manual Firmware Version 5 4 Ag Leader PN 4002722 Rev G ...
Страница 2: ...Firmware Version 5 4 ...
Страница 20: ...6 Firmware Version 5 4 ...
Страница 38: ...24 Firmware Version 5 4 For more information see Legend Settings on page 52 ...
Страница 55: ...41 SETUP M ANAGEMENT S ETUP Remove button Press to remove a business ...
Страница 56: ...42 Firmware Version 5 4 ...
Страница 78: ...64 Firmware Version 5 4 ...
Страница 82: ...68 Firmware Version 5 4 Press to Export All Log files Export All Log Files ...
Страница 84: ...70 Firmware Version 5 4 ...
Страница 94: ...80 Firmware Version 5 4 ...
Страница 108: ...94 Firmware Version 5 4 ...
Страница 140: ...126 Firmware Version 5 4 ...
Страница 154: ...140 Firmware Version 5 4 ...
Страница 158: ...144 Firmware Version 5 4 ...
Страница 162: ...148 Firmware Version 5 4 ...
Страница 222: ...208 Firmware Version 5 4 ...
Страница 244: ...230 Firmware Version 5 4 ...
Страница 260: ...246 Firmware Version 5 4 ...
Страница 289: ...275 HARVEST H ARVEST M ONITORING M APPING Motor Current Measure of Elevator Mount Unit EMU current shown in amps ...
Страница 290: ...276 Firmware Version 5 4 ...
Страница 304: ...290 Firmware Version 5 4 ...

