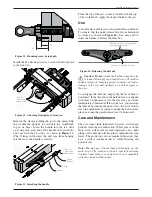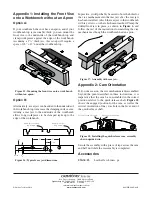
Introduction
A front vise is the most generally useful vise on a typical
workbench. It can be used for clamping parts on edge
within the jaws, for clamping large parts in combination
with a deadman, and for clamping parts on top of the
workbench when used in combination with bench dogs.
When installed on a workbench with a 2
"
thick apron
and a 1
3
/
4
"
thick user-made front jaw, the vise has a
clamping capacity of 9
"
. Tight tolerances within the base
casting result in little sag, even at maximum opening.
This vise features a quick-release mechanism for fast
adjustment of the opening. The positive action of the
mechanism means that the vise can be used for spreading
workpieces apart, as well as for clamping them together.
Requirements
Warning:
Please read the instructions
before
you
begin installing the quick-release front vise onto your
workbench. While the vise has been designed with ease of
installation as a primary requirement, the instructions
offer critical information to facilitate the task.
These instructions assume the workbench has a 2
"
thick
apron. Please refer to
Appendix 1
for installation on a
workbench with no apron.
These instructions show an installation on the left end
of the workbench, which would be typical for a right-
handed woodworker.
Assuming a 1
3
/
4
"
thick front jaw will be used, the quick-
release front vise requires a clear area at least 16
"
deep
by 12
"
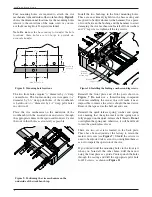
wide on the underside of the workbench top (see
Figure 2
). The user-made jaw should be designed to
match the type of work the vise is expected to do.
16
"
12
"
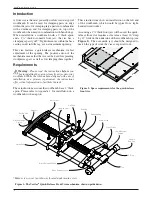
Figure 2: Space requirements for the quick-release
front vise.
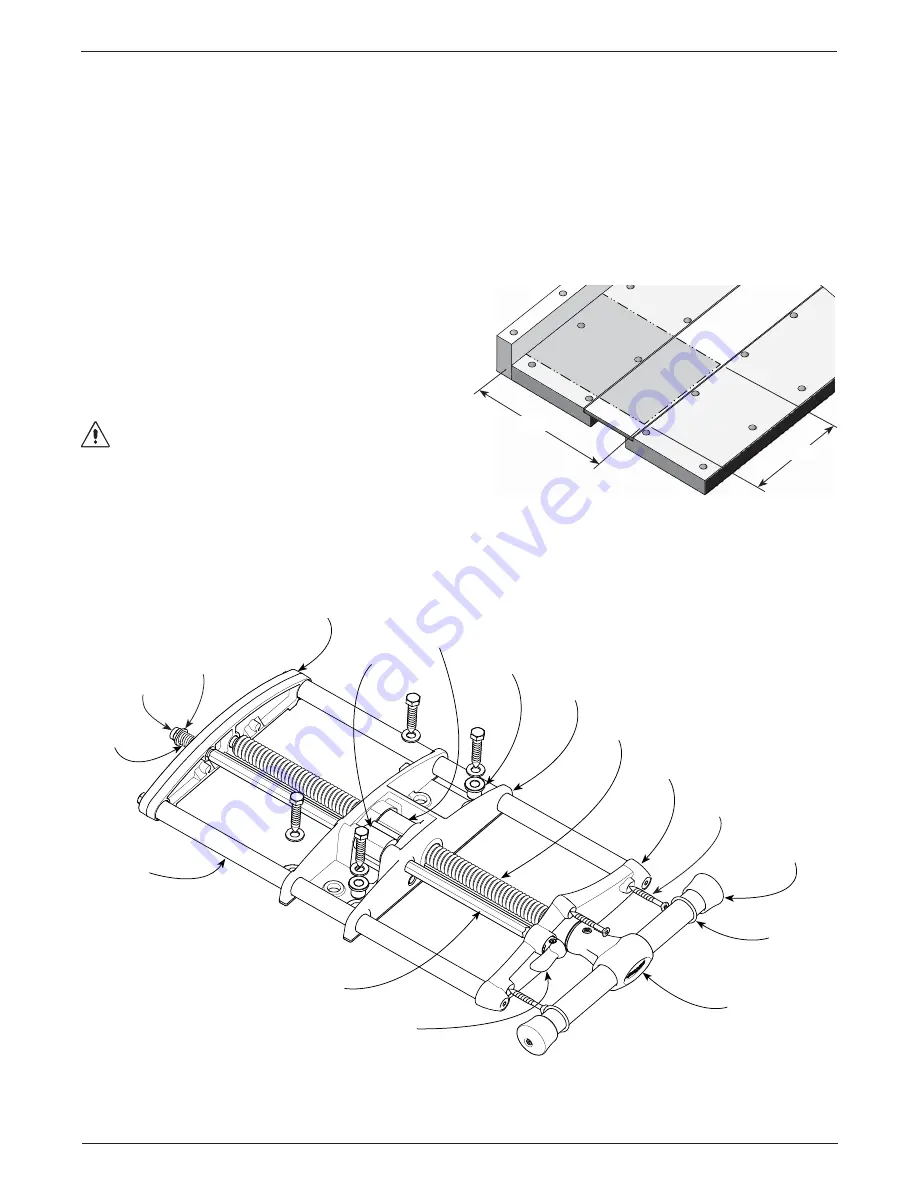
Figure 1: The Veritas
®
Quick-Release Front Vise mechanism, shown upside down.
*Main screw cover (not shown) located under main screw.
2
Veritas
®
Quick-Release Front Vise
Back Plate
Half Nut
Bushing
Base Casting
Main Screw*
Jaw Mounting
Screws
Handle
End Cap
Quick-Release Shaft
Half Nut Cam
Guide Rod
Quick-Release
Spring
Spring Nut
Washer
O-Ring
Tee
Quick-Release Lever
Front Plate


