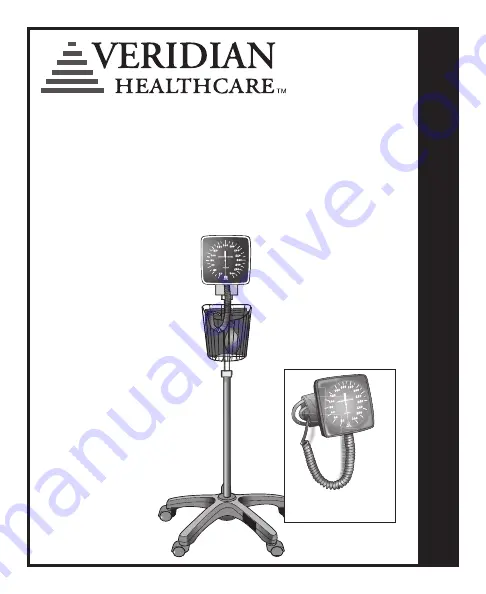
Veridian Healthcare 02-131 Скачать руководство пользователя страница 1

S

Stte

errlliin

ng

g  S

Se

erriie

ess  

F

Fllo

oo

orr--T

Ty

yp

pe

e  C

Cllo

occk

k  A

An

ne

erro

oiid

d  

S

Sp

ph

hy

yg

gm

mo

om

ma

an

no

om

me

ette

err

IN

S

T

R

U

C

T

IO

N

 M

A

N

U

A

L

 • E

N

g

L

IS

h

 & E

S

p

A

ññ

O

L

Model

02-131

Optional wall-mount
hardware included

Содержание 02-131

Страница 1: ...g S Se er ri ie es s F Fl lo oo or r T Ty yp pe e C Cl lo oc ck k A An ne er ro oi id d S Sp ph hy yg gm mo om ma an no om me et te er r INSTRUCTION MANUAL ENgLISh ESpA OL Model 02 131 Optional wall m...

Страница 2: ...ly 9 Gauge Adjustment Feature 10 Arm Cu Size and Selection 11 Care and Maintenance 11 Instrucciones en Espa ol 13 24 Toll Free Customer Care Help Line 1 866 326 1313 Monday Friday 8 30 a m 4 30 p m CS...

Страница 3: ...nometer will provide you with many years of reliable readings This clock aneroid sphygmomanometer includes hardware for both a mobile floor stand set up and wall mount installation The following instr...

Страница 4: ...nded Male Connector Metal Leur Connector Set Adult Cu with Bladder and Inflation Bulb Mini Screwdriver Floor Stand Mount Bracket STOp pLEASE ENSURE yOU hAvE ALL Of ThE LISTEd COMpONENTS bEfORE ATTEMpT...

Страница 5: ...pole spring Height Adjustment Knob 7 5 lb Weight hARdwARE Floor Stand Hardware One 1 4 8 M8 Screw Bolt with 2 Washers Two 2 3 8 Screws with Integrated Washers Two 2 Washers Two 2 Screws Wall Mount Har...

Страница 6: ...two washers onto the bolt and insert the bolt through the weight and into the stand base securing with the socket wrench Fig 3 4 Turn the stand over so that the fixture is resting upright on the caste...

Страница 7: ...r pole 8 Attach the floor stand mount bracket to the top of the stand assembly using the two 2 1 2 screws and the phillips head screwdriver Fig 8 9 Carefully slide the clock fixture onto the bracket F...

Страница 8: ...e location directly onto the wall 2 Drill four pilot holes into the wall using a drill bit smaller than the width of the drywall anchor over each pencil mark 3 Insert the drywall anchors into the four...

Страница 9: ...o connector options are included for user preference Black Plastic Double Ended Male Connector and Metal Leur Connector Set shown in illustration CUFF BLADDER AND CLOCK ASSEMBLY Wall Mount Store the a...

Страница 10: ...wdriver connect with the grooves in the adjustment mechanism in the clock Fig 2 3 Slowly turn the screwdriver again while observing the needle on the gauge face Turn until the needle has returned to t...

Страница 11: ...19 7cm 28 9cm Adult 5 5 W x 21 L 11 16 375 14cm W x 53 3cm L 27 9cm 41 6cm Large Adult 7 W x 25 5 L 13 20 17 8cm W x 64 8cm L 33cm 50 8cm Thigh 8 25 W x 30 5 L 16 125 24 125 20 9cm W x 77 5cm L 41cm...

Страница 12: ...ig gm mo om ma an n m me et tr ro o A An ne er ro oi id de e c co on n R Re el lo oj j d de e P Pi ie e d de e l la a S Se er ri ie e E Es st te er rl li in na a Modelo 02 131 Se incluyen piezas de fe...

Страница 13: ...eloj 9 Caracter stica de ajuste del indicador 10 Tama o y selecci n del brazalete 11 Cuidado y mantenimiento 11 Instrucciones en Espa ol 13 24 Distributed for Veridian Healthcare 1465 S Lakeside Drive...

Страница 14: ...gmoman metro le dar muchos a os de lecturas confiables Este esfigmoman metro aneroide con reloj incluye las piezas de ferreter a necesarias para instalarlo sobre un pedestal m vil o para montarlo en l...

Страница 15: ...ULO SI LE fALTA ALgUNA pIEzA NO REgRESE AL LUgAR dE COMpRA COMUN qUESE CON ATENCI N AL CLIENTE AL 866 326 1313 Reloj de pared Soporte de montaje en pared Tubo enrollado Conector macho de dos extremos...

Страница 16: ...pIEzAS dE fERRETER A Piezas de ferreter a para el pedestal Un 1 perno de tornillo 4 8 M8 con 2 arandelas Dos 2 tornillos de 3 8 con arandelas integradas dos 2 arandelas Dos 2 tornillos de Piezas de fe...

Страница 17: ...tar el peso al centro del lado de abajo de la base Enrosque las dos arandelas alrededor del perno e inserte el perno a trav s del peso y hacia la base del pedestal asegurando con la llave tubo Fig 3 4...

Страница 18: ...rte delantera de la canasta con el letrero de Advertencia Precauci n del poste inferior 8 Coloque el soporte de montaje del pedestal en la parte superior del ensamblado del pedestal usando los dos 2 t...

Страница 19: ...ros de los tornillos directamente en la pared 2 Taladre cuatro agujeros piloto en la pared con una cabeza de menor tama o que el ancho de los anclajes para mamposter a sobre cada marca de l piz 3 Inse...

Страница 20: ...cias del usuario Conector macho de dos extremos de pl stico negro y conjunto conector Luer de metal se muestra en la ilustraci n ENSAMBLADO DEL BRAZALETE PERA PARA INFLAR Y RELOJ Montaje en la pared G...

Страница 21: ...l destornillador se conecta con los surcos en el mecanismo de ajuste del reloj Fig 2 3 Lentamente gire el destornillador de nuevo mientras observa la aguja en la car tula del indicador Gire hasta que...

Страница 22: ...7cm 28 9cm Adult 5 5 W x 21 L 11 16 375 14cm W x 53 3cm L 27 9cm 41 6cm Large Adult 7 W x 25 5 L 13 20 17 8cm W x 64 8cm L 33cm 50 8cm Thigh 8 25 W x 30 5 L 16 125 24 125 20 9cm W x 77 5cm L 41cm 61 2...

Отзывы: