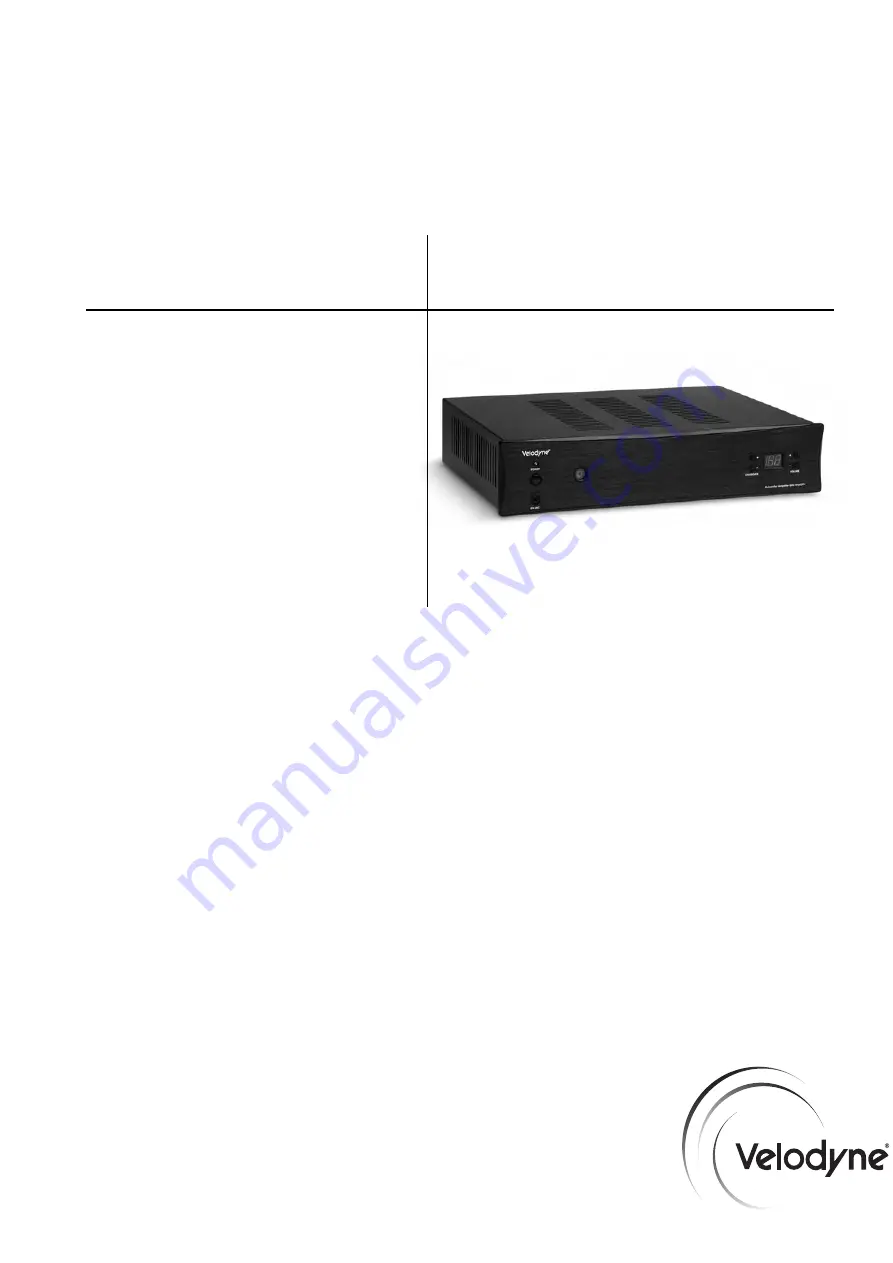
SC-600D Amplifier
SubContractor
™
Series
U S E R ’ S
M A N U A L
S C - 6 0 0 D A m p l i f i e r, S C - 6 0 0 I W, S C - 6 0 0 I F / I C S u b w o o f e r s
All manuals and user guides at all-guides.com
all-guides.com
Страница 1: ...SC 600D Amplifier SubContractor Series U S E R S M A N U A L SC 600D Amplifier SC 600 IW SC 600 IF IC Subwoofers All manuals and user guides at all guides com a l l g u i d e s c o m ...
Страница 2: ...type plug has two blades and a third grounding prong This plug will fit into the power outlet only one way This is a safety feature If you are unable to insert the plug fully into the outlet try reversing the plug If the plug should still fail to fit contact your electrician to replace your obsolete outlet Do not defeat the safety purpose of the polarized plug 13 Power Cord Protection Power supply...
Страница 3: ... Explanation 8 About Low Pass Crossovers 8 A Word About Your Home Theater Receiver s Crossover and the SC 600D Amplifier s Crossover 8 A Word About Interconnect Cables 9 A Word About Subwoofer Placement 9 Selecting the Subwoofer to be Controlled 10 Usage 11 Restore Defaults 14 Care of Your Amplifier and Subwoofer 14 Troubleshooting and Service 15 Specifications 16 Appendix A RS 232 Serial Overview...
Страница 4: ...and all packaging materials for future use Record the serial number in the space provided on the warranty card and page 20 of this manual for future reference SC 600D SUBWOOFER AMPLIFIER 400 watts dynamic 200 watts RMS high efficiency Class D DSP controlled Four selectable presets for customized listening mode Automatic 5 band room equalizer microphone included Night mode setting Mute control Line...
Страница 5: ...possible optimize the placement of the subwoofer s in the listening area See page 10 of the User s Manual Install and wire the subwoofer per the instructions on pages 3 8 Select the proper model per the instructions on page 10 Select the proper volume level See page 4 Be sure the low pass crossover is set correctly See pages 8 9 Be sure to equalize the subwoofer using the microphone and Auto EQ fe...
Страница 6: ...ate the unit and dims when the unit is in night mode 3 Mic Input Connect the supplied microphone for the Auto EQ feature to this mini jack input 4 Remote Eye This is the eye that receives infrared commands from the supplied remote 5 Crossover Use these Up and Down buttons to select the frequency below which all signals will be routed to the subwoofer for example 80 Hz rather that to the main speak...
Страница 7: ...t procedure If your receiver Sub Out channel is set too low the subwoofer may appear to have a weak output it may sound noisy or distorted and the Auto On Off feature may not operate properly 8 Optional Rack Mount Ears Included These ears can be attached to the SC 600D amp to allow standard 19 rack mounting REAR PANEL CONNECTIONS Following are brief descriptions described in Figure 2 More detail o...
Страница 8: ...l Connection Figure 2B Stereo Line Level Connection Line Level Subwoofer Signal from Source LFE Note A Y Connector can be used as an option Stereo Line Level Input from Source Stereo Line Level Output to Another system e g SC 600 IW N10533 N10533 All manuals and user guides at all guides com ...
Страница 9: ...tion 15 Speaker Level Input Terminals If you do not connect the SC 602 amplifier to your receiver using the line input LFE input connection Item 10 connect these input terminals to the speaker output terminals of your amplifier or receiver If you use this method of connection make sure to select the large speaker option in the receiver s set up menu Also select the option for no subwoofer This wil...
Страница 10: ...o red and black negative to black Be sure that all connections are tight and that there are no loose strands or frayed wires 18 Power Cord Adapter Connect the detachable power plug to this male interface connection The detachable cord allows for easy replacement should the original become damaged 19 Fuse If the unit is not functioning check the fuse If the fuse is blown replace with an identically...
Страница 11: ... receivers and processors provide a menu option in which you can characterize main speakers as large or small speakers This affects the bass signals passed to the main speakers We recommend in most cases setting the main speakers to small despite their size and frequency response characteristics allowing all multi channel bass and LFE signals to be passed to the SC 600D This is because the powerfu...
Страница 12: ...f extremely large size are typically not required Extremely large gauge wire may not properly fit in the binding posts resulting in a poor connection and possible short circuits A WORD ABOUT SUBWOOFER PLACEMENT Subwoofers operate at extremely low frequencies which are primarily omni directional Keep in mind that frequency response and output level can be drastically influenced by room placement de...
Страница 13: ...ing the main power switch on the back panel DO NOT use the power button on the front panel Then turn the switch on while depressing any of the buttons on the front panel crossover up or down or volume up or down The unit will show the model it is currently controlling To change the model simply push the crossover up or crossover down buttons and the model changes on the LED display Once the desire...
Страница 14: ... EQ feature you must hold down the EQ button for 2 3 seconds before the EQ sweeps begin Note Each time the EQ feature is utilized the EQ settings for the SC 600D amplifier are reset If the microphone is not plugged in the SC 600D amplifier will emit one or two sweep tones then cease the EQ operation In this case the previous EQ settings will be preserved PHASE These buttons allow you to optimize t...
Страница 15: ...to On Off feature may not operate properly Note The volume can also be adjusted via the volume buttons on the front panel of the amplifier These buttons have the same effect as pressing the up and down volume buttons on your remote PRESETS There are four presets consisting of Movies R B Rock Jazz Classical and Games As a preset is chosen the preset is shown on the numeric LED as P1 for preset 1 P2...
Страница 16: ... Classical Blues Jazz Classical Broadway and Vocalists Jazz Classical Children s Music Jazz Classical Christian and Gospel Jazz Classical Classic Rock R B Rock Classical Jazz Classical Dance and DJ R B Rock Hard Rock Heavy Metal R B Rock Latin Music R B Rock Miscellaneous Jazz Classical Movies Non Action Adventure Jazz Classical New Age Jazz Classical Opera and Vocal Jazz Classical R B R B Rock Ra...
Страница 17: ... presets in the above order the numeric LED will display P3 indicating that you have restored defaults The unit s volume is reset to level 30 out of 80 Do not use any harsh detergents or chemicals to clean the SC 600D chassis or the subwoofer cabinet Abrasives detergents or cleaning solutions will damage the finish on the SC 600D chassis or the subwoofer cabinet We recommend using a damp cloth to ...
Страница 18: ...e remote 7 Is the remote non responsive We recommend replacing the batteries in the remote If the protection circuitry is active the unit may cycle on and off until operating parameters return to normal Under more serious conditions the unit may shut off completely Normal operation should return upon cooling but you may be required to turn the power off and then on again to reset the unit The foll...
Страница 19: ...0 lbs 18 Kg Specifications SC 600D Subwoofer Amplifier Amplifier Class D 400 watts Dynamic 200 watts RMS Power High Pass Crossover 80Hz 6 dB octave Low Pass Crossover 30Hz 160Hz Defeatable 24 dB octave slope Inputs Line and Speaker Level Outputs Line level throughput speaker level 80 Hz up subwoofer out Phase 0 90 180 270 Dimensions H W D inc feet grille 3 6 x 17 x 13 9 x 43 3 x 33 cm Allow two ex...
Страница 20: ...top Bits 1 SC IN and OUT Por t Pin Configuration SC serial ports use a standard configuration that allows direct connection to a PC via a FEMALE to MALE serial cable It uses only three pins Transmit Receive Ground The pin configurations are IN Pin 2 Transmit Pin 3 Receive Pin 5 Ground OUT Pin 2 Receive Pin 3 Transmit Pin 5 Ground Runtime Command Format Byte Number Byte Description Notes 0 Header C...
Страница 21: ...requests PS the current preset Logo Light LTn 0 Light Off LT0 Turns the Logo Light Control LT 1 Light On LT1 on or off or requests LT light state Night Mode NMn 0 Night NM0 Activates Deactivates Control NM Mode Off NM1 Night Mode or 1 Night NM requests light Mode On mode state Mute Control MUn 0 Mute Off MU1 Mutes Unmutes the MU 1 Mute On MU woofer or requests MU0 mute state Power Control JUn 0 Po...
Страница 22: ... nontransferable under any condition 6 Use of this product outside the U S and Canada voids this warranty TO OBTAIN SERVICE Information regarding service may be obtained from the dealer from whom you purchased the unit or by contacting VELODYNE customer service Warranty service must be performed by a VELODYNE factory authorized service representative within the warranty period set forth above If V...
Страница 23: ...rgan Hill CA 95037 408 465 2800 voice 408 779 9227 fax 408 779 9208 service fax www velodyne com Service E mail service velodyne com Product E mail help velodyne com Technical E mail techhelp velodyne com 63 SC600 RevE MAR2011 All manuals and user guides at all guides com ...