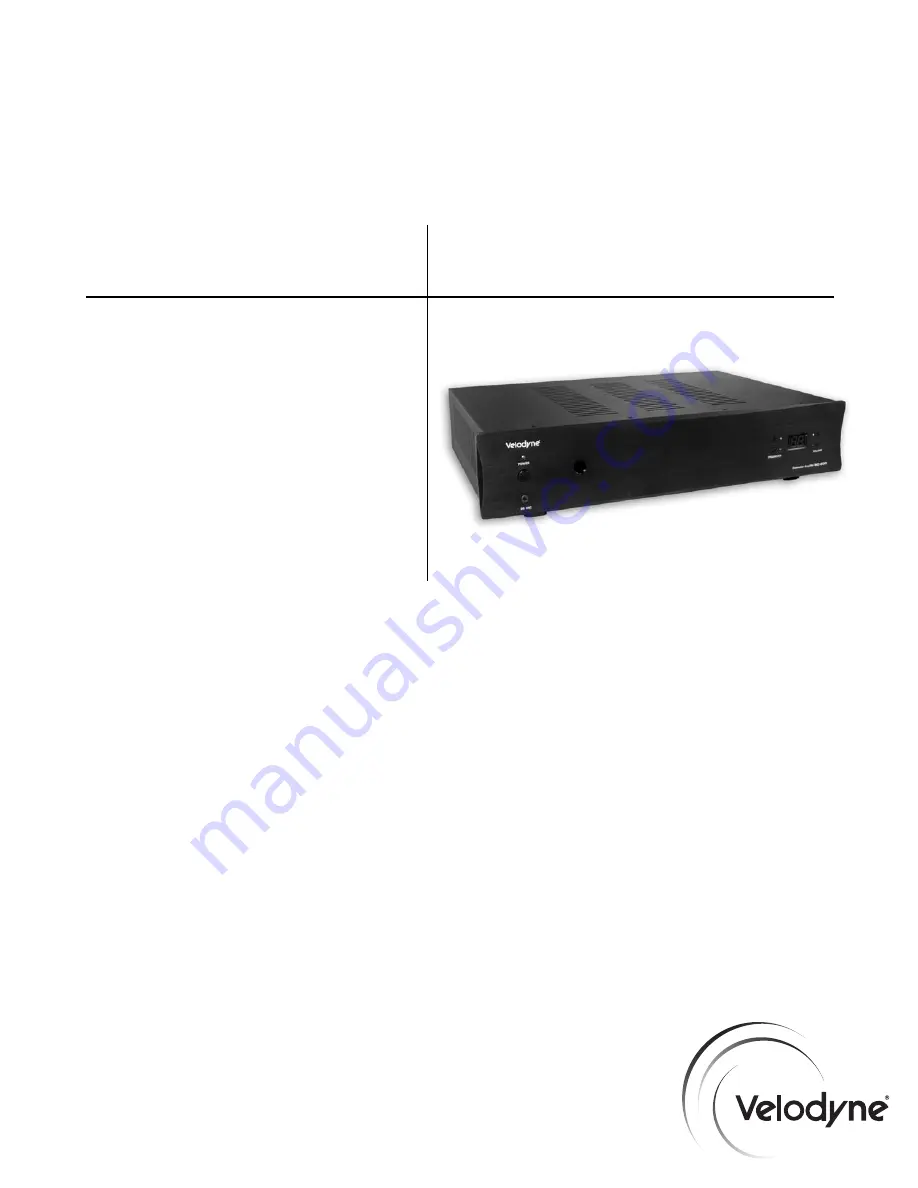
SC-600 Amplifier
SubContractor
™
Series
U S E R ’ S
M A N U A L
S C - 6 0 0 A m p l i f i e r, S C - 6 0 0 I W,
S C - 6 0 0 I F / I C S u b w o o f e r s
Страница 1: ...SC 600 Amplifier SubContractor Series U S E R S M A N U A L SC 600 Amplifier SC 600 IW SC 600 IF IC Subwoofers...
Страница 2: ...i w w w v e l o d y n e c o m SC 600 Amplifier User s Manual...
Страница 3: ...ns Detailed Explanation 8 About Low Pass Crossovers 8 A Word About Your Home Theater Receiver s Crossover and the SC 600 Amplifier s Crossover 8 A Word About Interconnect Cables 9 A Word About Subwoof...
Страница 4: ...ease save the carton and all packaging materials for future use Record the serial number in the space provided on the warranty card and page 20 of this manual for future reference SC 600 SUBWOOFER AMP...
Страница 5: ...om your subwoofer If possible optimize the placement of the subwoofer s in the listening area See page 10 of the User s Manual Install and wire the subwoofer per the instructions on pages 3 8 Select t...
Страница 6: ...e remote has been used to deactivate the unit and dims when the unit is in night mode 3 Mic Input Connect the supplied microphone for the Auto EQ feature to this mini jack input 4 Remote Eye This is t...
Страница 7: ...hannel level adjustment procedure If your receiver Sub Out channel is set too low the subwoofer may appear to have a weak output it may sound noisy or distorted and the Auto On Off feature may not ope...
Страница 8: ...Level Connection Figure 2B Stereo Line Level Connection Line Level Subwoofer Signal from Source LFE Note A Y Connector can be used as an option Stereo Line Level Input from Source Stereo Line Level Ou...
Страница 9: ...h in the always on position 15 Speaker Level Input Terminals If you do not connect the SC 602 amplifier to your receiver using the line input LFE input connection Item 10 connect these input terminals...
Страница 10: ...ctions red positive to red and black negative to black Be sure that all connections are tight and that there are no loose strands or frayed wires 18 Power Cord Adapter Connect the detachable power plu...
Страница 11: ...sover has a default of 80 Hz Most receivers and processors provide a menu option in which you can characterize main speakers as large or small speakers This affects the bass signals passed to the main...
Страница 12: ...o your unit Cables of extremely large size are typically not required Extremely large gauge wire may not properly fit in the binding posts resulting in a poor connection and possible short circuits A...
Страница 13: ...down the amplifier using the main power switch on the back panel DO NOT use the power button on the front panel Then turn the switch on while depressing any of the buttons on the front panel crossover...
Страница 14: ...ental invocation of the EQ feature you must hold down the EQ button for 2 3 seconds before the EQ sweeps begin Note Each time the EQ feature is utilized the EQ settings for the SC 600 amplifier are re...
Страница 15: ...r distorted and the Auto On Off feature may not operate properly Note The volume can also be adjusted via the volume buttons on the front panel of the amplifier These buttons have the same effect as p...
Страница 16: ...ck R B Rock Alternative Rock Jazz Classical Blues Jazz Classical Broadway and Vocalists Jazz Classical Children s Music Jazz Classical Christian and Gospel Jazz Classical Classic Rock R B Rock Classic...
Страница 17: ...ies When you press the presets in the above order the numeric LED will display P3 indicating that you have restored defaults The unit s volume is reset to level 30 out of 80 Do not use any harsh deter...
Страница 18: ...been depressed on the remote 7 Is the remote non responsive We recommend replacing the batteries in the remote If the protection circuitry is active the unit may cycle on and off until operating para...
Страница 19: ...16 w w w v e l o d y n e c o m SC 600 Amplifier User s Manual Specifications...
Страница 20: ...a Bits 8 Parity None Stop Bits 1 SC IN and OUT Por t Pin Configuration SC serial ports use a standard configuration that allows direct connection to a PC via a FEMALE to MALE serial cable It uses only...
Страница 21: ...he indicated PS PS3 PS4 preset or requests PS the current preset Logo Light LTn 0 Light Off LT0 Turns the Logo Light Control LT 1 Light On LT1 on or off or requests LT light state Night Mode NMn 0 Nig...
Страница 22: ...R Series DEQ 8R DEQ 10R DEQ 12R DEQ 15R DLS R Series DLS 3500R DLS 3750R DLS 4000R DLS 5000R Impact Series Impact Mini Impact 10 Impact 12 MicroVee 115 120V DD Series DD 10 DD 12 DD 15 DD 18 Digital D...
Страница 23: ...ns 5 This warranty is nontransferable under any condition 6 Use of this product outside the U S and Canada voids this warranty TO OBTAIN SERVICE Information regarding service may be obtained from the...
Страница 24: ...c 345 Digital Drive Morgan Hill CA 95037 408 465 2800 voice 408 779 9227 fax 408 779 9208 service fax www velodyne com Service E mail service velodyne com Product E mail help velodyne com Technical E...