background image

At the end of the status checking process "Online" or "OOS" (out of service) will appear under the Status column

Go back to top

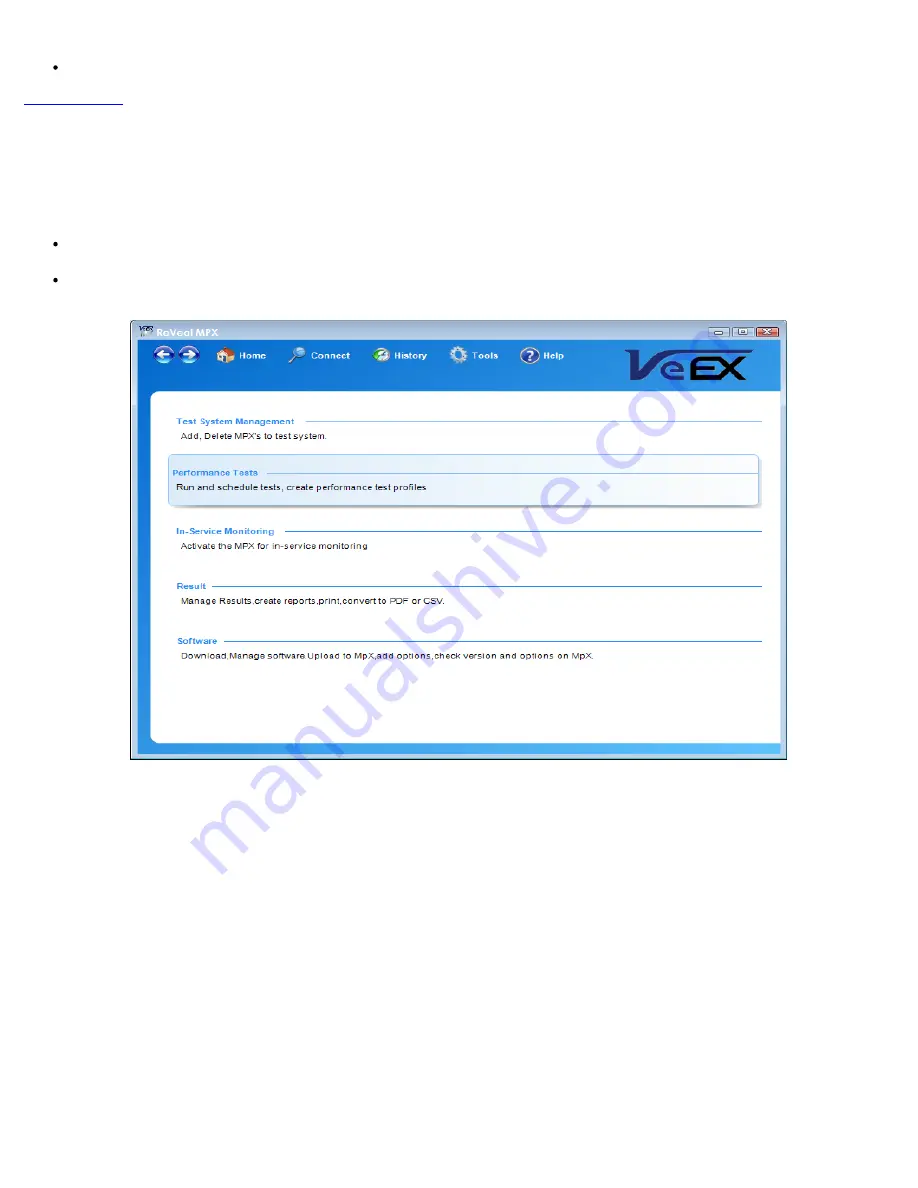
6.4 Performance Tests

6.4.1 Test Profiles

STEP 1

The Test Profiles menu in ReVeal MPX is the same as ReVeal MX!

One additional settings in ReVeal MPX test profiles is the test port configuration; select the test port and configure the

speed/duplex and auto-negotiation settings

MPX100 e-Manual D07-00-022 Rev A00

Page 22 of 46

Содержание MPX100

Страница 1: ...nto a foreign language or be transmitted electronically without prior agreement and written consent of VeEX Incorporated as governed by International copyright laws Information contained in this manua...

Страница 2: ...ts 5 2 Software License 5 3 Installation Procedure 6 0 Getting Started 6 1 IP Address Configuration 6 1 1 General Settings 6 1 2 Configuration 6 2 Step 1 Launching ReVeal Software 6 3 Test System Mana...

Страница 3: ...be performed in band or via the built in 10 100BaseT Ethernet port via an internet connection The MPX100 paired with a handheld tester is the industry s most cost effective solution for point to point...

Страница 4: ...from VeEX Inc This device uses software either developed by VeEX Inc or licensed by VeEX Inc from third parties and is the confidential and proprietary of VeEX Inc The software is protected by copyri...

Страница 5: ...ntrol via 10 100T port for Live on demand testing Schedule tests coming RS232C Supervisor serial port 4 0 1 Interfaces The MPX100 is equipped with the following test port and LEDs located on the front...

Страница 6: ...profiles between the unit and a computer using ReVeal MPX100 software Upgrade the instrument software using ReVeal MPX100 software Remote control of the instrument using ReVeal MPX100 software RS232C...

Страница 7: ...st equipment MX100 MX120 Go back to top 4 0 3 Usage The MPX can be used in several configurations that all add value to a new or existing customers MPX as a centralized Responder unit for the MX100 an...

Страница 8: ...distributed throughput the network controlled via ReVeal MPX Go back to top 4 1 Installation Procedure The following illustrates the procedure for installing the rack mount MPX100 e Manual D07 00 022...

Страница 9: ...MPX100 e Manual D07 00 022 Rev A00 Page 9 of 46...

Страница 10: ...ive Space 5Mbytes Connection method Ethernet Note Operating systems and hardware requirements may change over time Please check with your local VeEX representative regarding latest system requirements...

Страница 11: ...e reserved by VeEX Incorporated 5 NO WARRANTIES VeEX Incorporated expressly disclaims any warranty for ReVeal ReVeal is provided As Is without any express or implied warranty of any kind including but...

Страница 12: ...cation Go back to top 6 0 Getting Started 6 1 IP Address Configuration 6 1 1 General Settings 10 100T management port default IP settings IP 192 168 0 10 Subnet 255 255 255 0 Gateway 192 168 0 1 Seria...

Страница 13: ...responding COM port for the USB to Serial cable STEP 2 Configure the serial port settings STEP 3 Power on the MPX The HyperTerminal should automatically display the following boot up process MPX100 e...

Страница 14: ...NTER at this point of the boot up process At the login prompt type root and press ENTER STEP 5 At the end of the boot up process the command line appears Type the following commands MPX100 e Manual D0...

Страница 15: ...P settings of the 10 100T IP address subnet gateway and give the MPX a location name optional with the following command string mpxconfig n IP Subnet Gateway l Location Name Example mpxconfig n 192 16...

Страница 16: ...STEP 7 Type ipconfig to verify the new IP settings MPX100 e Manual D07 00 022 Rev A00 Page 16 of 46...

Страница 17: ...nect the MPX100 with new IP settings to the network via the 10 100T port Ping the MPX100 to verify connectivity Now we are ready to use ReVeal MPX Go back to top MPX100 e Manual D07 00 022 Rev A00 Pag...

Страница 18: ...om the shortcut on your desktop or wherever the software has been installed The screen below will be displayed while the software application is being launched ReVeal MPX100 Launch Window ReVeal MPX10...

Страница 19: ...Home menu access Test System Management STEP 2 Press Add and enter the IP address of the MPX you will add Press Check ReVeal MPX will check for the MPX online MPX100 e Manual D07 00 022 Rev A00 Page...

Страница 20: ...finds the MPX100 Press Finish to close the window STEP 3 The MPX100 just added now appears in the table with an Online status Press Save to save the table entry to the ReVeal MPX management table MPX1...

Страница 21: ...X100s Go back to top 6 3 1 Test System Management Comments Every time the user enters the Test System Management menu ReVeal MPX will check the status of all of the MPX100s that appear in the table MP...

Страница 22: ...4 Performance Tests 6 4 1 Test Profiles STEP 1 The Test Profiles menu in ReVeal MPX is the same as ReVeal MX One additional settings in ReVeal MPX test profiles is the test port configuration select...

Страница 23: ...Create a new BERT profile From New Name user defined Type BERT Press Create MPX100 e Manual D07 00 022 Rev A00 Page 23 of 46...

Страница 24: ...igure the Port settings Select the test port 10 100 1000T or 1000Base X Select the auto negotiation settings and flow control settings STEP 3 Configure the Header MPX100 e Manual D07 00 022 Rev A00 Pa...

Страница 25: ...ination addresses are correct Destination addresses source addresses of the remote test partner STEP 4 Configure the traffic profile Error injection settings can also be configured Save the profile MP...

Страница 26: ...r is to configure the correct MAC IP VLAN etc settings so that a test between two MPXs or an MPX and an MX can be carried out properly Go back to top 6 4 3 Test Port IP Setup 1 From Performance Test m...

Страница 27: ...2 Assign IP address to the test port of the unit Select the MPX100 Click Activate 3 IP Step tab appears MPX100 e Manual D07 00 022 Rev A00 Page 27 of 46...

Страница 28: ...Configure Port settings Click Save 4 Ping tab MPX100 e Manual D07 00 022 Rev A00 Page 28 of 46...

Страница 29: ...sting Overview The On Demand Testing menu is where the user selects which MPX100s to activate for testing and runs tests One or more MPX100s can be started at the same time The user will have visibili...

Страница 30: ...4 5 Operations STEP ONE From the Home Menu access Performance Tests Enter the On Demand Testing menu A two tabbed screen will be shown featuring Available MPXs and Activated MPXs ReVeal MPX will autom...

Страница 31: ...STEP TWO Select the MPX100 that you want to connect to and run tests on Press Activate MPX100 e Manual D07 00 022 Rev A00 Page 31 of 46...

Страница 32: ...to start a test on and select the test Profile All the MPX profiles available appear in the Profiles pull down menu Select a Profile from the pull down menu then press Port Setup to activate the port...

Страница 33: ...The results display format is similar to the Results viewing format for ReVeal MX and ReVeal MPX the only difference is that it is real time Stop Start TX Start Stop Error inject buttons appear at the...

Страница 34: ...responding tab to view the results for each MPX100 running a test STEP FIVE Stop the test and save results Press STOP Press Save when prompted Name the results file Press Save Repeat these steps for e...

Страница 35: ...STEP SIX Close the Test Results window to exit the results menu and return the On Demand testing menu MPX100 e Manual D07 00 022 Rev A00 Page 35 of 46...

Страница 36: ...will return the user to the Activated MPXs tab STEP SEVEN Disconnect from the MPX100 This is done when no more tests need to be carried out Select MPX Press Disconnect MPX100 e Manual D07 00 022 Rev A...

Страница 37: ...er to close all the MPX results windows before exiting And remember to disconnect from the MPX before exiting the On Demand Testing menu If you forget any of the above ReVeal MPX is smart enough to re...

Страница 38: ...2 Select the MPX100 3 Click Schedule 4 Scheduled Tests Detail tab opens MPX100 e Manual D07 00 022 Rev A00 Page 38 of 46...

Страница 39: ...Indicate the Start and Stop times for testing Select the Test type MPX100 e Manual D07 00 022 Rev A00 Page 39 of 46...

Страница 40: ...Select Profile Select the TX Start 5 Click Save Go back to top 6 5 Result Follows the same process as ReVeal MX with one exception MPX100 e Manual D07 00 022 Rev A00 Page 40 of 46...

Страница 41: ...ly go to the Result menu 6 5 1 Result Viewing and Printing STEP ONE From the Home Menu go to Result Go to Manage Results to view and print the results Note Same Process as ReVeal MX MPX100 e Manual D0...

Страница 42: ...STEP TWO View the results Select the results to view and press Open STEP THREE Print the results PDF printing conversion example below MPX100 e Manual D07 00 022 Rev A00 Page 42 of 46...

Страница 43: ...me menu The two main applications are described below 7 1 Downloading New Software VeEX will upgrade the MPX100 software during the warranty period to meet your regular test requirements Provided you...

Страница 44: ...or Upgrade Several screens prompt and guide the user during the upgrade process Caution Do not interfere or disrupt the upgrade process because any interruption may corrupt the instrument software and...

Страница 45: ...to software installed by the customer on the unit without prior authorization written from VeEX Inc Unauthorized alteration or misuse Damage occurred from operating the unit from outside of the envir...

Страница 46: ...ribution channel provides uncompromised product support Visit us online at http www veexinc com for latest updates and additional documentation VeEX Incorporated 2255 Martin Avenue Suite G Santa Clara...

Отзывы: