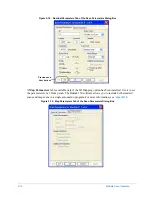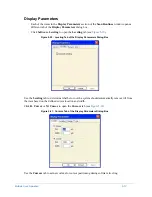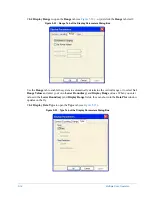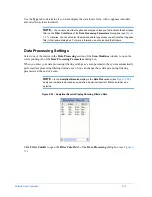
5-8
Multiple Scan Operation
h.
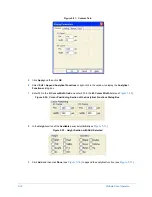
Either accept the values shown in the dialog box, or edit the values with the keyboard. Click the
Enter
button in the
Current Location
section to assign the coordinates to this scan routine.
i.
Repeat the above steps to define scan locations for each of the remaining scan routines.You are now
ready to define a length for each of the scan routines.
j.
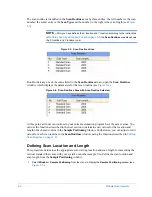
In the
Scan Browser
section of the
Location/Length
dialog box, click the left arrows or type the number
1 in the
Go To
field. This makes Scan Routine #1 the currently active scan routine.
k.
Press
C
TRL
+V
on the keyboard to move the stylus to the location you defined for the currently active scan
routine.
l.
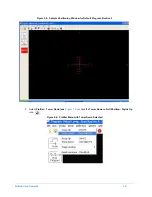
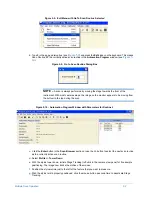
Initiate Stage Tracking (left-click in the camera view pane), and roll the mouse until the stylus reticle is at
the end of the scan. Note that this time Stage Tracking tracks only the left and right motion of the mouse
to allow you to determine the distance you want to scan.
m.
Roll the mouse until the stylus reticule is at the end of the scan, and then click the left mouse button to
deactivate Stage Tracking. The
Current Length
section
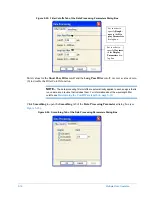
Location/Length for Routine #: 1 of 4
dialog
box now shows the length of the scan that you determined with Stage Tracking. You can accept the value
shown, or edit the value with the keyboard. Click the
Enter
button in the
Current Length
section to assign
the length to this scan routine.
n.
Click the
Enter
button in the
Scan Browser
section to select the next scan routine.
o.
Repeat the above steps to define scan lengths for each of the remaining scan routines.
p.
Click the close box at the upper right corner to close the dialog box.
SETTING OTHER SCAN ROUTINE OPTIONS
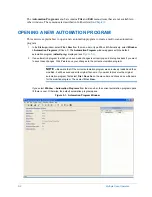
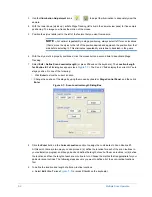
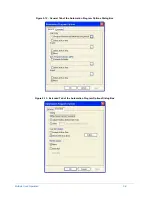
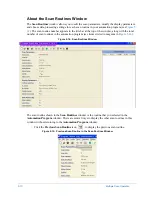
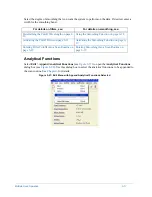
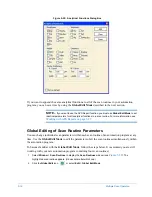
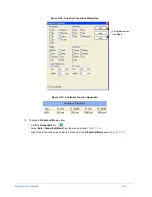
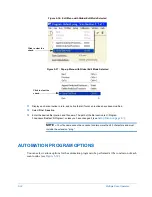
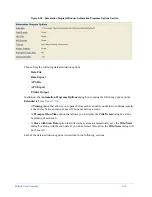
You can set scan routine options by clicking one of the underlined items in the
Automation Program
window (see
). When you do this, either the
General
tab (see
Extended
tab (see
) of the
Automation Program
Options
dialog box appears. For descriptions of
these options, see
Automation Program Options on page 5-22
.
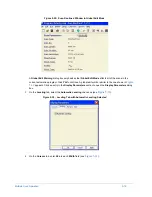
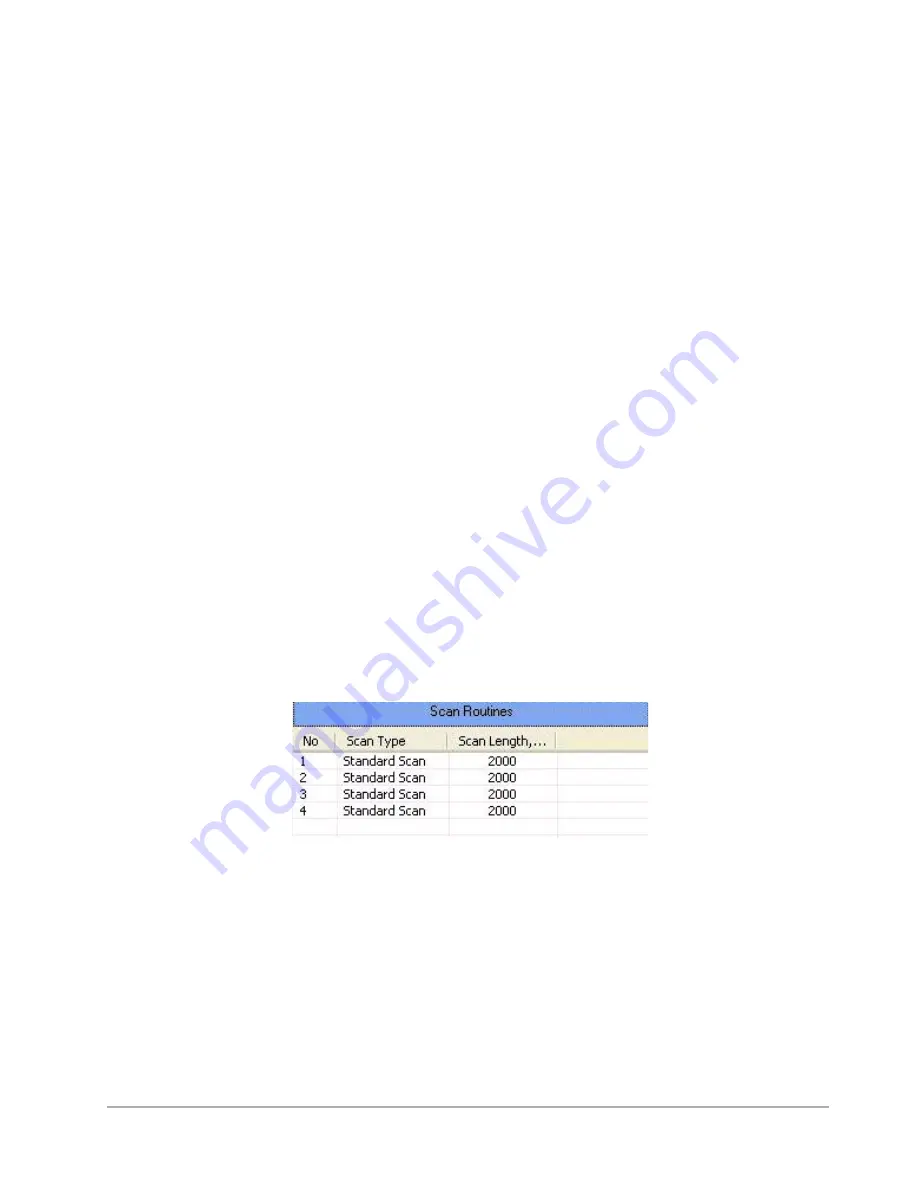
Figure 5-11: Scan Routines Area of the Automation Program Window
Содержание Dektak 150
Страница 1: ......
Страница 2: ...P N 980 294 Standard P N 980 298 Cleanroom Revision A DEKTAK 150 SURFACE PROFILER USER S MANUAL ...
Страница 7: ......
Страница 17: ......
Страница 81: ......
Страница 105: ......
Страница 149: ......
Страница 191: ......
Страница 251: ......
Страница 257: ...A 6 Facilities Specifications Figure A 6 Dektak 150 without Enclosure Side View ...
Страница 258: ...Facilities Specifications A 7 Figure A 7 Dektak 150 Dimensions without Enclosure Top View ...
Страница 259: ...A 8 Facilities Specifications Figure A 8 Dektak 150 without Enclosure Center of Mass ...
Страница 273: ......
Страница 283: ......
Страница 320: ...3D Mapping Function E 37 Figure E 26 Database Options Button Figure E 27 Database Options Dialog Box ...
Страница 321: ......
Страница 331: ......
Страница 333: ......
Страница 336: ......
Страница 337: ......
Страница 349: ......

